Try using the C-First board with GCC in e2 studio
The C-First board has a C language development environment CS + in the appendix DVD in the book, and the usage is also introduced in the text. It was explained that there is e2 studio in this integrated development environment of RL78, so I will introduce the situation when I tried using it.
Renesas CC-RL and GNU GCC can be used as compilers for e2 studio.
This time, I would like to introduce GCC. The advantage of using GCC is that you can develop over 64KB and you can use C ++.
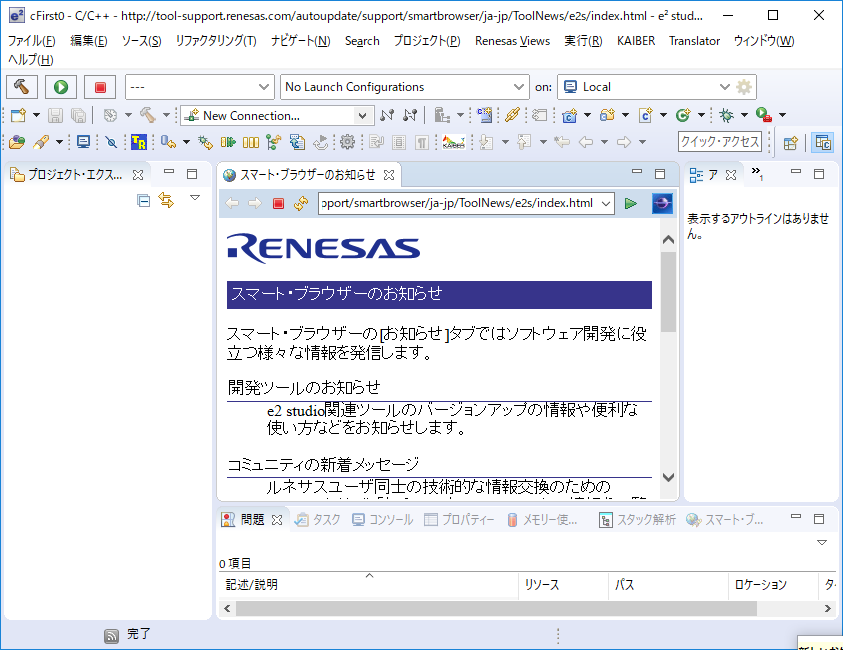
Download e2 studio from here.
https://www.renesas.com/ja-jp/products/software-tools/tools/ide/e2studio.html#downloads
e2 studio does not include a compiler, but it also includes an additional installation of CC-RL by default during installation.
After starting e2 studio, enter an appropriate folder name in the workspace.

The "Welcome" window is displayed, but let's close it.
Make sure you have GCC installed.

Choose Add Renesas Toolchain. It is OK if "GCC for Renesas RL78" is displayed in the displayed.

If GCC is not found, download it from here, install it, and then click the "Add" button to specify the installed folder. https://gcc-renesas.com/ja/
All the samples introduced in the book are CC-RL, so they cannot be compiled with GCC. So I will only port the source code.
The procedure is to create an empty project as a base, copy and port the main function and beyond.
First, create a new "C / C ++ project".

Use GCC to choose to create an executable project.

Enter the project name that will be the folder name.
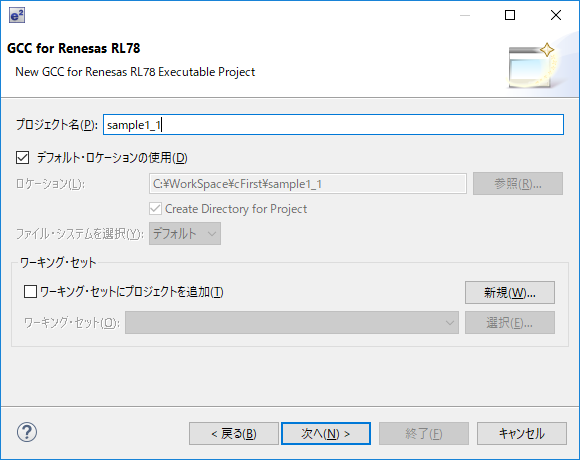
Set the device to "R5F104LE" and the debugger to EZ (RL78).

No code generation is used.

You can leave the other options at their defaults.


When the project generation is finished, there is an empty main function, so edit it and use it.

Here, I copied the contents of the main function of sample1_1.c.

Add iodefine.h and iodefine_ext.h to the source.
Build when porting is complete. This button is the build.
 You can also right-click on the project name to display the build menu.
There is no error and "Build completed" is displayed and it is OK.
You can also right-click on the project name to display the build menu.
There is no error and "Build completed" is displayed and it is OK.
Next is debugging. This button is debug.
 Click ▼ to open "Debugging Configuration", open the project name in "Renesas GDB Hardware", here sample1_1 Hardware Debug, open the "Debugger" tag, and confirm that EZ (RL78) is set. Check and start debugging.

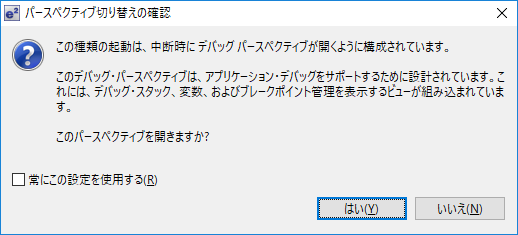
You will be asked if you want to change the perspective (the arrangement of displayed windows and menus) to something suitable for debugging, so answer "Yes".
This is the resume execution button.

If you can confirm it, stop the execution. It is this button that also disconnects from the EZ emulator.

That's all for the execution of the sample code ported to GCC.
I have the impression that if you don't make a mistake in the settings, you can easily port to GCC. Since an empty function is generated for interrupt processing, it seems that it will work immediately by porting only the contents.
As I wrote at the beginning, GCC is a free compiler, so although it does not have support like CC-RL, C ++ can be used, and I am happy that there is no limit to the size exceeding 64 Kbytes.
Recommended Posts