How to create a new Gradle + Java + Jar project in Intellij 2016.03
I will summarize how to create a Gradle + Java project using Intellij 2016.03 and output a jar file.
Open the new project wizard, select Gradle from the left and Java on the right.

Enter the group ID, artifact ID, and version. This value can be changed later.

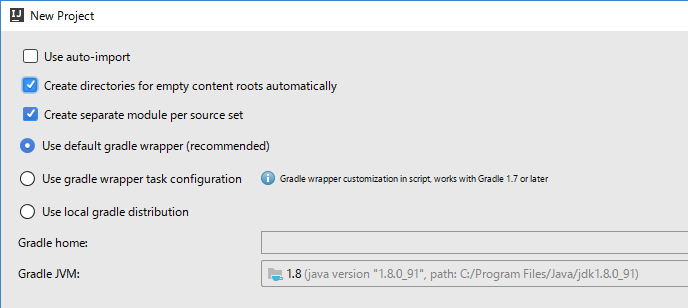
Project settings. It is important to check Create directories for empty content roots automatically.

Specifying the project name and directory path

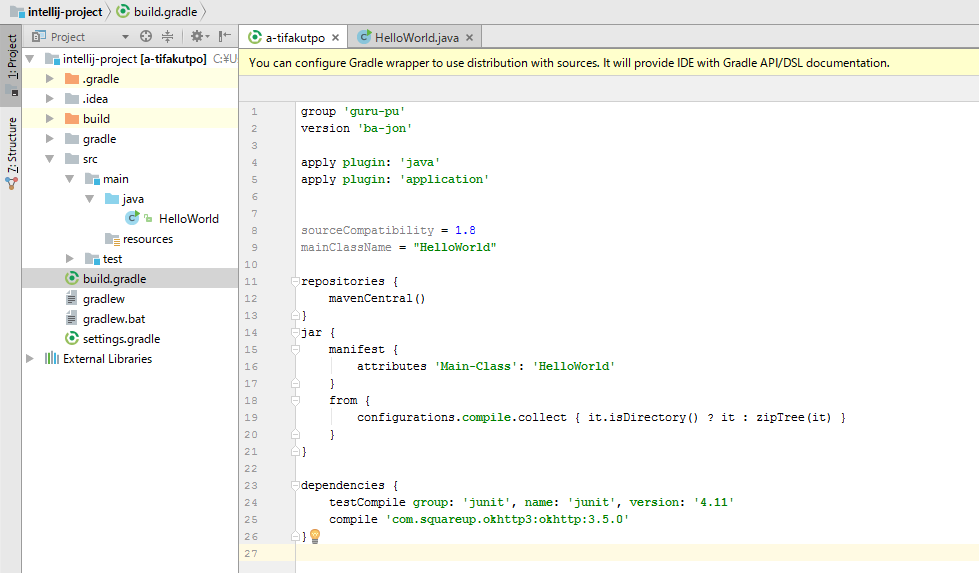
This completes the new project creation. The screen looks like this.

Then call the static main method to make it executable.
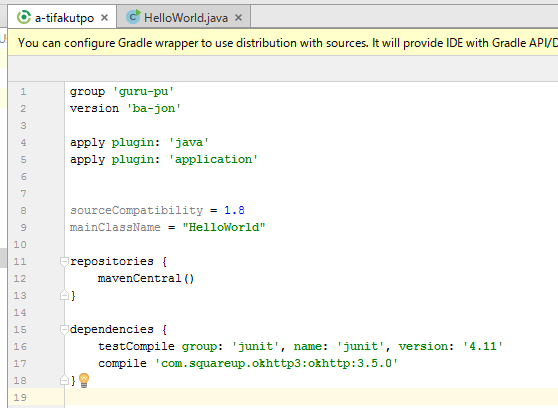
- Add application to apply plugin
- Specify sourceCompatibility version as 1.8
- Specify mainClassName
- Specify the library to use for dependencies

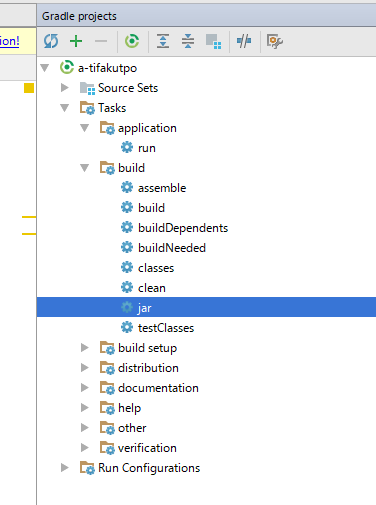
Then press refresh in the Gradle window. Although it is already displayed in the figure, the application run task is added.

Then write the sample source. At this stage, you can see that the external library is available. The processing content has no particular meaning.

Then double-click run to run it.

Next, create a jar file. Add a block of jars to your gradle file.

Then run the jar task

A jar file is created. The path may be a little confusing.

Since it is an executable jar, it can be executed as it is

bonus
To respecify the group artifact version, rewrite the following: Rewriting the artifact (rootProject.name) has a wide range of influence, so it is better not to rewrite it too much.


Recommended Posts