[RUBY] Build an environment for Rails projects under Git management in Cloud9
Trigger
I wanted to work on a Rails application that was originally created in a MacOS environment on Windows, but I thought it would be easy to do it on AWS if I did it on Windows, so I built the environment on Cloud9 for the first time in a while.
environment
AWS Cloud9 Ruby 2.7.0 Ruby on Rails 6.0.3 Chrome (any browser is fine)
Create an instance in Cloud9
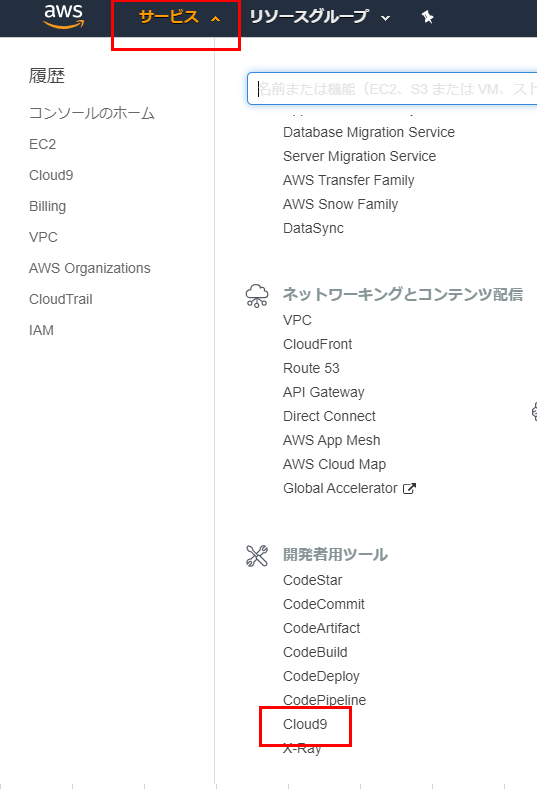
Sign in as an IAM user to AWS. (This is a problem I don't really understand.) Click on Cloud9 at the bottom of the service.
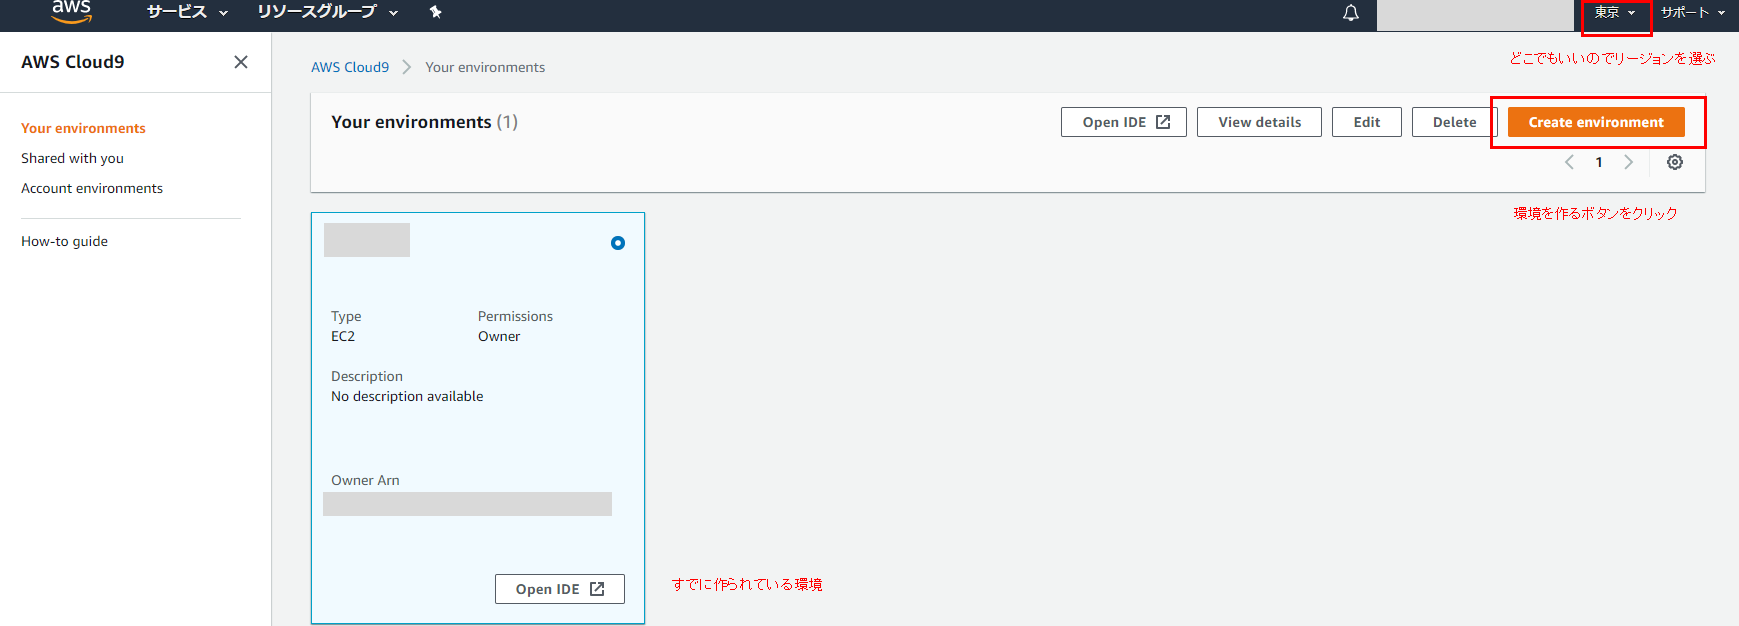
Click the button to create an environment
Enter your favorite app name in Name. You can use the name of a project that is already managed by Git.
This time, I chose Sample_app. Then Next step.

Select Ubuntu Server for Platform in the settings. Others are OK by default.
When using Rails6, do not choose it because it is impossible with Amazon Linux due to the version of SQLite3.
 And Next step.
You will be taken to the confirmation screen, so Create environment!
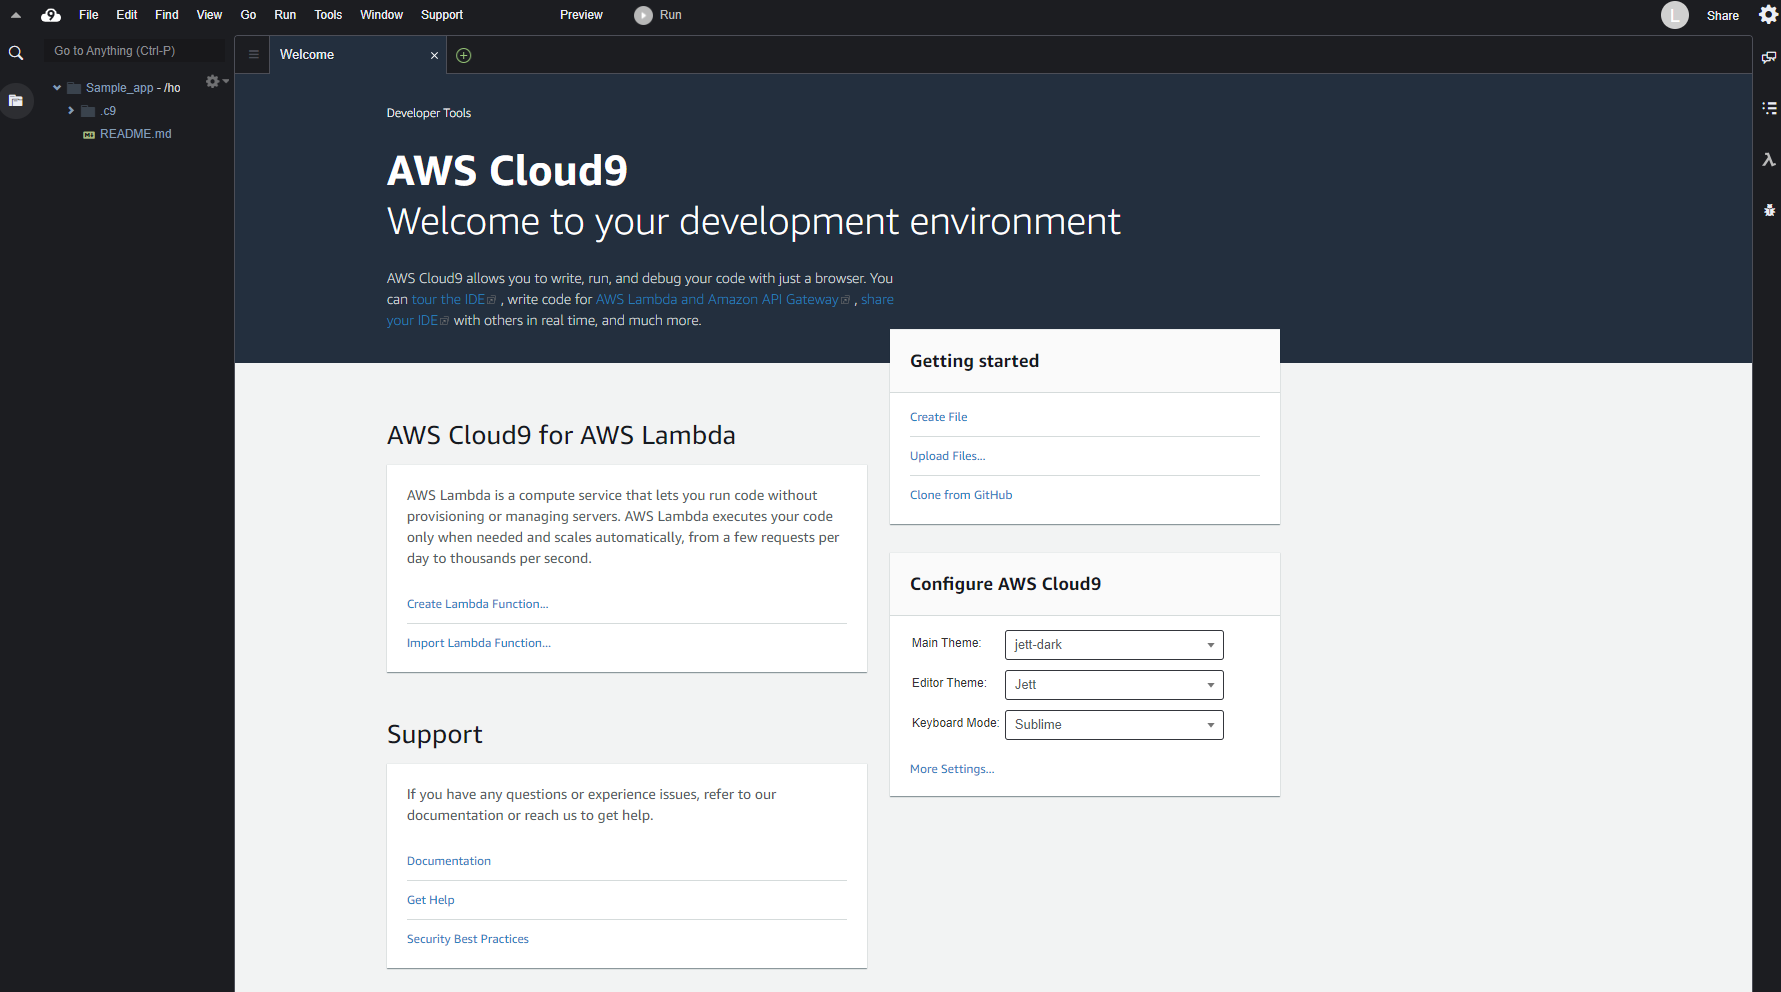
After a while, the screen below appears and I first made a place to put the program. This tab is unnecessary, so you can delete it.
Clone the program
Click the + button and select New Terminal. The terminal will start up. By doing the following, the document will not be downloaded, so the installation will be quicker.
$ echo "gem: --no-document" >> ~/.gemrc
clone!
$git clone Git repository URL
I was able to clone it. Now, change to the directory of the cloned program.
$cd program directory name
Then you will be alerted as follows:
Required ruby-2.7.0 is not installed.
To install do: 'rvm install "ruby-2.7.0"'
I need Ruby 2.7.0!
Install Ruby 2.7.0
The version of Ruby I want to use this time is 2.7.0, and Rails is 6.0.2. Match to the program under development. Since the version is different from Ruby installed by default, install it in this environment. I will go straight.
$ rvm install "ruby-2.7.0"
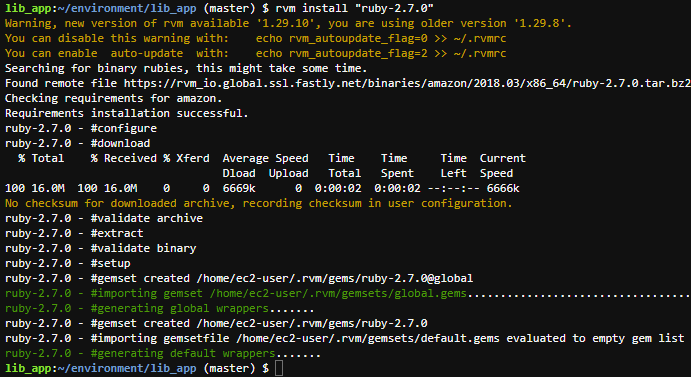 OK。
OK。
Download and install YARN
$ source <(curl -sL https://cdn.learnenough.com/yarn_install)
$ yarn install --check-files
If the above works, skip the command below and go to Bundler installation. This may not work, so you can do the following:
$ curl -o- -L https://yarnpkg.com/install.sh | bash
The following screen will appear and the installation is complete. It says that you can use it when you open a new terminal.

Now, try opening a new terminal by pressing the + button.
$ yarn --version
Since it came out as 1.22.5, installation is OK.
Install gems such as Rails
First, install Bundler. It may take some time depending on the contents of the program's Gemfile.
$ bundle install
Make sure Rails is installed.
$ rails --version
It came out as 6.0.3.1, so it's OK.
Install the specific webpacker from Rails6.
$ rails webpacker:install
what? Is it a conflict? Y is OK.

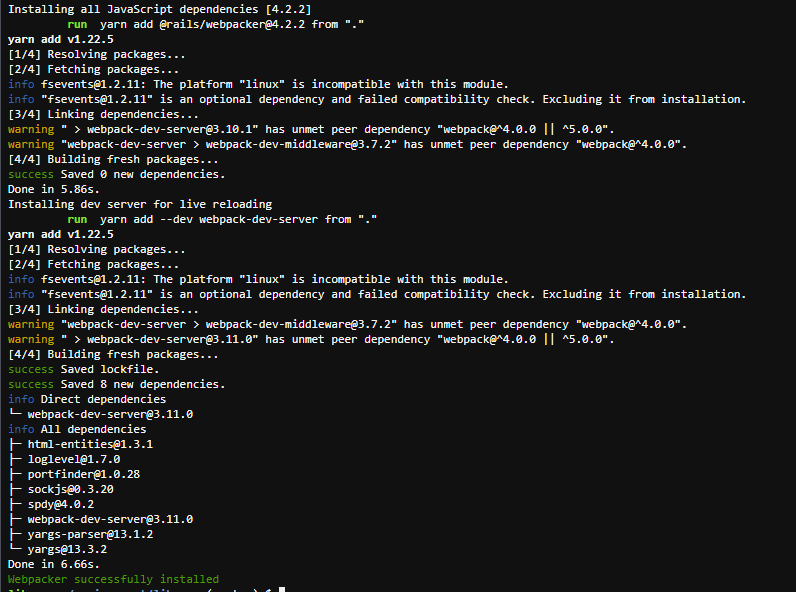 Alright. OK.
Allow screen access in Cloud9 development environment
Add to the following file. Because you need to access the Cloud9 environment with a browser to check the screen. config/environments/development.rb One step above the bottom end.
config.hosts.clear
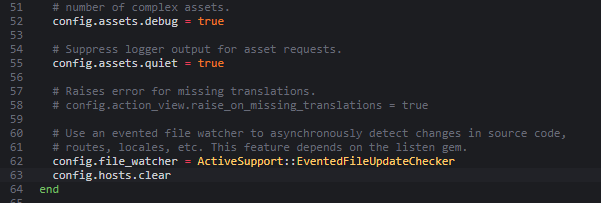
Don't forget the following command as it is an existing project.
rails db:migrate
Finally start the program!
$ rails s
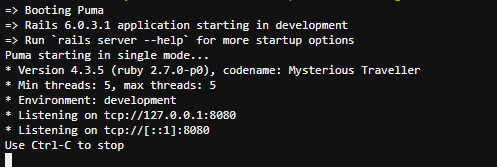
To check the screen, click the Preview tab> Preview Running Application at the top.
After that, click the red frame part to start the browser in another tab.
 Alright! This screen is the default screen of the program used this time. Now that this is out, development will proceed in this condition!

We operate the following sites.
https://dokusyo-no-wa.com/ I thought it would be convenient if I could do this development on both Mac and Windows PC.
Reference article
https://skillhub.jp/courses/134/lessons/785 (Preparing Rails 6 on Cloud9) https://happy-teeth.hatenablog.com/entry/2019/09/17/110208 (Amazon Linux cannot use SQLite3.) https://qiita.com/8zca/items/175efb0612070530d186 (Run Rails 6.0 with SQLite3 (> = 3.8) in CentOS environment)
Recommended Posts