[SWIFT] Implement customer support chat in your iOS app in an hour using the Zendesk Chat SDK
Introduction
Nice to meet you. This time, SaaS that can easily add customer support (cs) function by chat We'll record the steps to deploy Zendesk Chat and enable you to chat with your iOS app. (Using Chat SDK v2 for iOS)
While zendesk is convenient, there are few ios SDK documents. The information spans several product documentation and It's easy to overlook the necessary settings, so I decided to summarize them in an article.
Description of zendesk chat
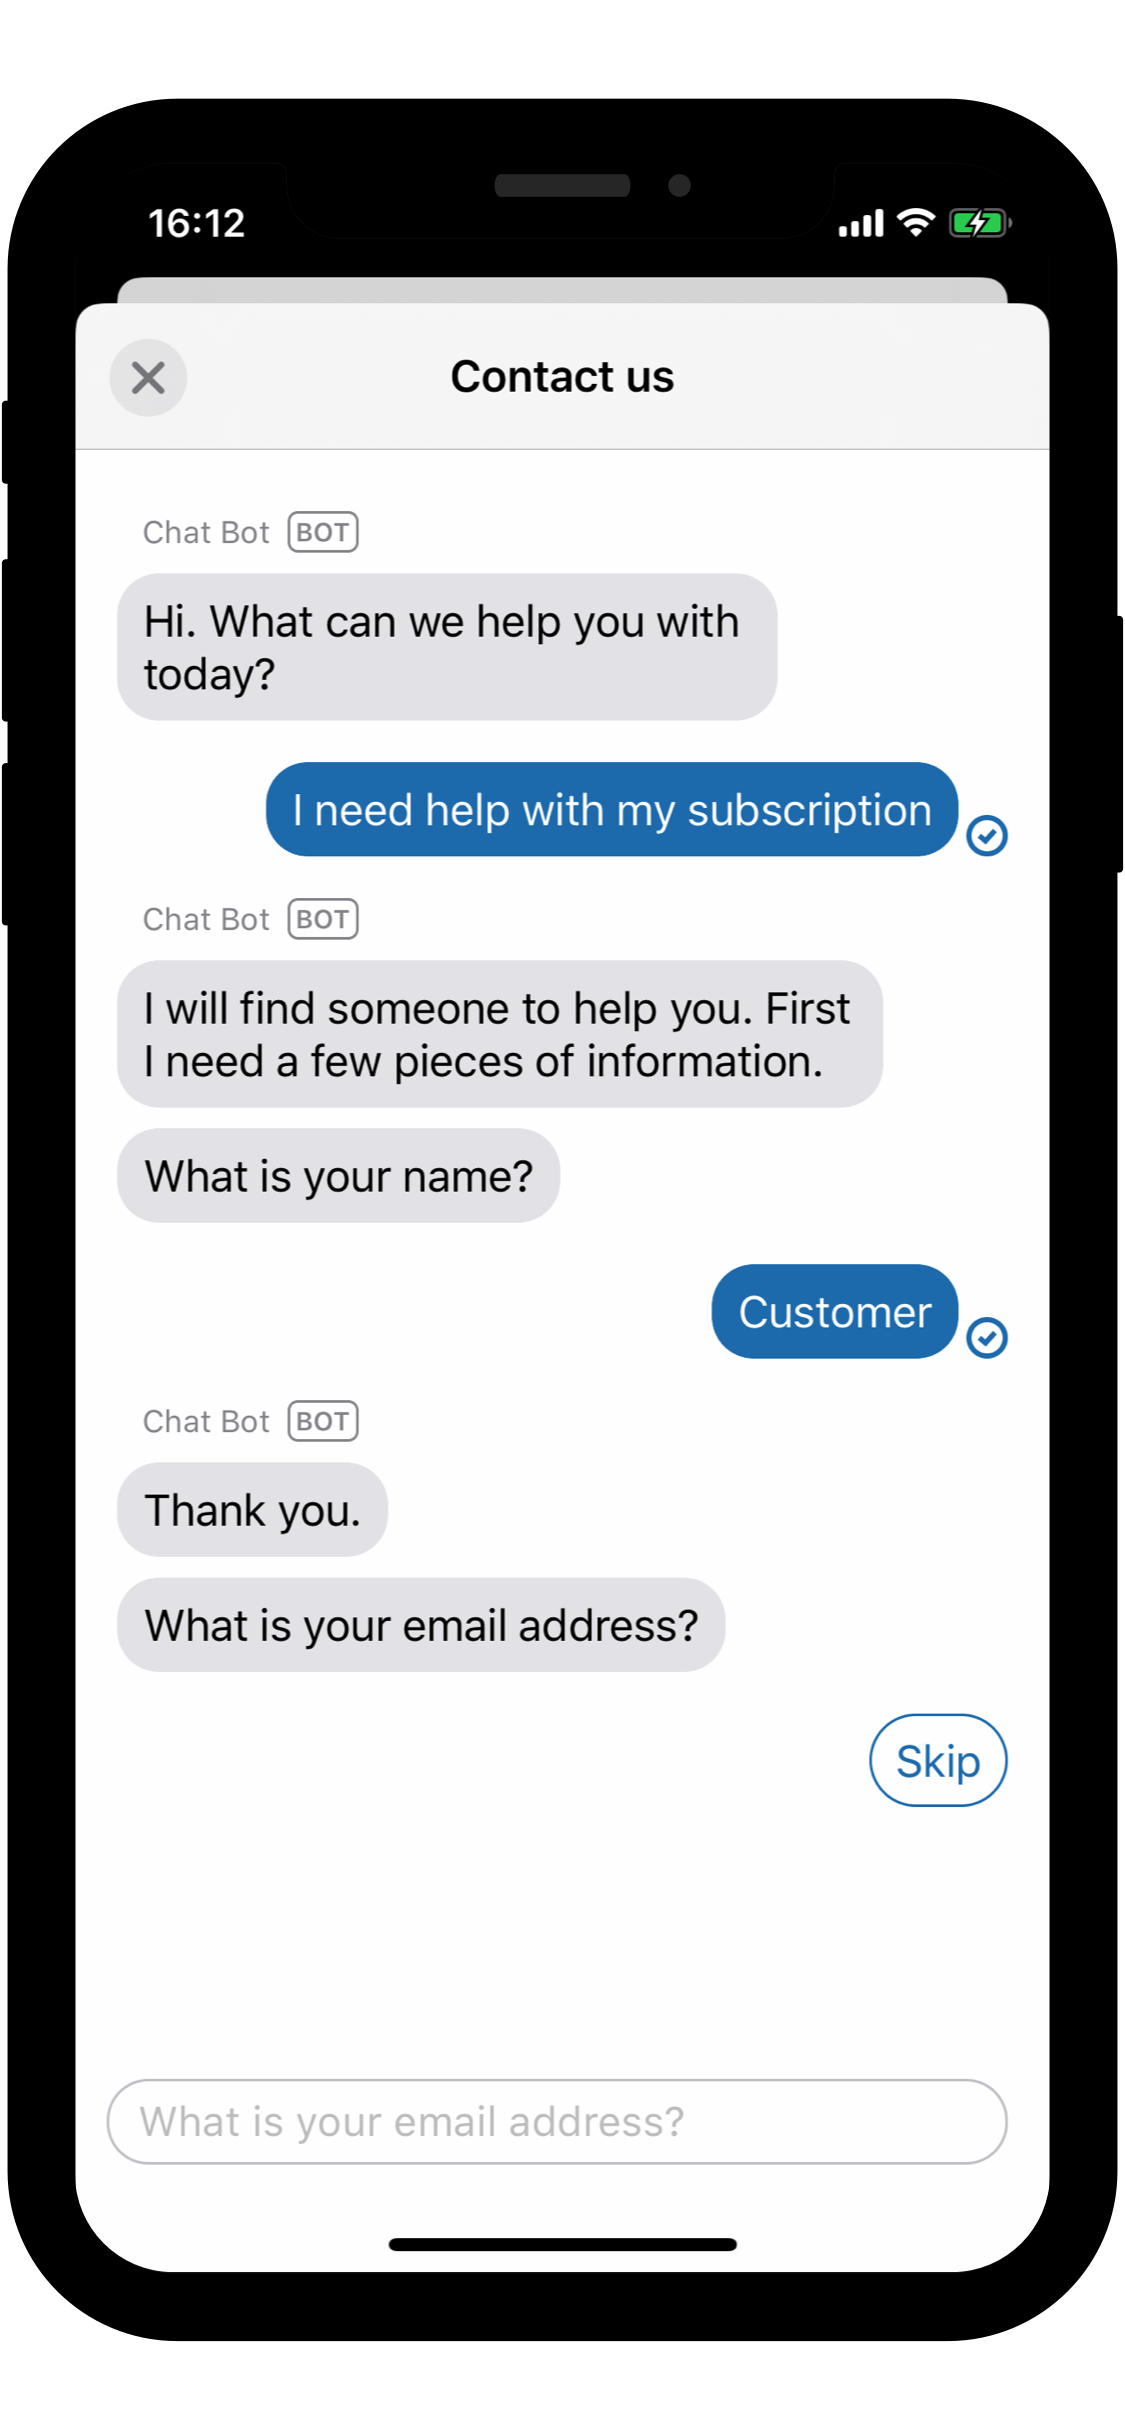
It is a tool that can easily build such a chat screen.
The charge form is like this

Click here for a detailed price list (https://www.zendesk.co.jp/chat/compare/#compare)
There are 4 plans including free Team and above with push notifications of $ 19 / month Business hours are set to $ 35 / month or higher.
The Professional plan is safe for products with a certain scale, but it seems that the free plan can be fully utilized depending on the device.
Rough procedure
--Introduction of SDK
- Initialize --Calling the chat screen --Turn off the chat button if the agent is offline --Push notification settings
SDK introduction
Follow the official documentation (https://developer.zendesk.com/embeddables/docs/chat-sdk-v-2-for-ios/getting_started).
There are 3 patterns of SDK installation: CocoaPods, Carthage, and manual. I use CocoaPods.
This is the podfile
target 'MyApp' do
 #Required for zendesk chat
  pod 'ZendeskChatSDK'

  #Needed when you want to hook fine behavior in zendesk chat
  pod 'ZendeskChatProvidersSDK'

  #Support needed to skip push notifications
  pod 'ZendeskSupportSDK'
I was addicted to skipping push notifications Apparently you need the Zendesk Support SDK.
If it is the minimum necessary usage that "just use the basic chat screen prepared by the SDK"
It only works with pod'Zendesk Chat SDK'.
Initialize
Initialize Zendesk Suport and Chat.
import ZendeskCoreSDK
import SupportProvidersSDK
import ChatProvidersSDK
import ChatSDK

Zendesk.initialize(appId: ZENDESK_APP_ID,
            clientId: ZENDESK_CLIENT_ID,
            zendeskUrl: ZENDESK_URL)
Support.initialize(withZendesk: Zendesk.instance)

Chat.initialize(accountKey: ZENDESK_ACCOUNT_KEY, appId: ZENDESK_CHAT_APP_ID)
The IDs passed to Zendesk.initialize should be in zendesk settings> install modele SDK
I just copy and paste what is listed,
What I'm wondering about here is ʻaccountKey and ʻappId passed to Chat.initialize.
Where is it written! about it.
You can find the accountKeyhere, by clickingchat> Icon in the upper right> Confirm Connection`.

ʻAppId looks at the method definition and says ʻappId: String? = Nil,
You can run it without specifying appleId.
It works without it, so I completely forget its existence. Without it, you will not receive ** Push notifications. ** **
Since ʻappIdis specified in the latter part about Push notification Once you move it with justChat.initialize (accountKey)`
It doesn't matter if you go ahead.
User specification does not require jwt authentication There was no problem with anonymous users.
//Created as an anonymous user
let anonymous = Identity.createAnonymous()
Zendesk.instance?.setIdentity(anonymous)
Initialize these with didFinishLaunchingWithOptions in ʻAppDelegate.swift`.
AppDelegate.swift
func application(_ application: UIApplication, didFinishLaunchingWithOptions launchOptions: [UIApplication.LaunchOptionsKey: Any]?) -> Bool {

  Zendesk.initialize(appId: ZENDESK_APP_ID,
            clientId: ZENDESK_CLIENT_ID,
            zendeskUrl: ZENDESK_URL)
  Support.initialize(withZendesk: Zendesk.instance)
  Chat.initialize(accountKey: ZENDESK_ACCOUNT_KEY, appId: ZENDESK_CHAT_APP_ID)

  let anonymous = Identity.createAnonymous()
  Zendesk.instance?.setIdentity(anonymous)
}
I wrote it in solid for easy understanding, Of course, please use it as a method or a class. Lol
Chat screen call
The official documentation is around here.
    //Tap action of "Open chat screen button"
    @IBAction func tapStartChat(_ sender: Any) {
        try! startChat()
    }

    //Transition to chat screen (modal transition by generating ViewContoller)
    func startChat() throws {
        let chatViewController = trybuildChatUI()

        let button = UIBarButtonItem(title: "close", style: .plain, target: self, action: #selector(dismissNavigationController))
        chatViewController.navigationItem.leftBarButtonItem = button

        let modalController = UINavigationController(rootViewController: chatViewController)
        present(modalController, animated: true)
    }

    //Chat screen generation
    private func buildChatUI() throws -> UIViewController {
        let messagingConfiguration = getMessagingConfiguration()
        let chatConfiguration = getChatConfigure()

        // Build view controller
        let chatEngine = try ChatEngine.engine()
        return try Messaging.instance.buildUI(engines: [chatEngine], configs: [messagingConfiguration, chatConfiguration])
        //By the way, not only ChatEngine but also engines
        //SupportEngine, which leaves a message and exchanges by e-mail and prepares FAQ
        //There is an AnswerBot Engine that the bot will automatically reply to you.
    }


    //Chat bot display settings
    private func getMessagingConfiguration() -> MessagingConfiguration {
        let messagingConfiguration = MessagingConfiguration()
        messagingConfiguration.name = "The name of the bot displayed on the chat screen"
        return messagingConfiguration
    }

    //Advanced chat settings
    private func getChatConfigure() -> ChatConfiguration {
        // isPreChatFormEnabled =If true
        //When you open the screen, the chat will automatically send a message saying "Thank you for your inquiry."
        //Asks users for names, email addresses, phone numbers, etc.
        let chatConfiguration = ChatConfiguration()
        chatConfiguration.isPreChatFormEnabled = true

        //What information to ask users with isPreChat
        let formConfiguration = ChatFormConfiguration(name: .optional, email: .optional, phoneNumber: .hidden, department: .hidden)
        chatConfiguration.preChatFormConfiguration = formConfiguration

        return chatConfiguration
    }

    @objc private func dismissNavigationController() {
        self.navigationController?.dismiss(animated: true, completion: nil)
    }
This will open the chat screen and You can now chat with agents.
Turn off the chat button if the agent is offline
When the agent is offline
When you start a chat, the bot will automatically answer " There are no agents online ".

However, there are times when the auto-answer messages around here cannot be customized (probably).
I want to disable the button itself when there is no agent! In that case
We will implement it using the function of ChatProvidersSDK.
The official documentation is around here
Chat.accountProvider?.getAccount { (result) in
            switch result {
            case .success(let account):
                switch account.accountStatus {
                case .online:
                    //If online, enable button
                    chatButton.isEnabled = true
                default:
                    //Button disabled when not online
                    chatButton.isEnabled = false
                }
            case .failure(let error):
                //Disable the button even when an error is returned
                chatButton.isEnabled = false
            }
        }
Push notification settings
It's finally Push notification settings. Push notifications are when the agent replies to the user Fires when the agent terminates the chat.
--Create pem --Upload pem to the zendesk chat admin screen --Pass the app ID created during pem registration to Chat.initialize () --Implementation of push notification
Push notifications will be available in this flow.
Create pem
The reference is this article.
Work from your own Apple Developer Page (https://developer.apple.com/account/resources/identifiers/list).
Click Edit in push notification settings and click

** Production ** Create SSL Certificate

Then you can download the .p12 certificate file, so create a pem from now on.
In the official document earlier
Save the .p12 file to your computer. Leave the password empty.
Since it is written, set the password as empty.
Terminal work
> openssl pkcs12 -clcerts -nodes -in ~/Desktop/Certificate.p12  -out myapp.pem

Enter Import Password: #Enter in the sky
MAC verified OK
Run test to see if pem was generated correctly
> openssl s_client -connect gateway.push.apple.com:2195 -cert myapp.pem -keymyapp.pem

~~~Large number of strings~~~
New, TLSv1/SSLv3, Cipher is DES-CBC3-SHA
Server public key is 2048 bit
Secure Renegotiation IS supported
Compression: NONE
Expansion: NONE
No ALPN negotiated
SSL-Session:
    Protocol  : TLSv1.2
    Cipher    : DES-CBC3-SHA
    Session-ID:
    Session-ID-ctx:
    Master-Key:
    Start Time: 1602554889
    Timeout   : 7200 (sec)
Verify return code: 0 (ok)
If the end is Verify return code: 0 (ok), it is successful.
Upload pem to zendesk chat admin screen
chat management screen> Settings> Account> Mobile SDK> Add app
When I register pem with, "The app has been created"
And the app ID will be generated.

Pass the app ID created during pem registration to Chat.initialize ()
This is ↓ at the time of the first initialization
Chat.initialize(accountKey: ZENDESK_ACCOUNT_KEY, appId:here! !!)
I didn't notice this and crushed it for half a day. .. ..
Implementation of push notifications
The official documentation is here [https://developer.zendesk.com/embeddables/docs/chat-sdk-v-2-for-ios/push_notifications)
In general, it includes many settings similar to when using push notifications on the ios app.
・ Display the permission request for push notification
import UserNotifications

let notificationCenter = UNUserNotificationCenter.current()
notificationCenter.delegate = self
notificationCenter.requestAuthorization(options: [.alert, .sound, .badge]) { granted, _ in
   guard granted else { return }

   DispatchQueue.main.async {
      UIApplication.shared.registerForRemoteNotifications()
   }
}
・ Register tokens with didRegisterForRemoteNotificationsWithDeviceToken
AppDelegate.swift
import ChatProvidersSDK

func application(_ application: UIApplication, didRegisterForRemoteNotificationsWithDeviceToken deviceToken: Data) {
    Chat.registerPushToken(deviceToken)
}
・ Behavior when you tap a push notification
AppDelegate.swift
import ChatProvidersSDK

func userNotificationCenter(_ center: UNUserNotificationCenter,
didReceive response: UNNotificationResponse,
withCompletionHandler completionHandler: @escaping () -> Void) {
   let userInfo = response.notification.request.content.userInfo
   let application = UIApplication.shared
   Chat.didReceiveRemoteNotification(userInfo, in: application)
   completionHandler()
}
・ The app receives push notifications even in the foreground
AppDelegate.swift
import UserNotifications

func userNotificationCenter(_ center: UNUserNotificationCenter,
                           willPresent notification: UNNotification,
                           withCompletionHandler completionHandler: @escaping (UNNotificationPresentationOptions) -> Void) {
   completionHandler([.alert, .sound, .badge])
}
Now when the agent replies, you will receive a push notification!

Summary
--I opened the chat screen and was able to chat with the agent --I was able to hook the online status of the agent on the application side --I was able to receive a Push notification when a chat came