[RUBY] EC2 initial settings
Introduction
The procedure for "using the AWS server" is written in 5 parts.
Please check the articles below.
① Initial setting of EC2 ← Imakoko ② Create a database in production environment ③ Start Rails on EC2 ④ Set up the Web server ⑤ Automate deployment
AWS environment construction
Log in to your AWS account and set the "Region" next to your account to Tokyo.
Create an EC2 instance
An EC2 instance is what AWS calls a "virtual machine." Even if you say "create a server", AWS does not physically prepare all the servers. Actually, it uses software called "virtual machine" and uses a mechanism that can virtually use one Linux server.
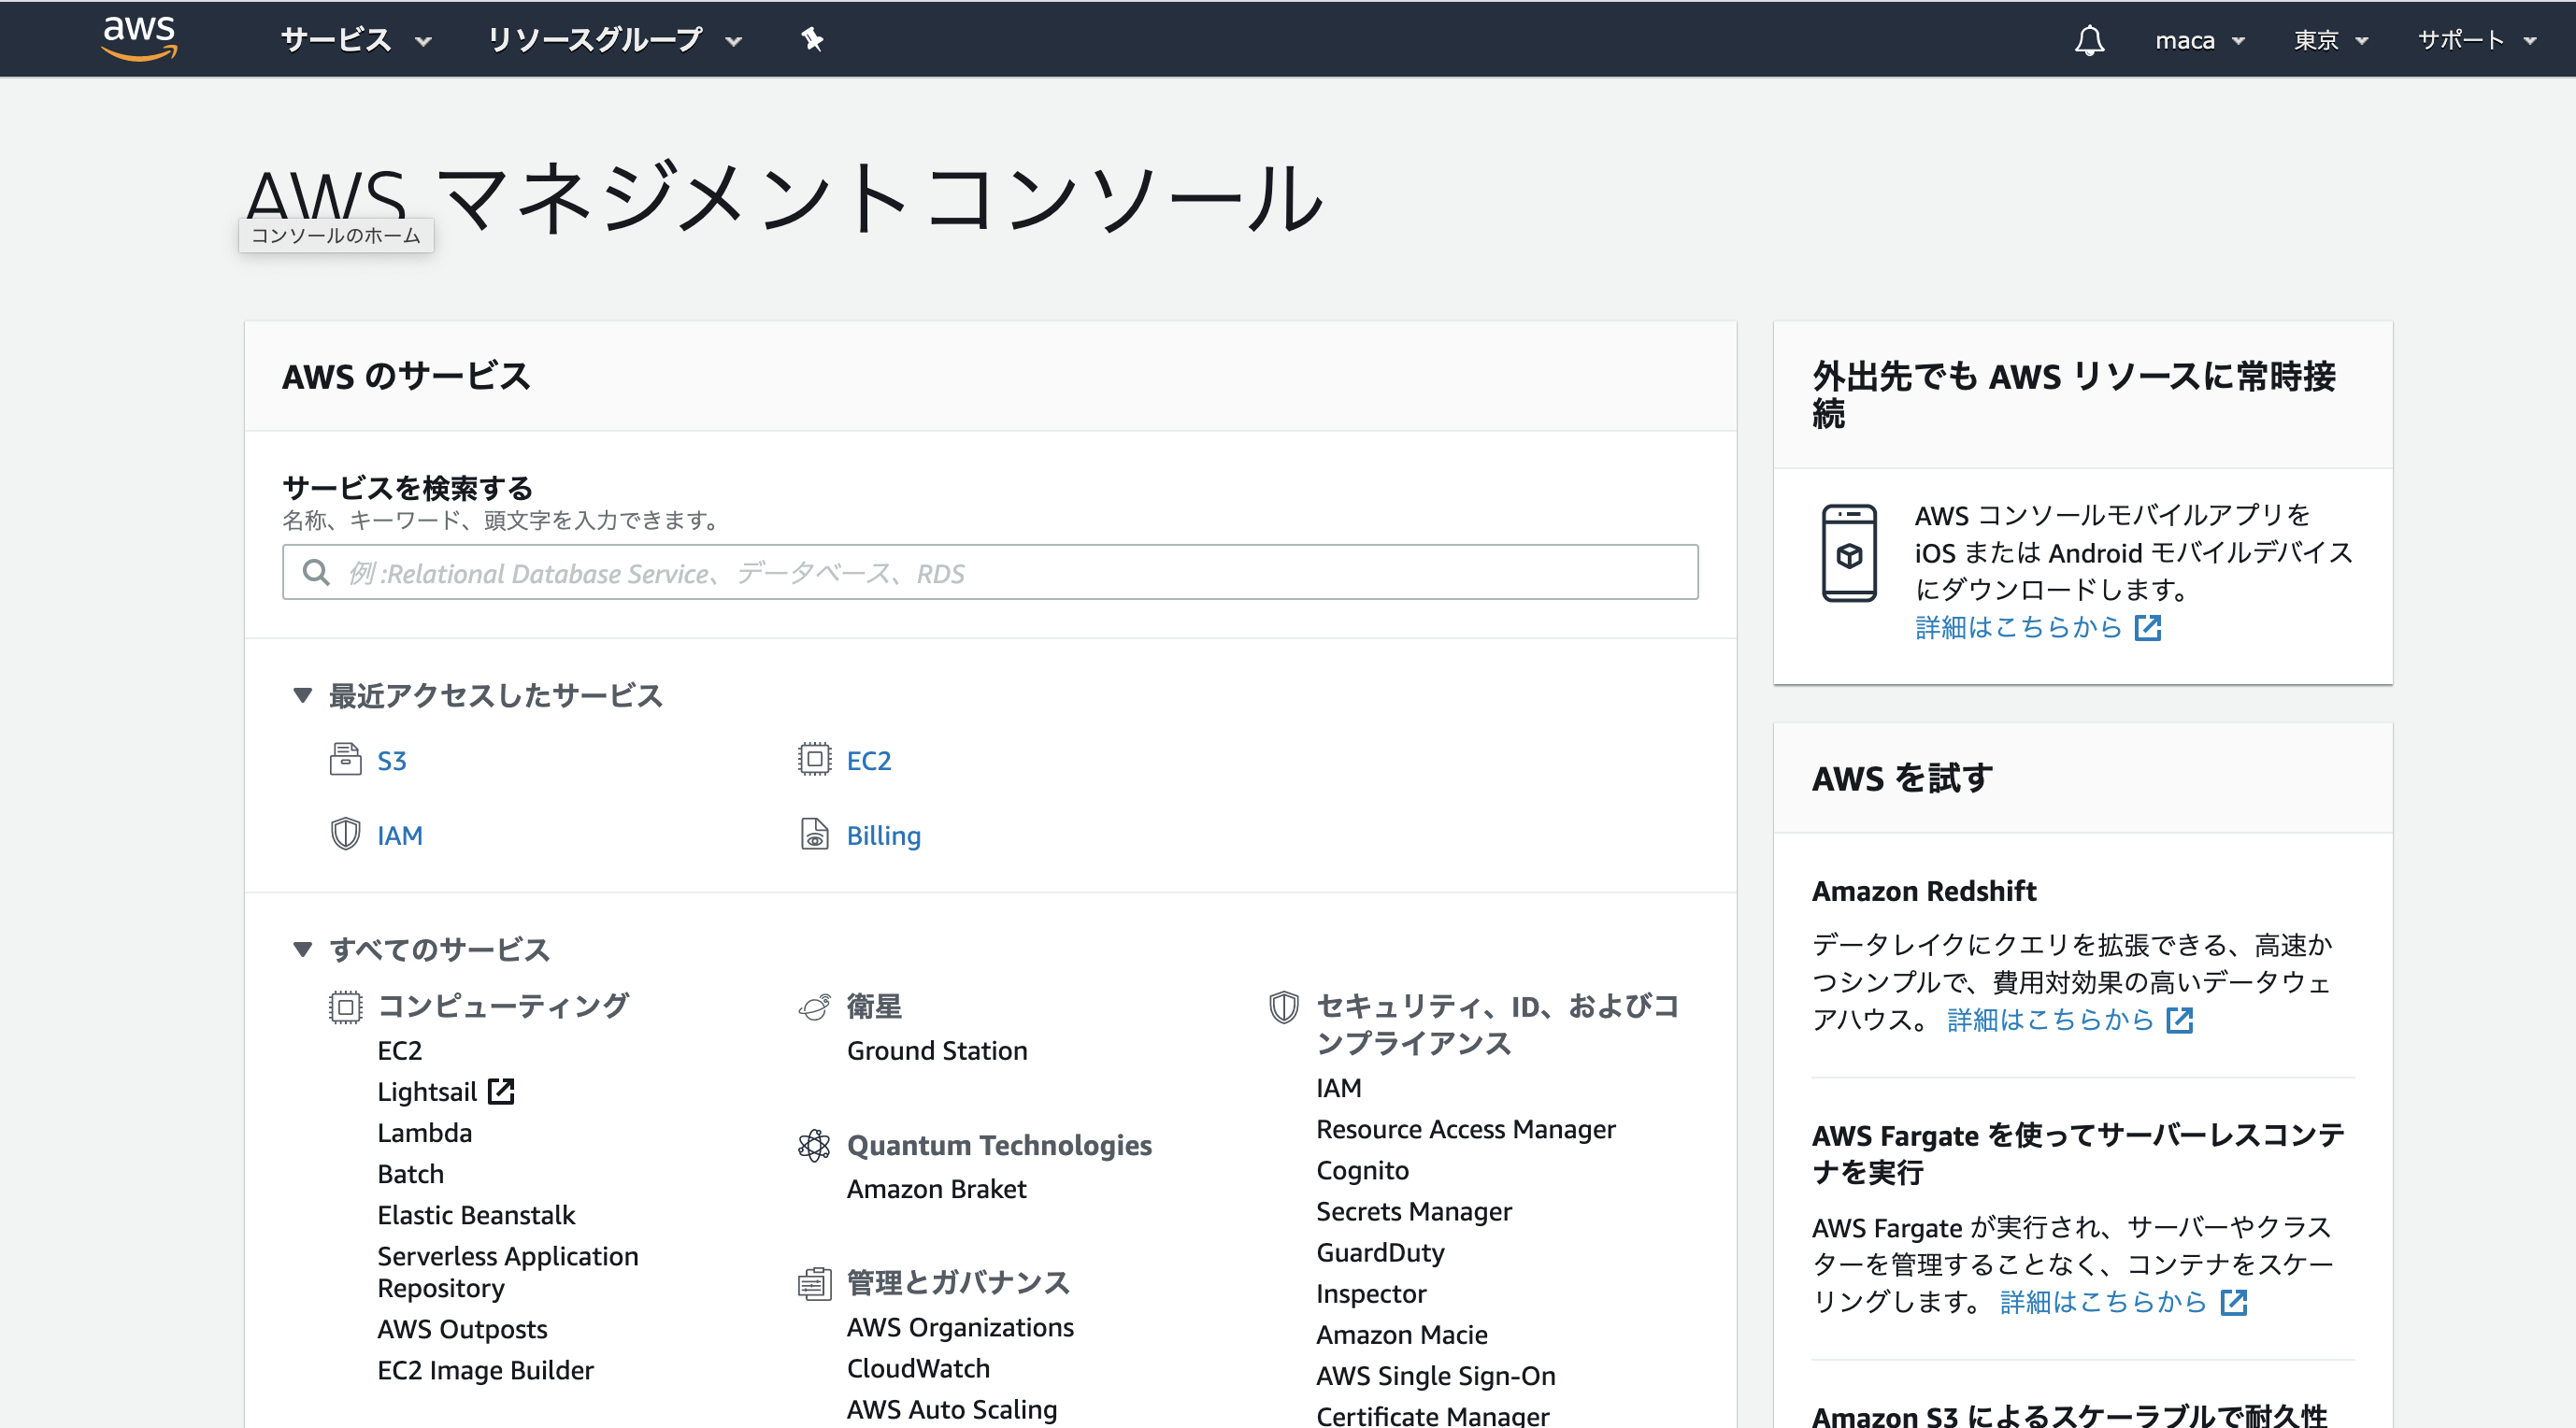
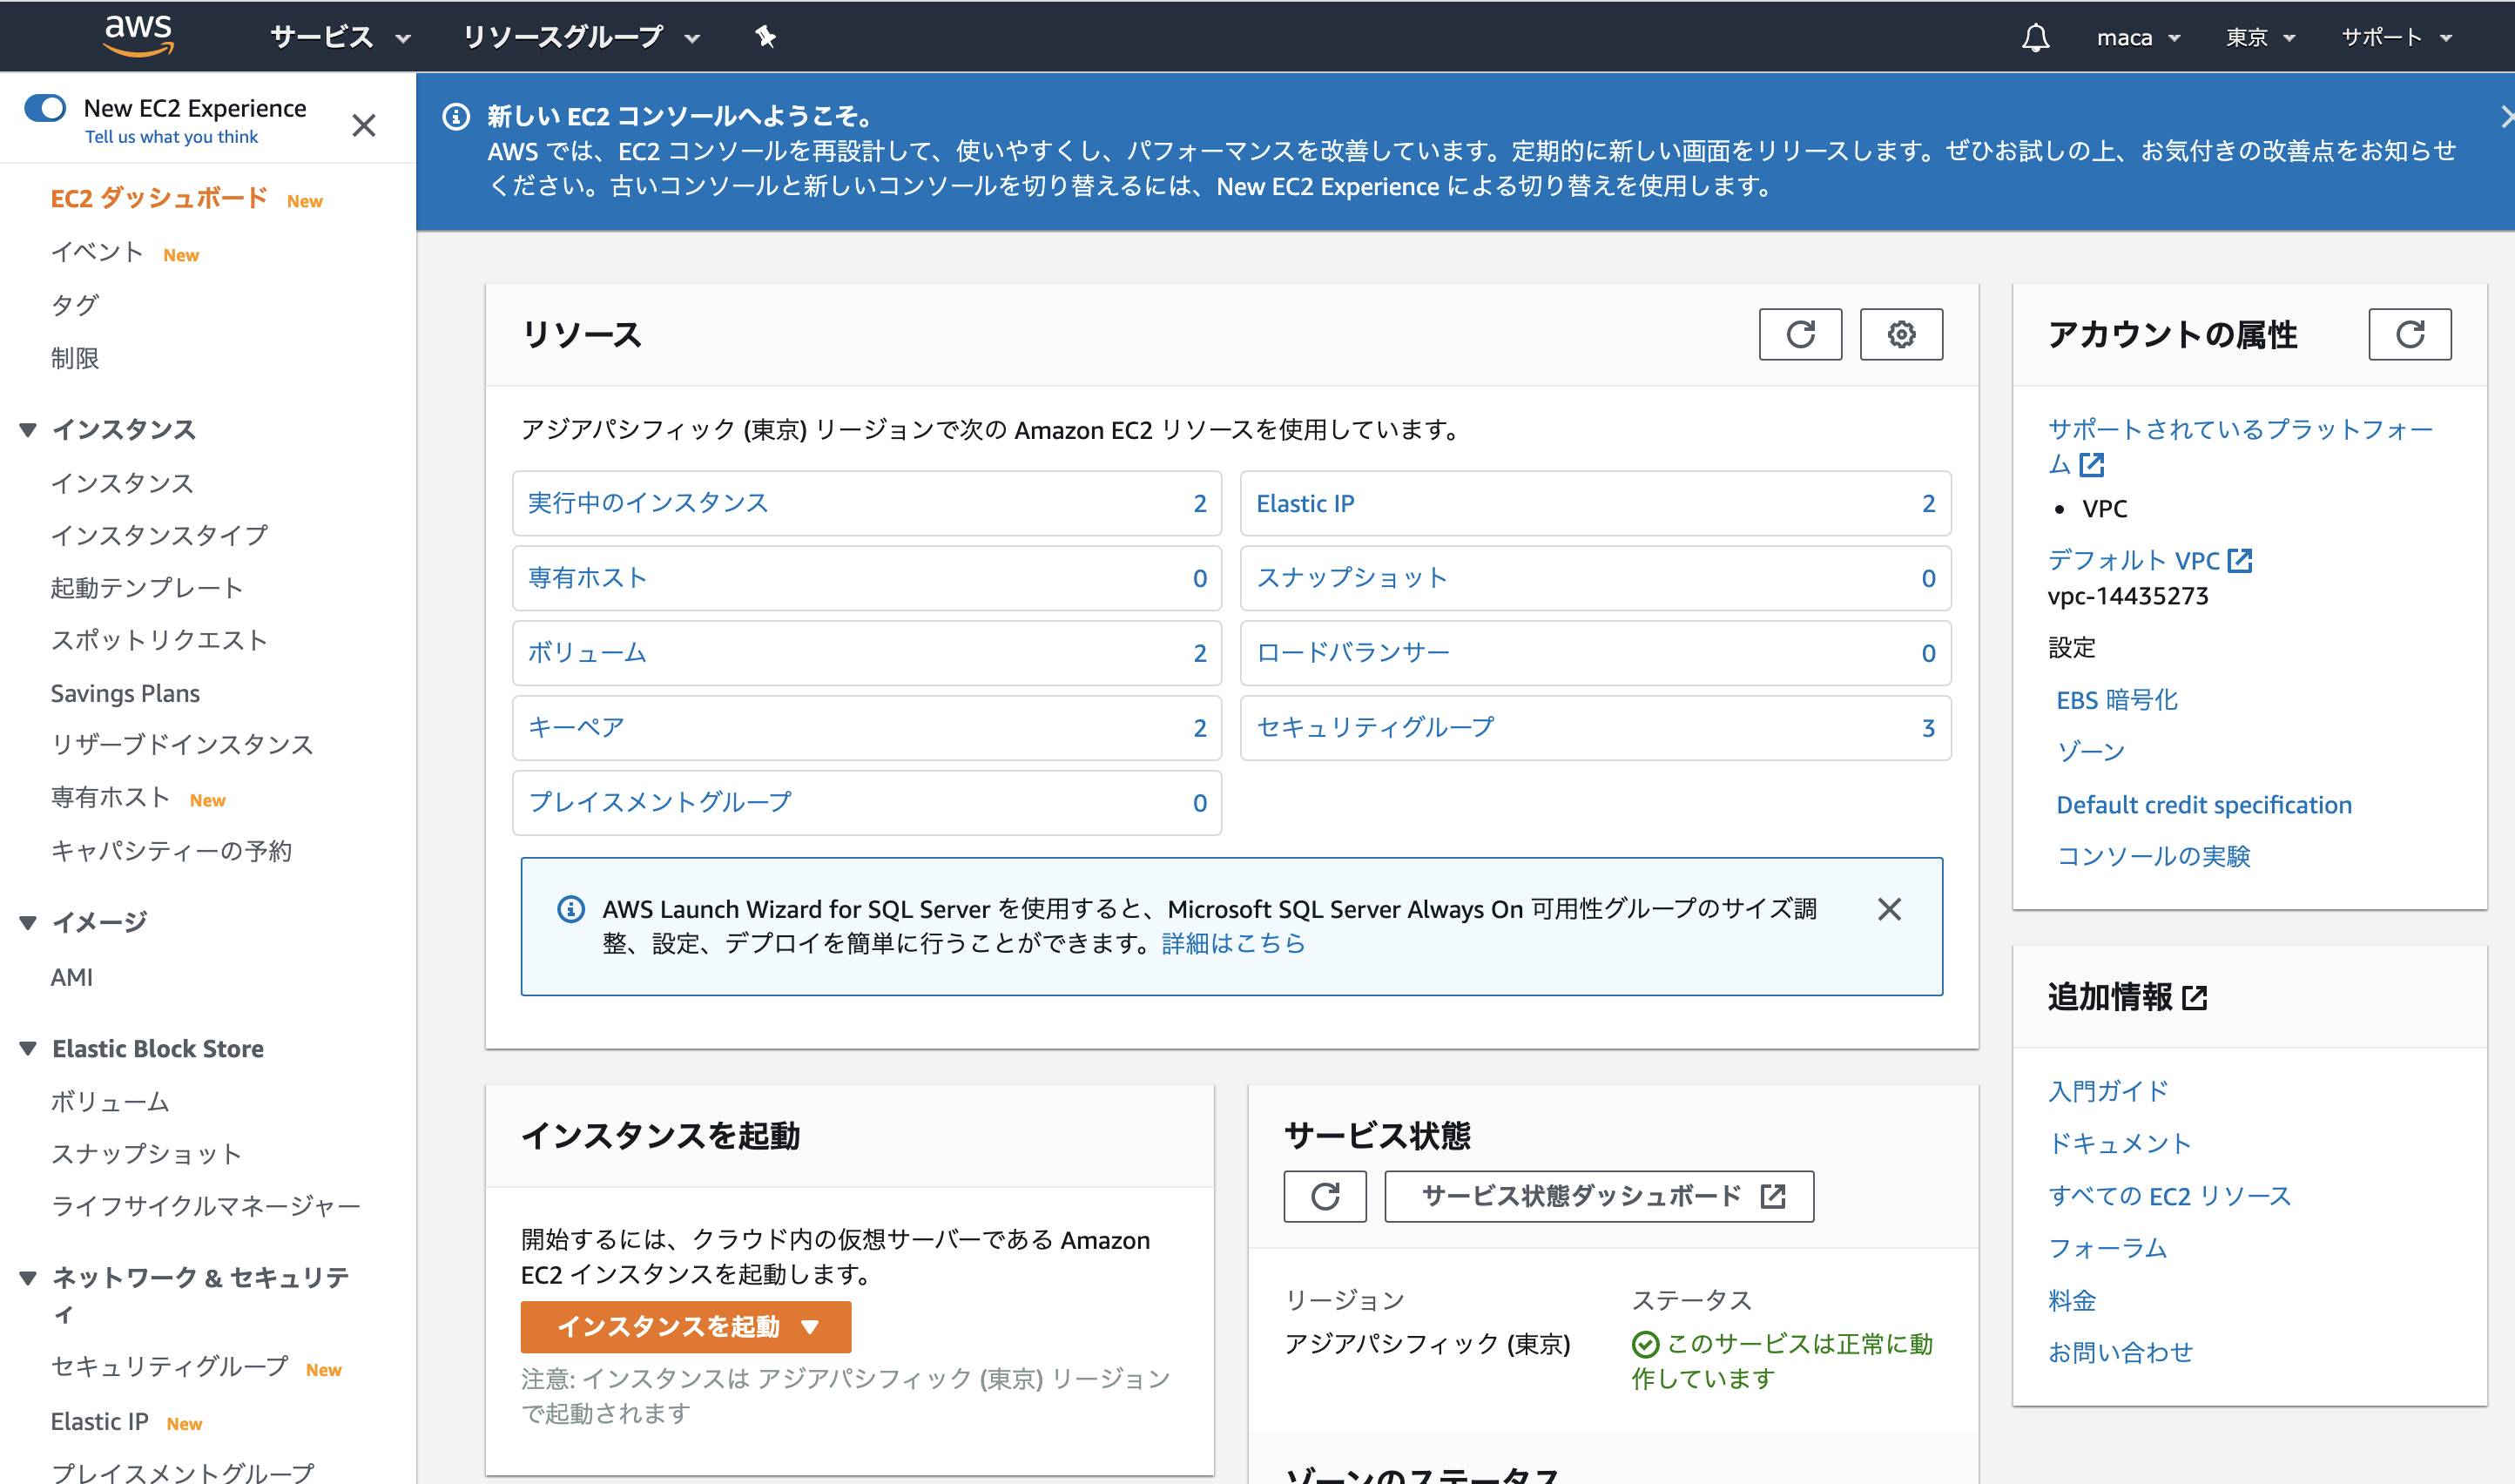
Log in to your AWS account, and when you reach the top page, select "EC2" from "Services" in the upper left.
Click "Launch Instance"
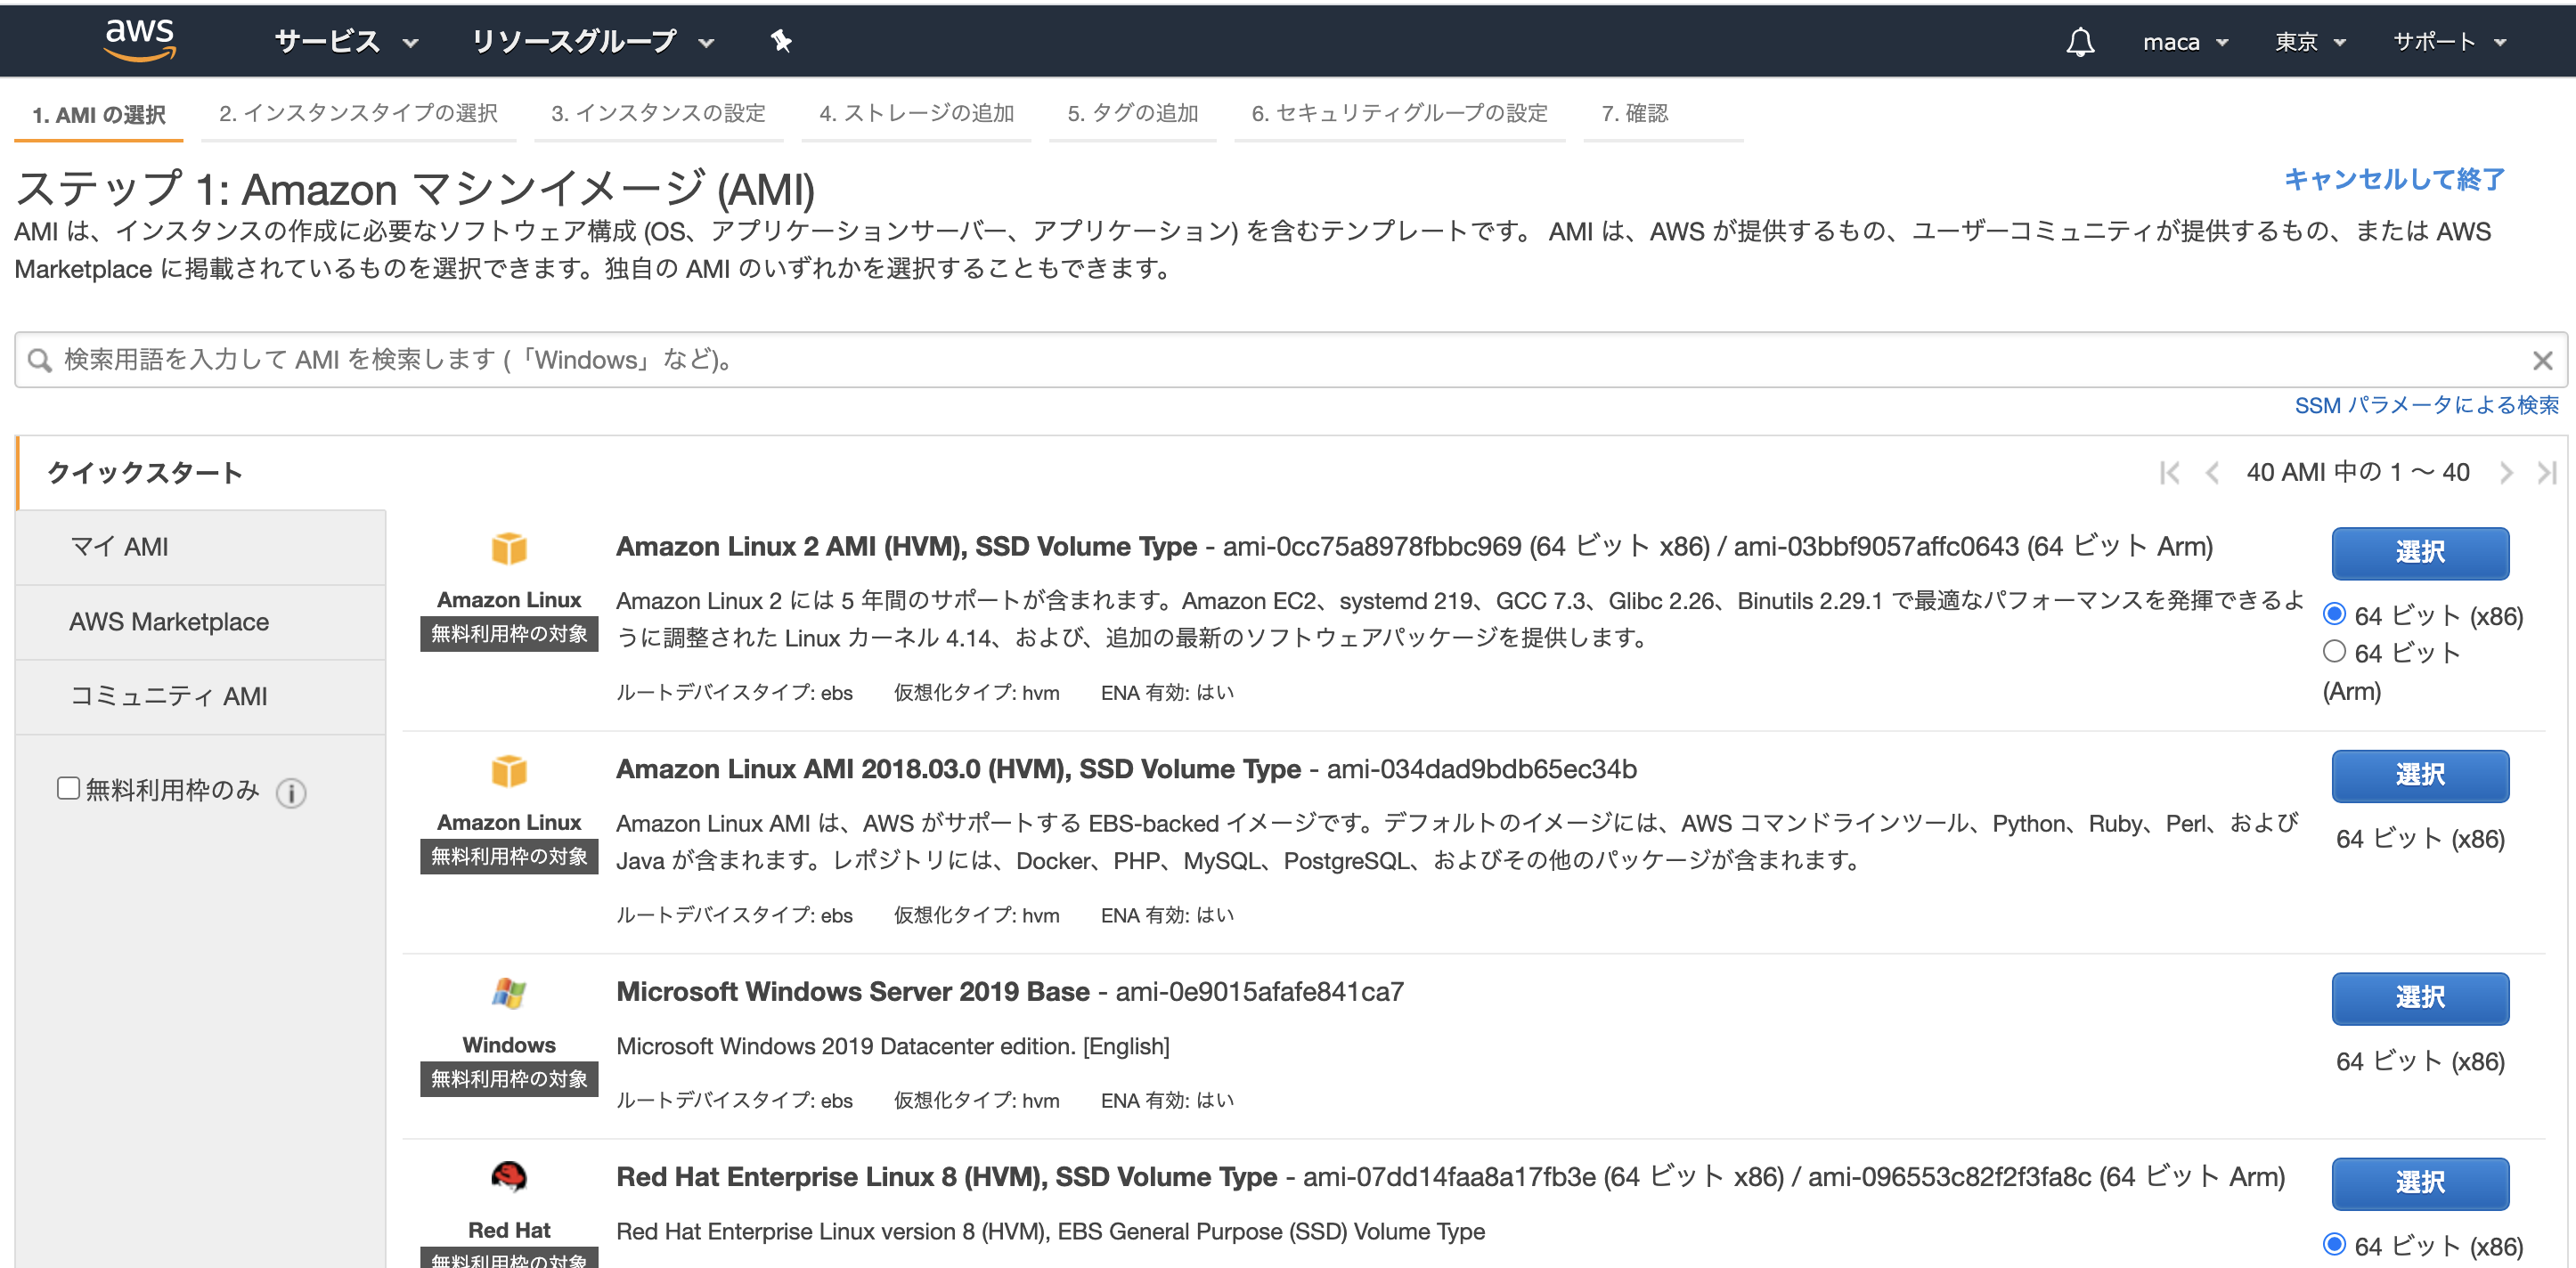
Then select something called "AMI". AMI is an abbreviation for "Amazon Machine Image" and is data that stores the entire server data. Some of them have "OS" installed in advance, so you can reduce the trouble of installing various tools from scratch.
Select "Amazon Linux 2 AMI"
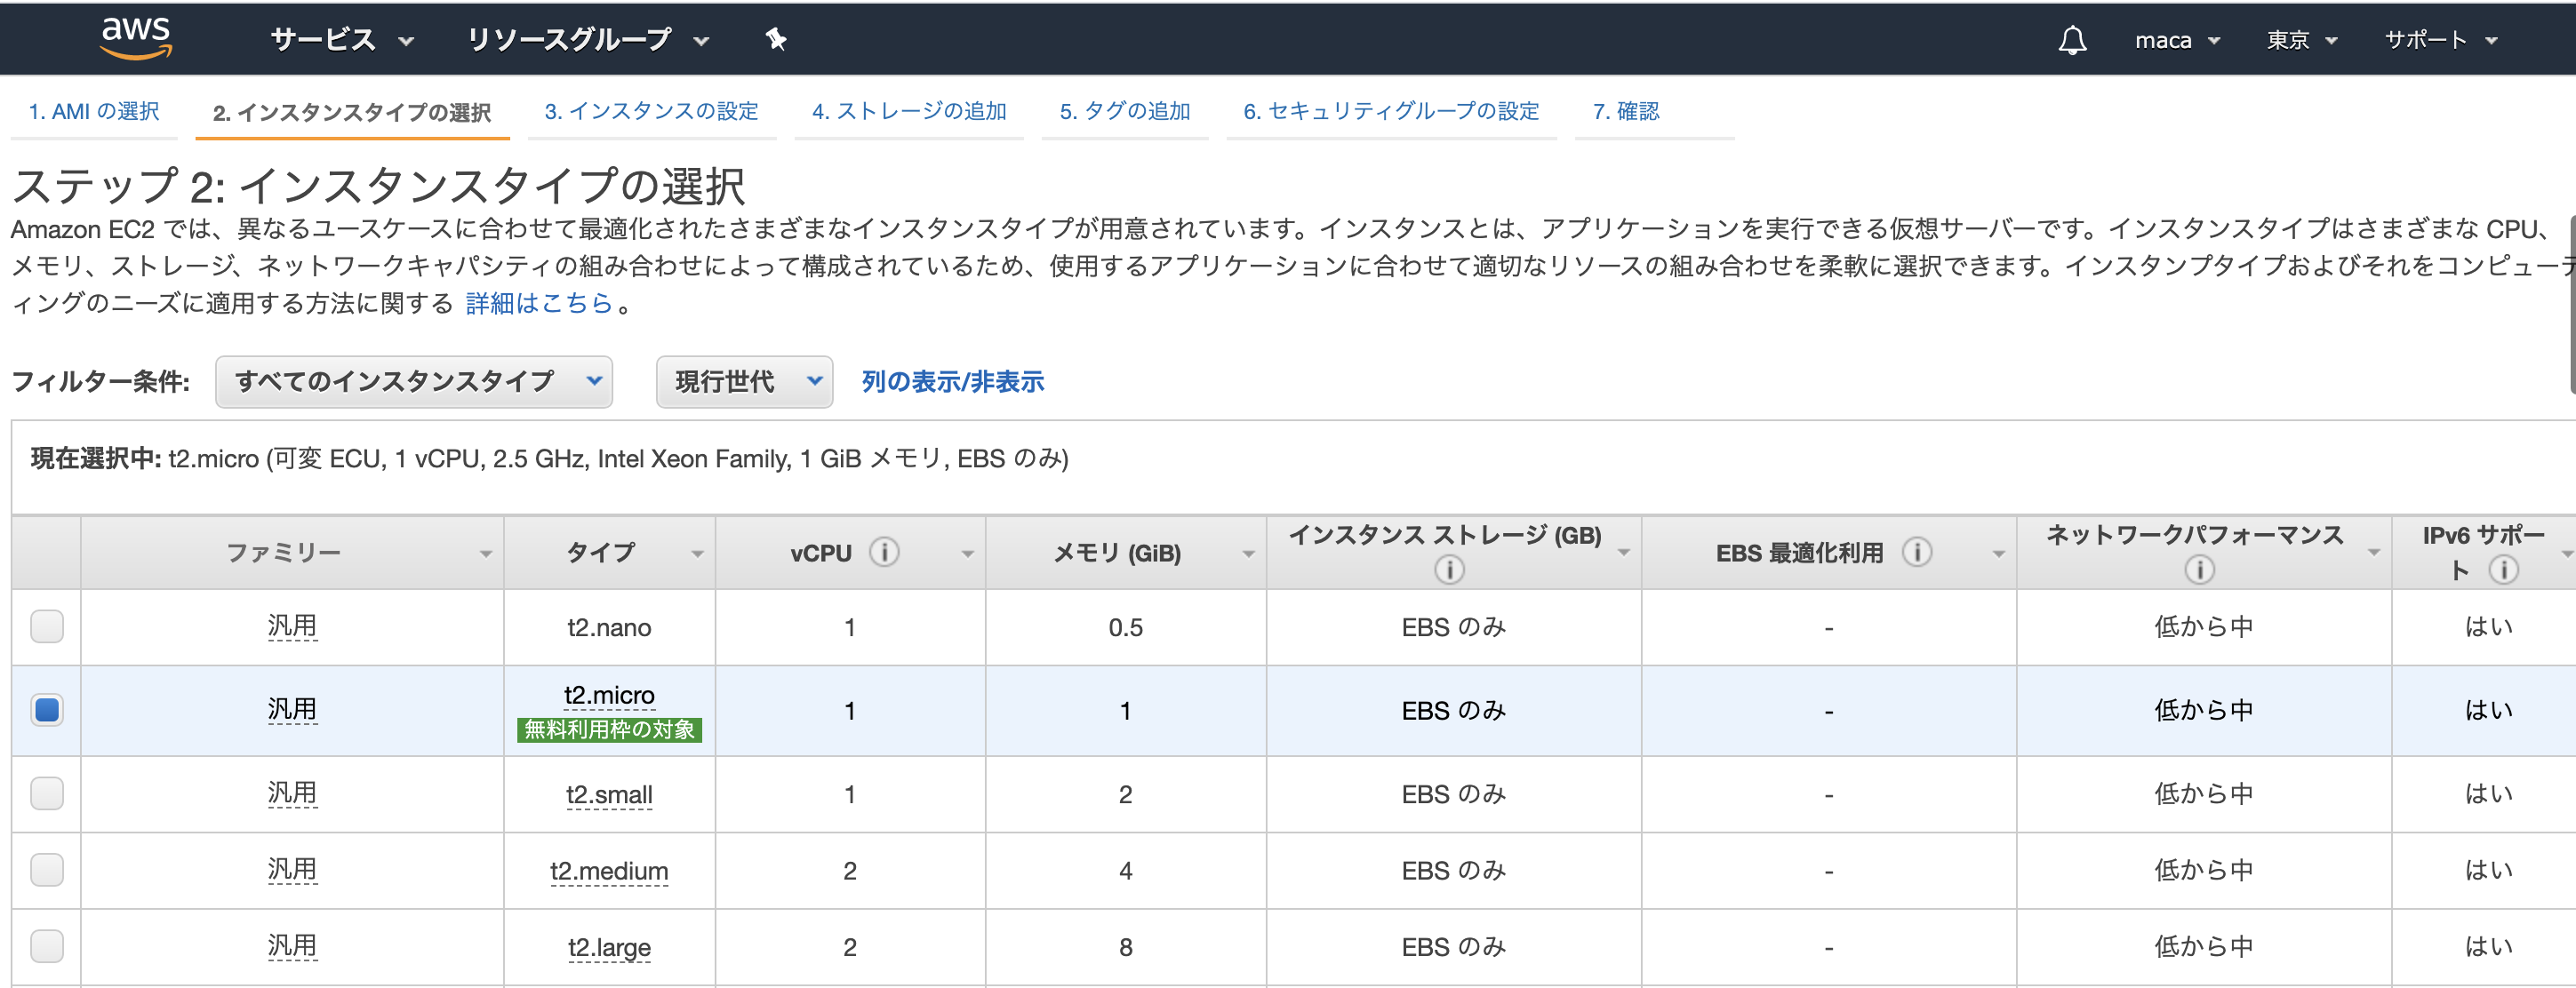
Then select "EC2 Instance Type"
This time, select "t2.micro" that can be used in the free frame and click "Confirm and create"
After the screen transition, click "Start" at the bottom right
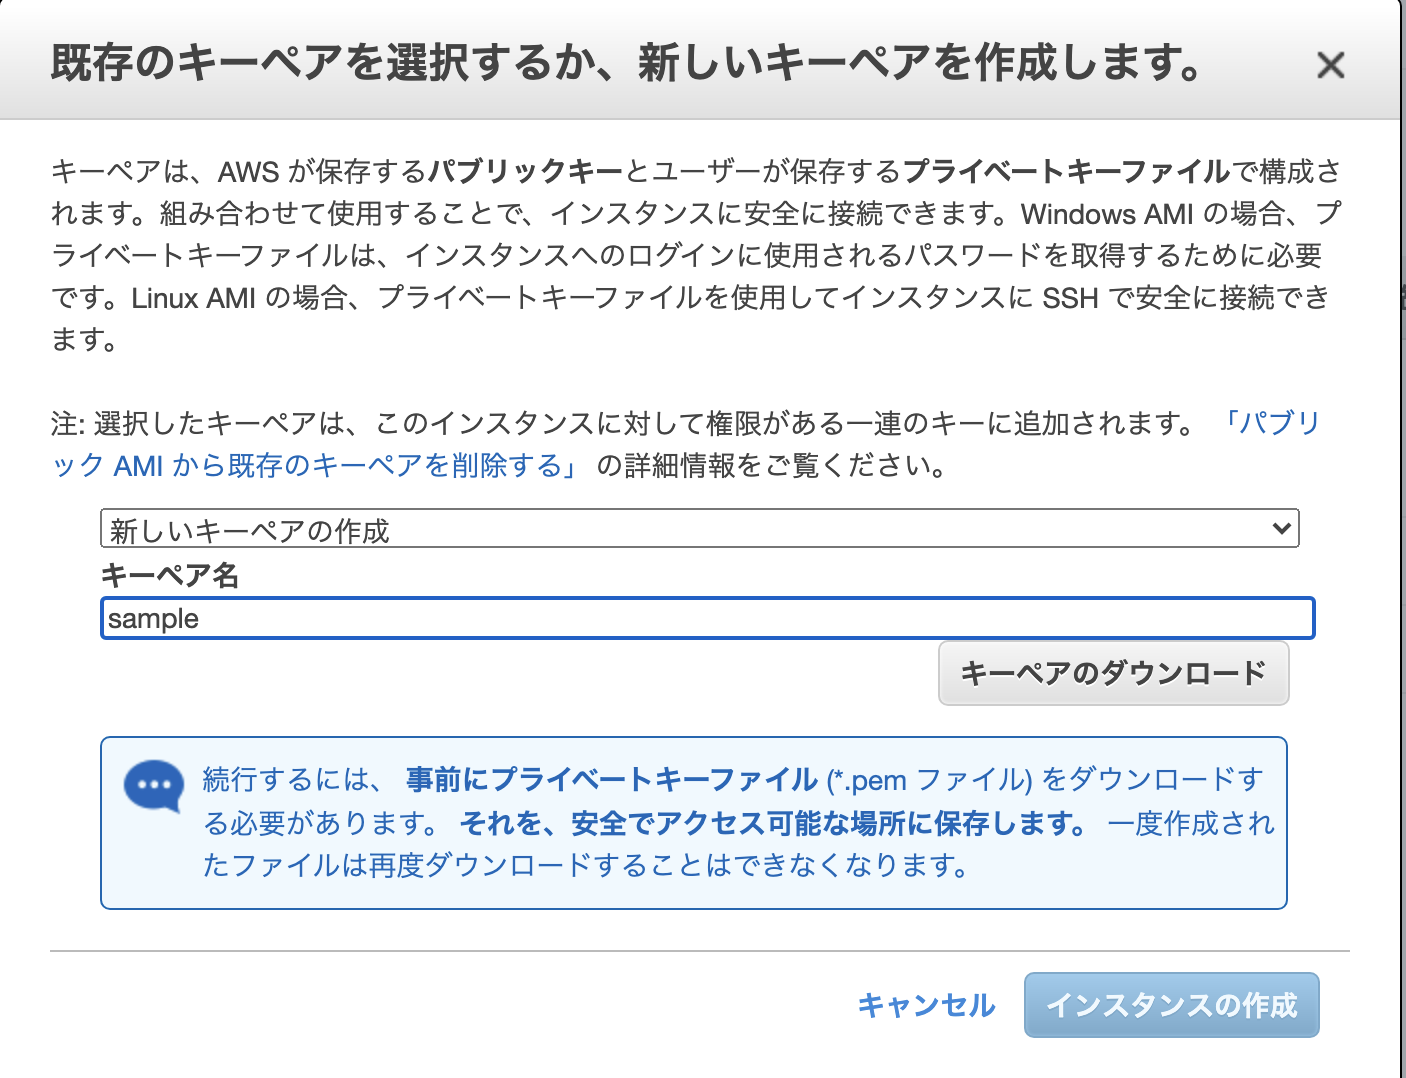
Next, download a "key pair". A key pair is a "private key" that you need to log in to your instance.
Select "Create new key pair" and enter the name of the key pair
Then click "Download Key Pair"
When the key pair download was completed, it was in a state where it could not be clicked "Create Instance" is changed so that it can be clicked. Click on it to create an EC2 instance. Then, the screen will change to the completion screen.
Click "View Instances" at the bottom right to return to the "Instance List Screen".
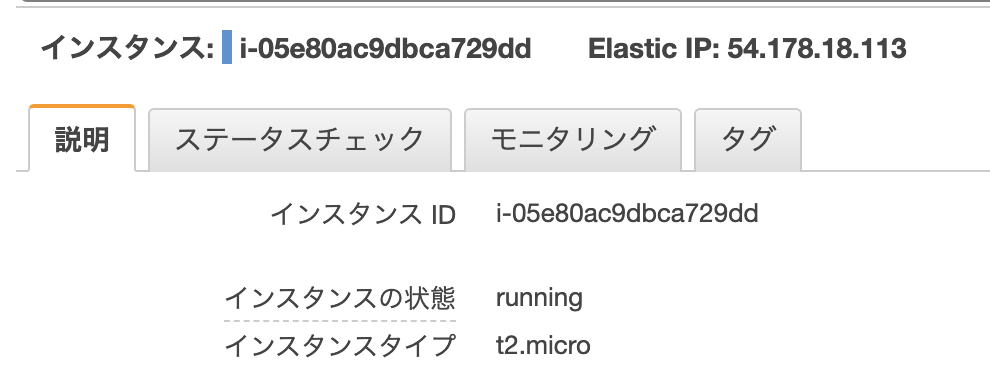
Copy the created "instance ID" and make a note of it in a memo app.
Ready to start the server
The IP address is automatically assigned to the "EC2 instance" created earlier, but The disadvantage is that this public IP changes every time you restart the server.
"Elastic IP" solves this problem.
Elastic IP is a fixed "public IP address" assigned by AWS. By associating this public IP address with an EC2 instance, regardless of whether the instance is started or stopped It is possible to always communicate with the same IP address.
Click "Elastic IP" from "Network Security" on the left side, and click
Click "Assign Elastic IP Address" in the upper right
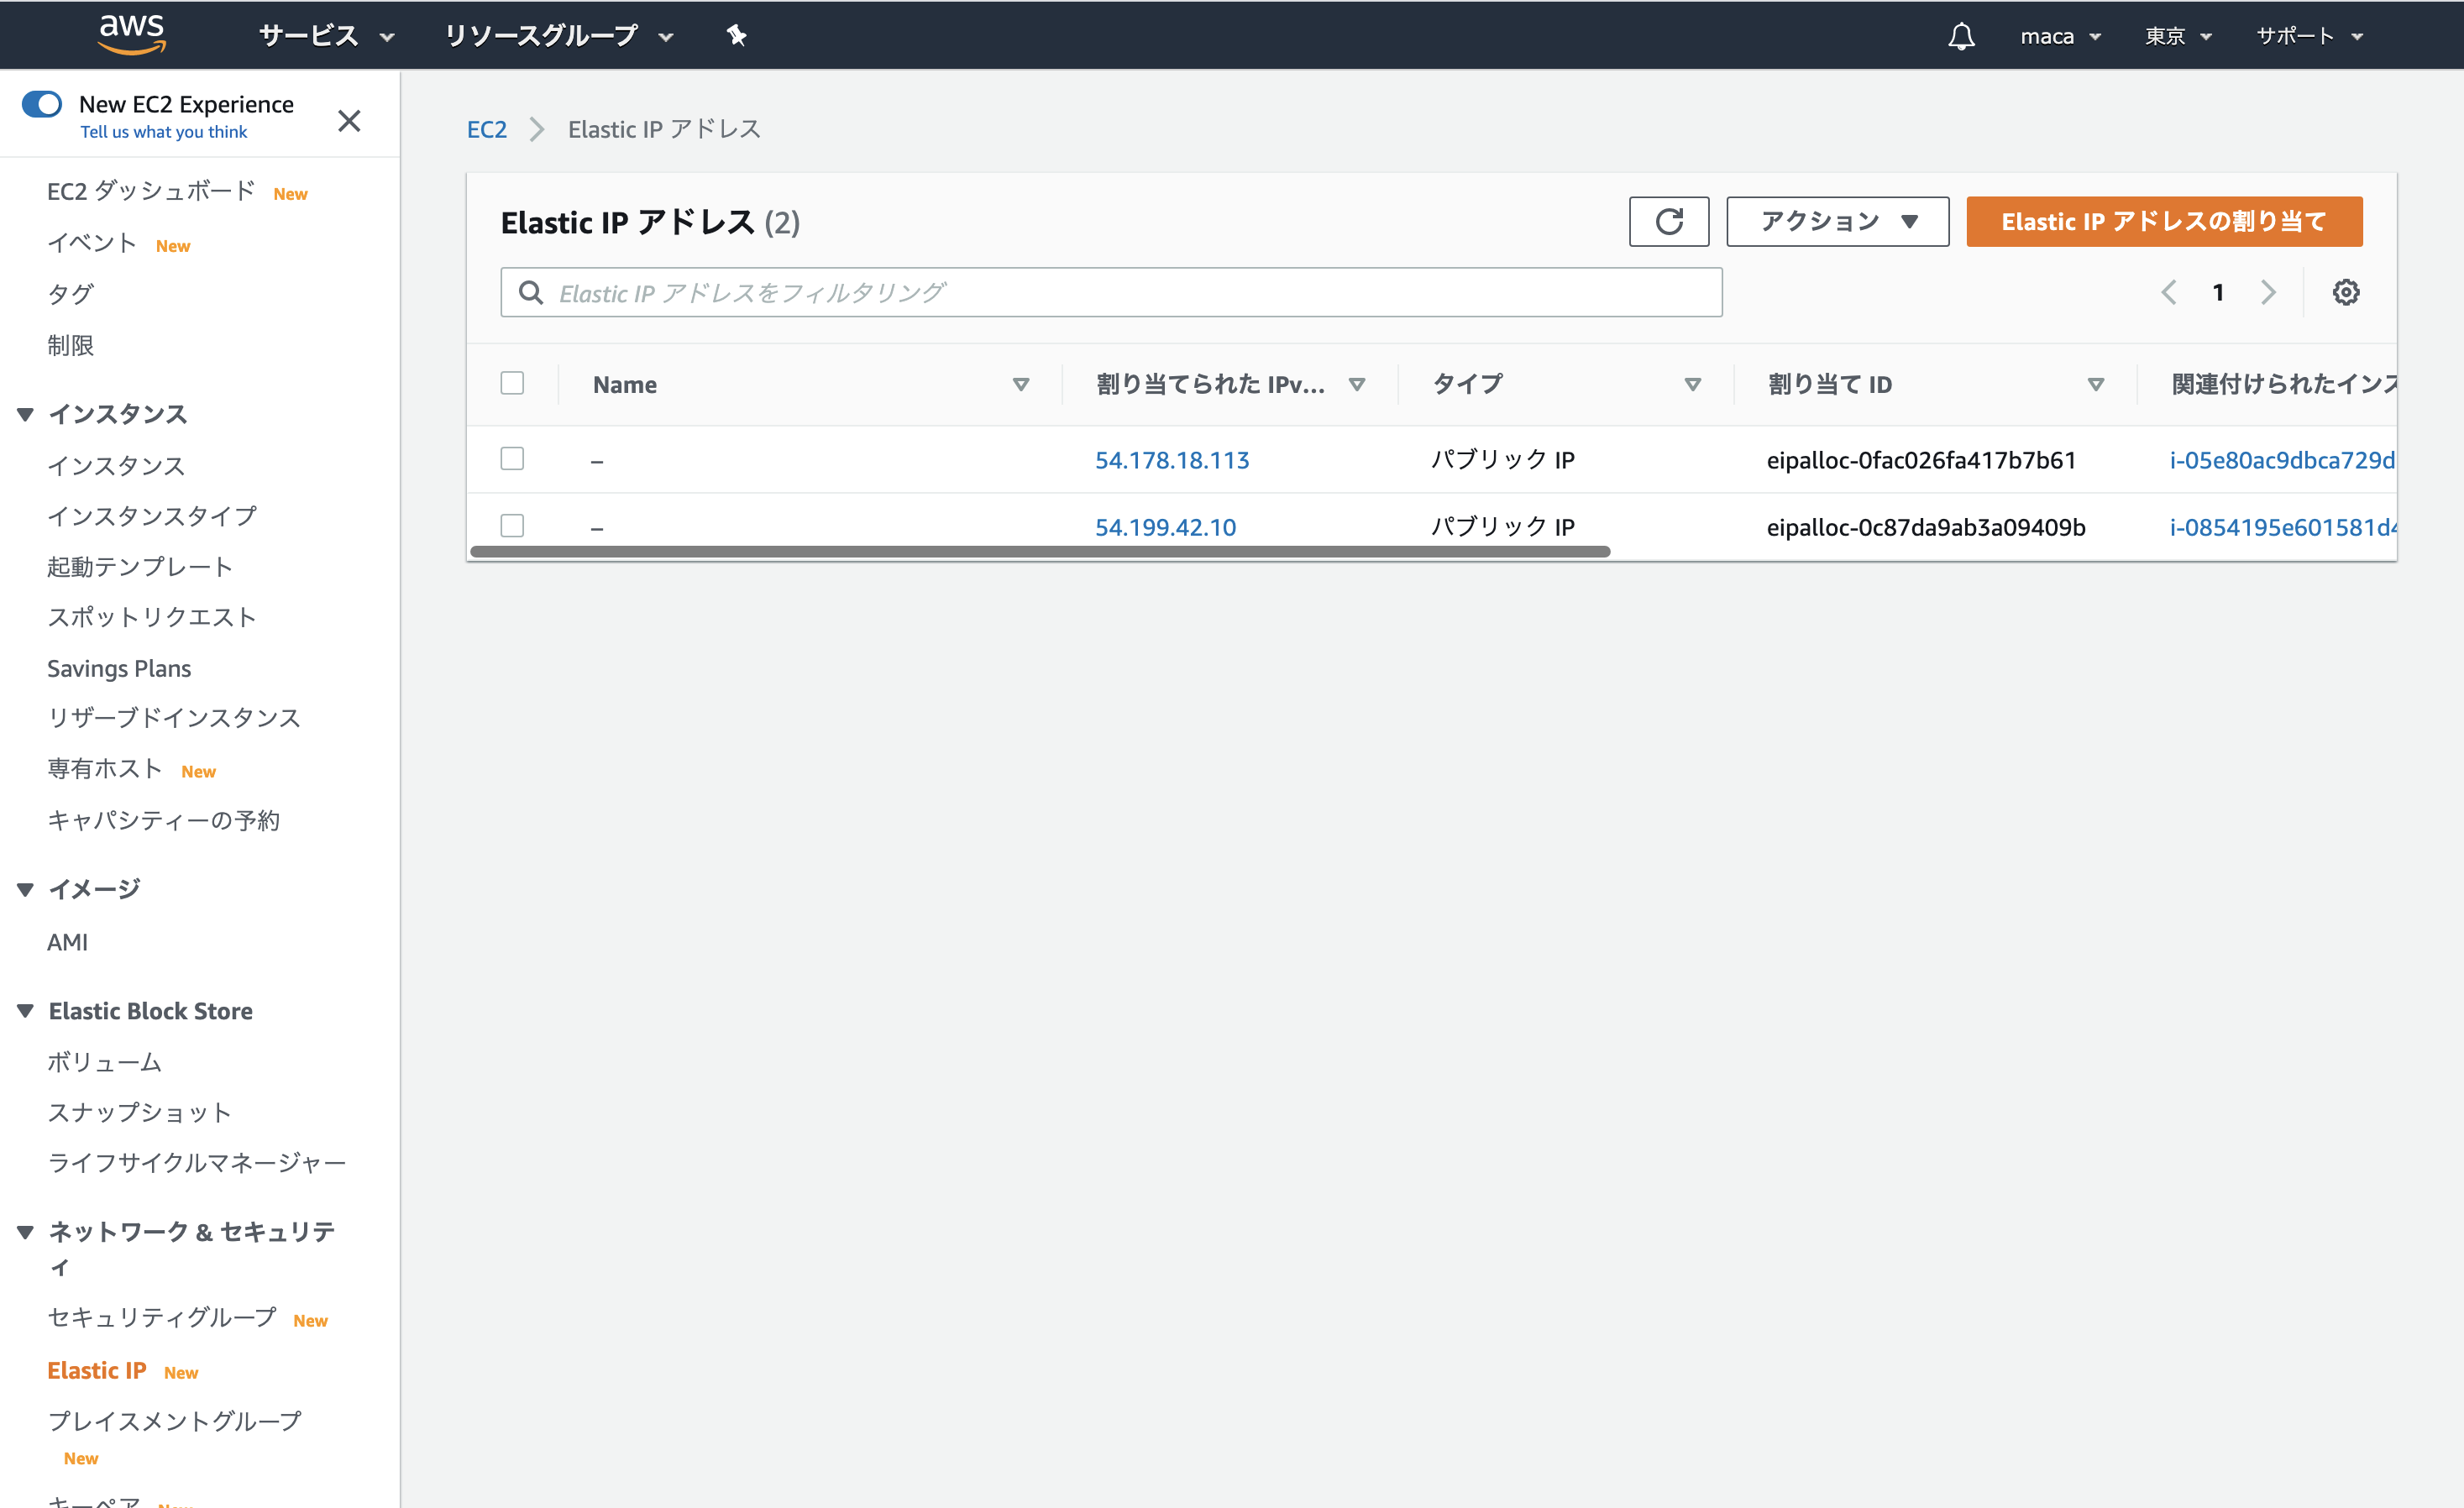
Select "Amazon's IPv4 address pool when the screen changes" and click "Assign"
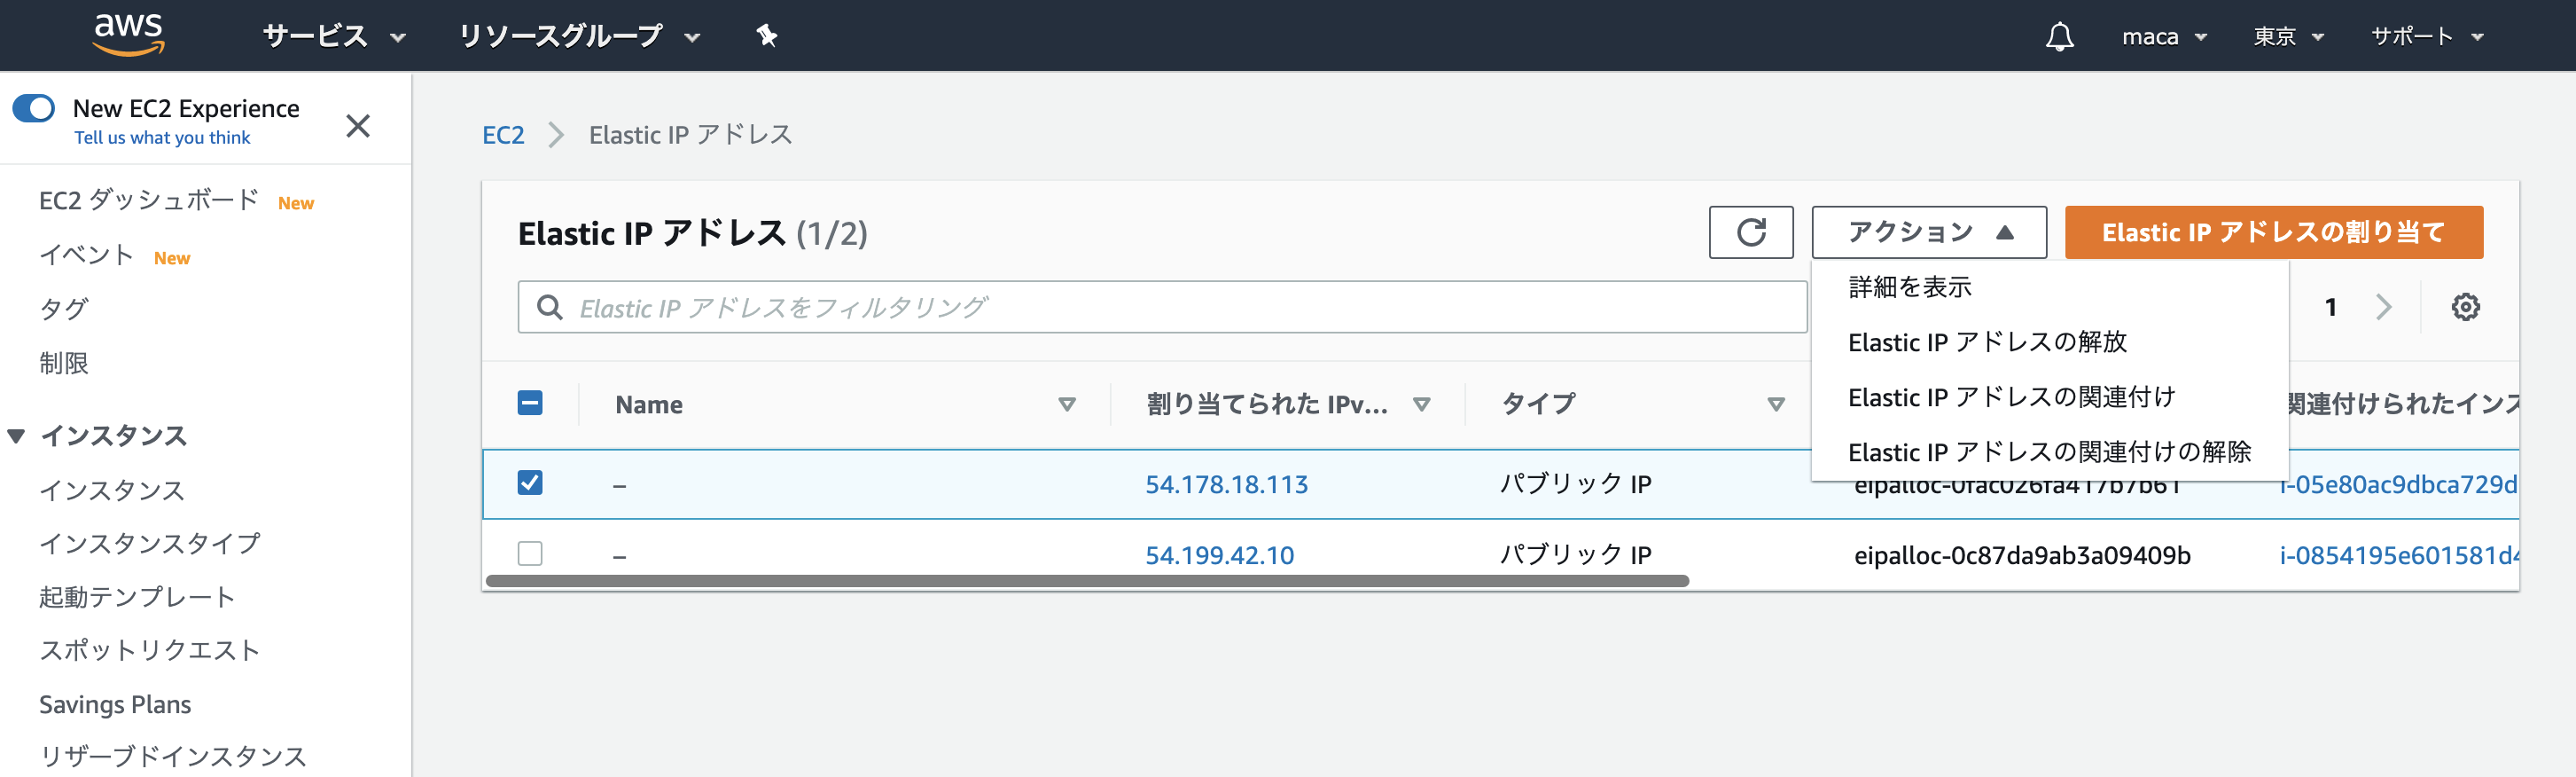
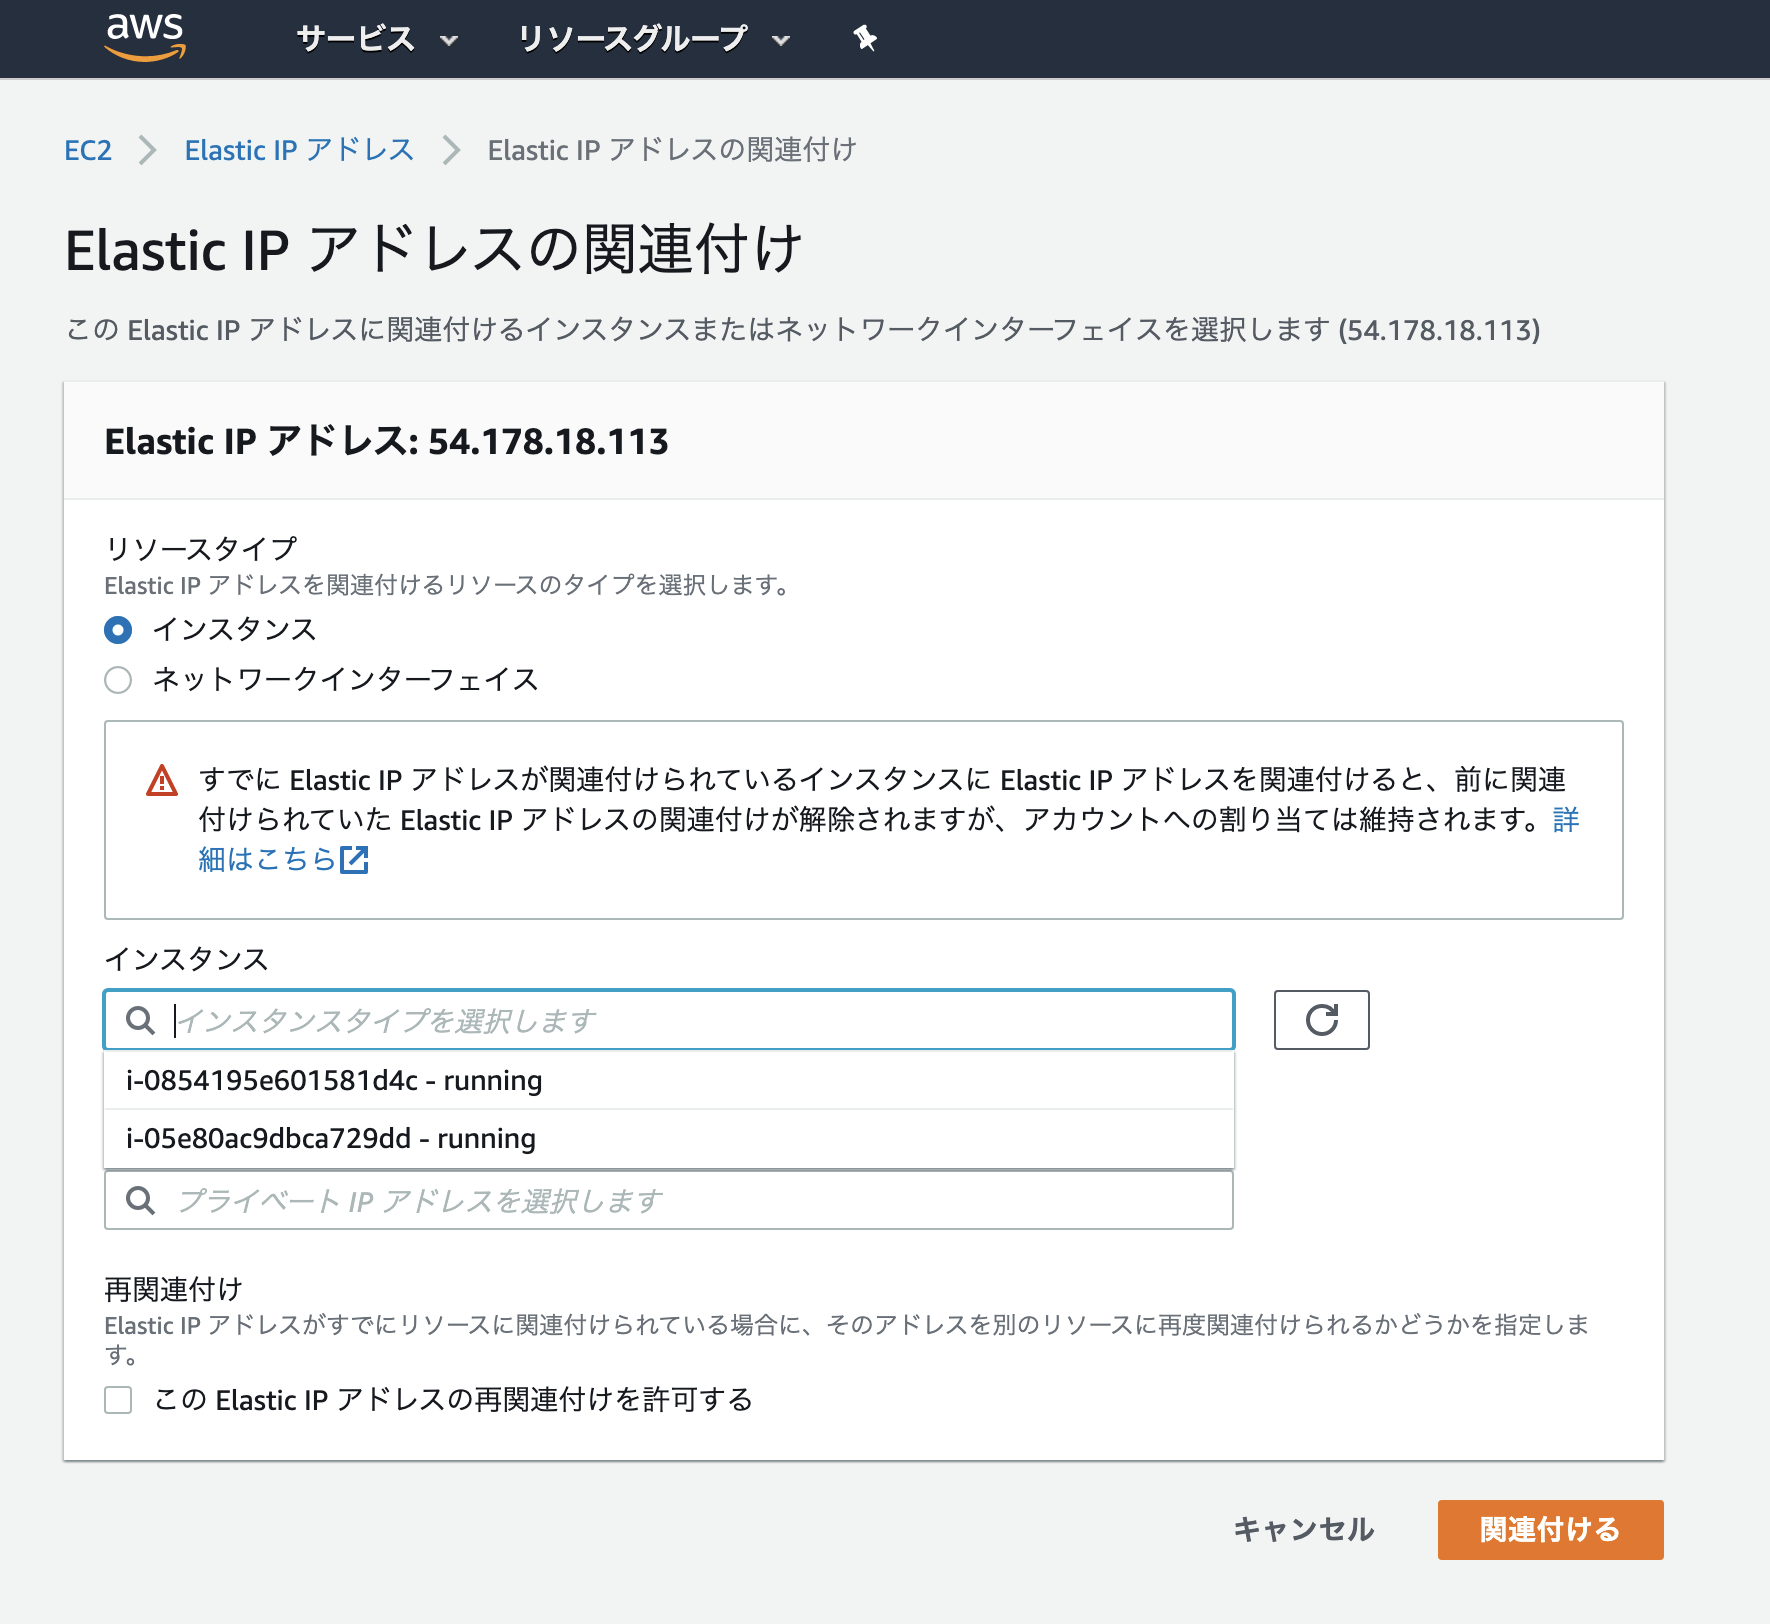
Next, associate the "acquired Elastic IP address" with the "EC2 instance".
Click Actions in the upper right and select Associate Elastic IP Address
[ ]
(https://gyazo.com/4f12c9f892752cb684b6296f9dd02669)
]
(https://gyazo.com/4f12c9f892752cb684b6296f9dd02669)
When the screen changes, select the instance you noted earlier in the instance search window.
Leave "Private IP Address" blank and click "Associate" at the bottom right
 .
.
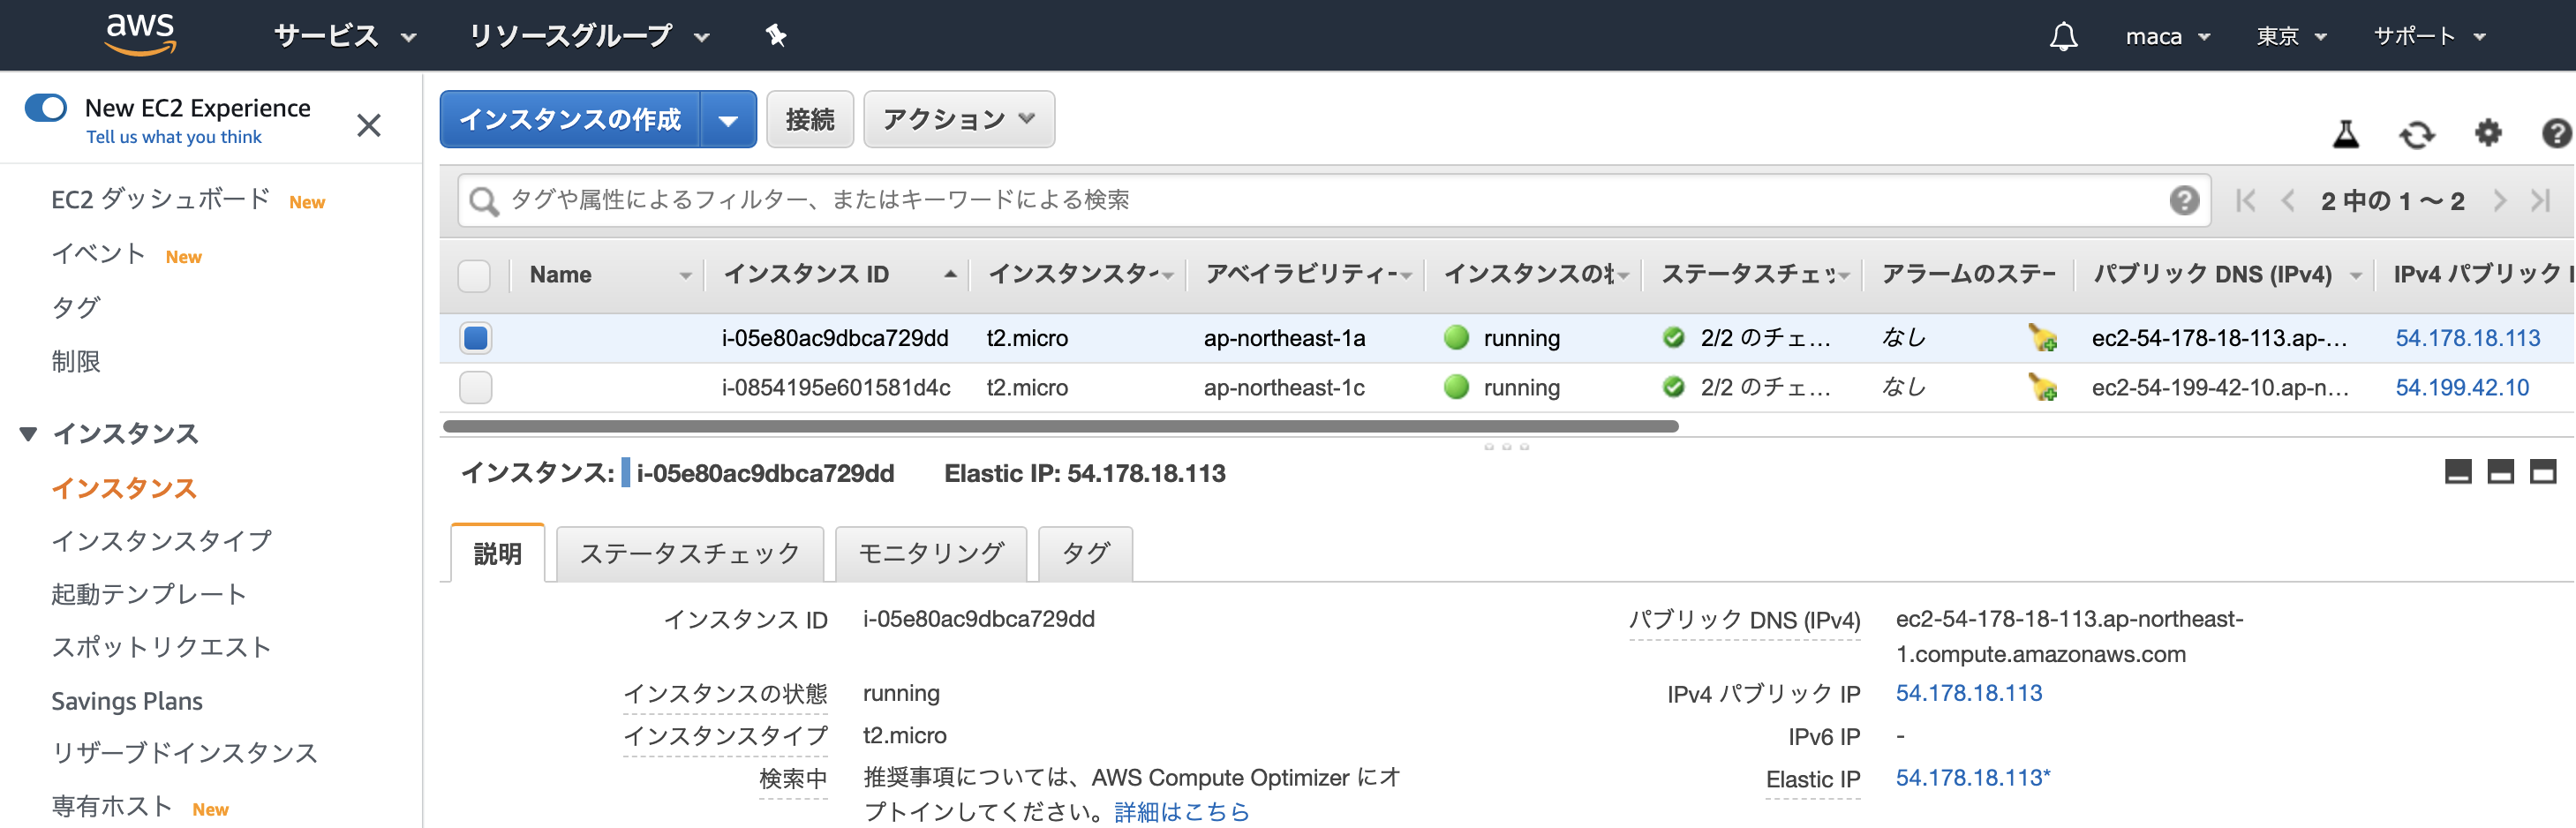
Return to the instance list screen again and check that the "Elastic IP" of the created instance is set.
"Elastic IP" is set at the bottom right of the image.
Change EC2 instance settings
The EC2 instance you just launched can be accessed with "ssh", No other connections, such as HTTP, are connected. Therefore, the EC2 instance used as a server is It is necessary to open the "port" so that HTTP can be connected in advance.
"Ssh" is used when you want to work in a remote server. You can securely communicate with remote servers using encryption and authentication technologies.
Set security group port
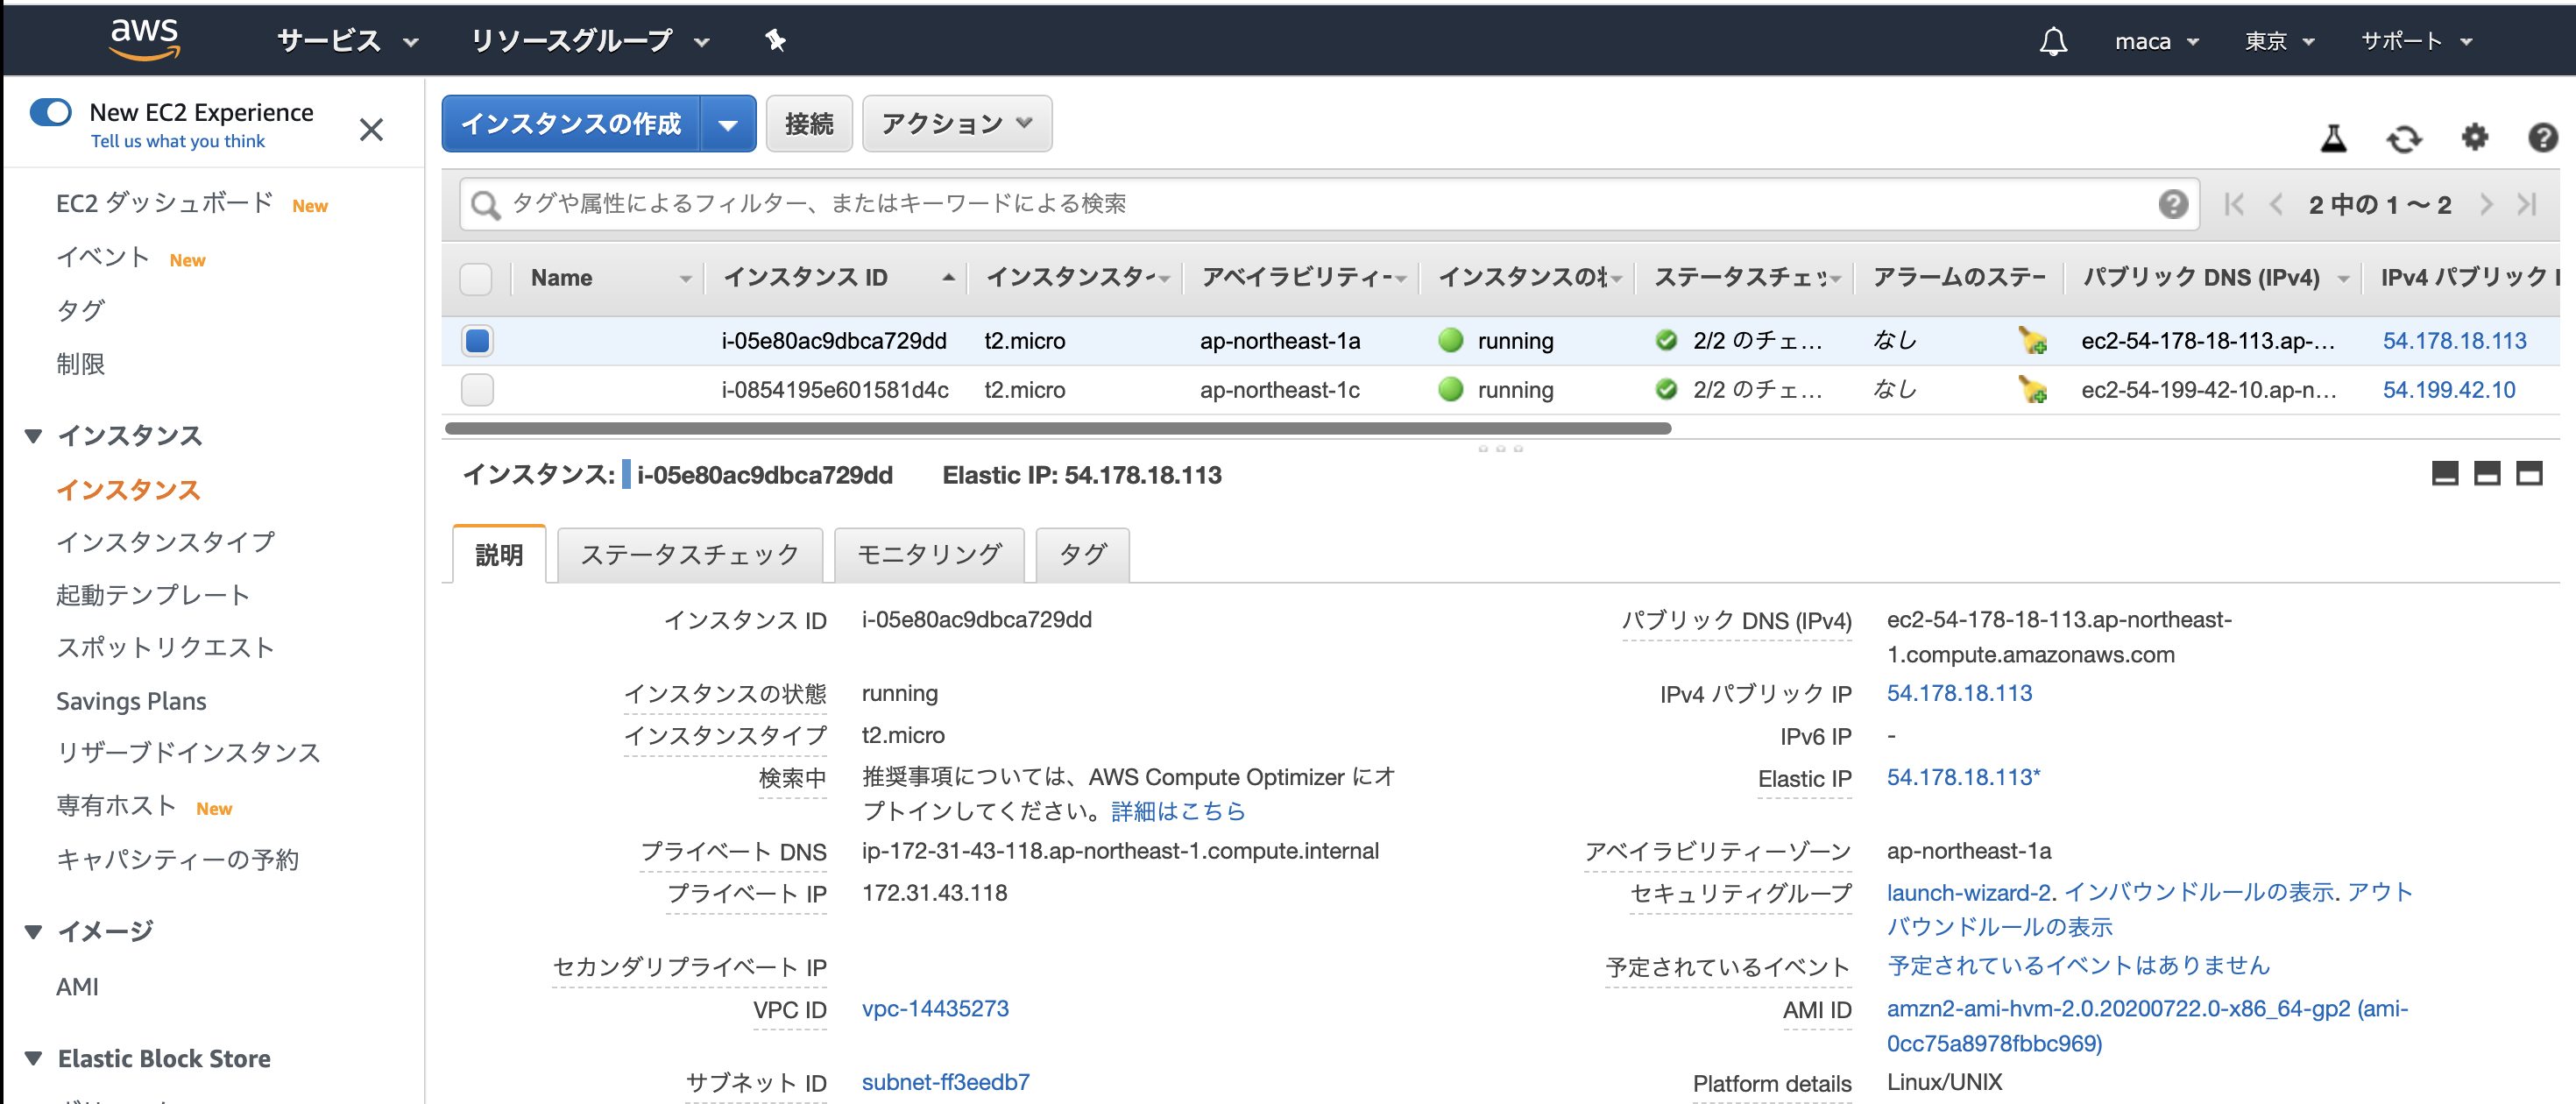
Select the created instance from the EC2 instance list screen and select it.
Click the "Security Group" link ("launch-wizard-1" in the figure)
Since it will transition to the setting screen of the security group to which the instance belongs,
Check "launch-wizard-1" displayed in the security group.
Click "Inbound Rules" and then click "Edit Inbound Rules" in the upper right.
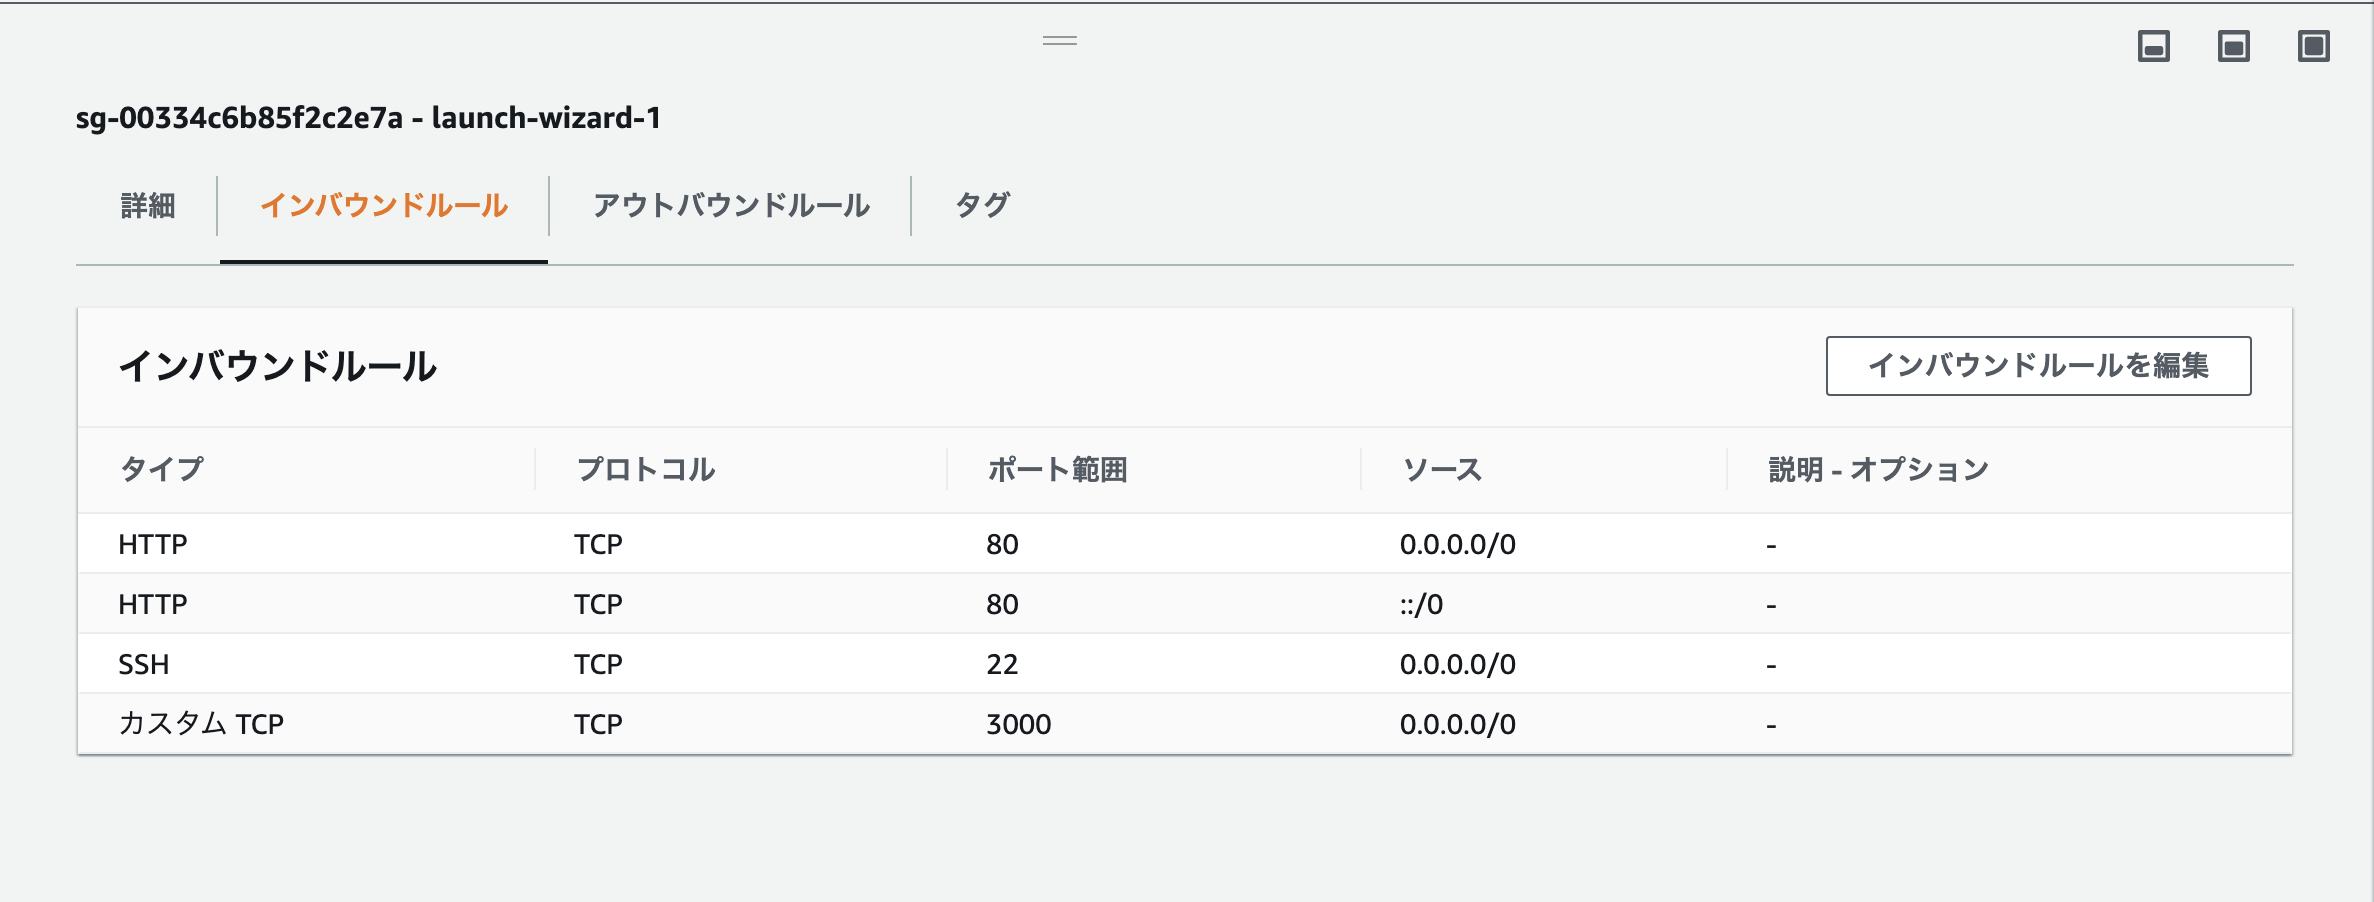
The page will switch, so click "Add Rule" Select "HTTP" as the type and check the information such as the port number. Select "0.0.0./0" from the magnifying glass mark next to the custom. After selecting, select ":: / 0" from the magnifying glass again.
- Be careful not to lose the existing "ssh settings"
Finally, press "Save Rule" at the bottom right to complete the port opening
Log in to your EC2 instance
When you create an EC2 instance, an ssh private key corresponding to the user "ec2-user" is generated.
Execute the following command in the terminal
% cd ~
% mkdir ~/.ssh

# .Create a directory called ssh
#Even if you get an error saying File exists.ssh directory exists
% mv Downloads/The name of the downloaded key.pem .ssh/

#Use the mv command to download the pem file from the download directory..Move to ssh directory
#The "Downloaded key name" part is "~" from the download folder in Finder..Find the file "pem" and replace it with the name of the "~" part
% cd .ssh/
% ls

#Check if the pem file exists
%chmod 600 The name of the downloaded key.pem

#Search for "name of downloaded key" from the download folder
% ssh -i Downloaded key name.pem ec2-user@Elastic IP associated with the created EC2 instance

#Check the "Elastic IP associated with the created EC2 instance" from the AWS instance
When you execute the ssh connection (the following command), the following message may be displayed, but enter "yes" and execute it.
EC2 Amazon Linux AMI
If it is displayed as big, it is successful.
Installation of tools required for configuration
First, use a command called the yum command to update the original program on this server.
The "yum command" is a software management mechanism in Linux that plays the same role as homebrew for MacOS. By using the yum command, you can manage the version of the program under the control of yum, You can update all at once.
A "package" is a set of programs that have a certain role / function under the Linux OS. Also called "software" or "library".
Execute the following command in the terminal (in EC2) to update the package
[ec2-user@ip-***-**-**-*** ~]$ sudo yum -y update
Next, install various other packages necessary for environment construction (long to the right)
[ec2-user@ip-***-**-**-*** ~]$ sudo yum -y install git make gcc-c++ patch libyaml-devel libffi-devel libicu-devel zlib-devel readline-devel libxml2-devel libxslt-devel ImageMagick ImageMagick-devel openssl-devel libcurl libcurl-devel curl
-y is attached. The "-y option" is an option for the yum command. Execute the command with the setting "Answer all questions automatically with Yes". With commands such as yum install, is it really okay to install? y / n is a question, so you can omit it.
Next, install Node.js to run JavaScript on EC2.
"Node.js" is a JavaScript package that runs on the server side. It will be used when compressing CSS and images in the work for future deployment.
Execute the following command in the terminal (in EC2)
[ec2-user@ip-***-**-**-*** ~]$ sudo curl -sL https://rpm.nodesource.com/setup_10.x | sudo bash -
[ec2-user@ip-***-**-**-*** ~]$ sudo yum -y install nodejs
- If a confirmation screen appears, enter "Y" and press the Enter key to complete the installation.
Preparing to run applications with Rails version 6.0 or later
You need to install Yarn to run applications with Rails version 6.0 or later.
Execute the following command in the terminal (in EC2)
[ec2-user@ip-***-**-**-*** ~]$ sudo yum -y install wget
[ec2-user@ip-***-**-**-*** ~]$ sudo wget https://dl.yarnpkg.com/rpm/yarn.repo -O /etc/yum.repos.d/yarn.repo
[ec2-user@ip-***-**-**-*** ~]$ sudo yum -y install yarn
Install rbenv and ruby-build
These need to be installed before installing Ruby, Tools to use in combination when managing Ruby versions
Execute the following command in the terminal (in EC2)
#① Install rbenv
[ec2-user@ip-***-**-**-*** ~]$ git clone https://github.com/sstephenson/rbenv.git ~/.rbenv

#② Pass through
[ec2-user@ip-***-**-**-*** ~]$ echo 'export PATH="$HOME/.rbenv/bin:$PATH"' >> ~/.bash_profile

#③ Description for calling rbenv
[ec2-user@ip-***-**-**-*** ~]$ echo 'eval "$(rbenv init -)"' >> ~/.bash_profile

# ④.bash_Load profile
[ec2-user@ip-***-**-**-*** ~]$ source .bash_profile

# ⑤ruby-install build
[ec2-user@ip-***-**-**-*** ~]$ git clone https://github.com/sstephenson/ruby-build.git ~/.rbenv/plugins/ruby-build

#⑥ Perform rehash
[ec2-user@ip-***-**-**-*** ~]$ rbenv rehash
Command role ① Clone "rbenv" from git ② & ③ Commands required to pass the path ④ Read the set path ⑤ Clone "ruby-build" from git ⑥ Commands required to enable gem commands in the version of Ruby you are using
Install Ruby
The commands to be executed below are "Version of Ruby to install" "The version of Ruby you are using in your application" Please change accordingly.
Here, we will install "2.6.5".
Execute the following command in the terminal (in EC2)
# Ruby 2.6.Install version 5
[ec2-user@ip-***-**-**-*** ~]$ rbenv install 2.6.5

#Decide which version of Ruby to use within your EC2 instance
[ec2-user@ip-***-**-**-*** ~]$ rbenv global 2.6.5

#Do rehash
[ec2-user@ip-***-**-**-*** ~]$ rbenv rehash

#Check Ruby version
[ec2-user@ip-***-**-**-*** ~]$ ruby -v
that's all. Thank you for your hard work.
Continue → here