[JAVA] # 1 [Beginner] Create a web application (website) with Eclipse from knowledge 0. "Let's build an environment for creating web applications"
Introduction
It became a story that I wanted to create a website from scratch with a friend, and from a state where I did not know right or left, I used eclipse to write notes while touching it for the time being. (Many sites don't write detailed settings because it's natural to know even if you look it up ...)
Environment list Programming software: Eclipse 2020 JAVA SE 14 Tomcat 8.5.88
-** Environment Creation **
1 Let's build an environment for creating web applications (This article) 2020 October update
2 Joint development of dynamic web application by connecting GitHub and Eclipse 2020 October update
-** Let's think about design **
-** Front end creation **
-** Backend Creation **
-** Let's actually run the service **
In this article,
-
- Install Eclipse.
- Java installation
-
- Perspective settings Four. Creating a project Five. Creating a Servlet
- Execution of Servlet
The flow.
Word memo Perspective: Optimal screen settings for developing each app Servlet: A program that runs on a Web server (backend). In this article, we will create a local server for debugging.
1. 1. Install Eclipse.
Eclipse has an edition called "Pleiades All in One" that you can start using as it is without making troublesome settings such as Japanese localization. Download Eclipse 2020 from Download Site.
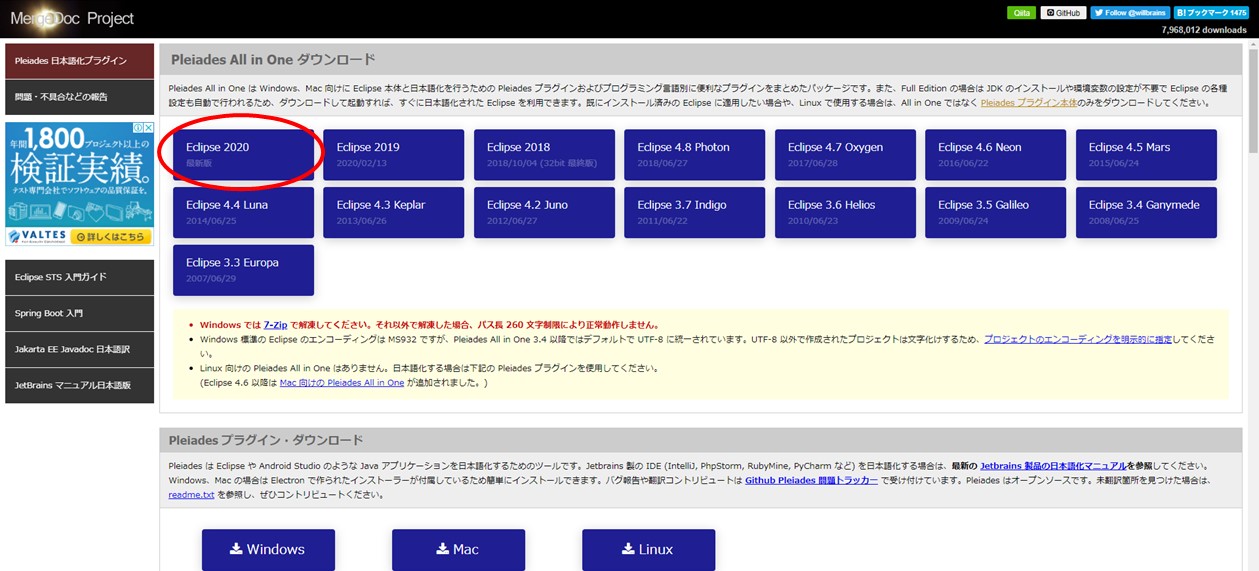
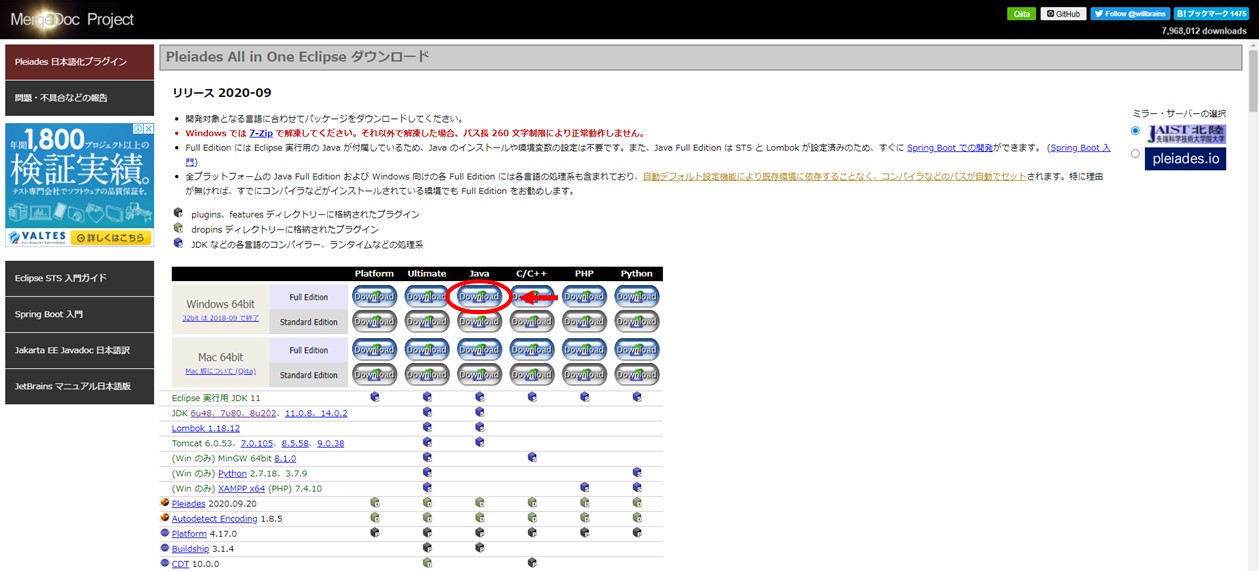
Various versions are displayed, but this time I will download Java Full Edituon of Windows10 64bit.
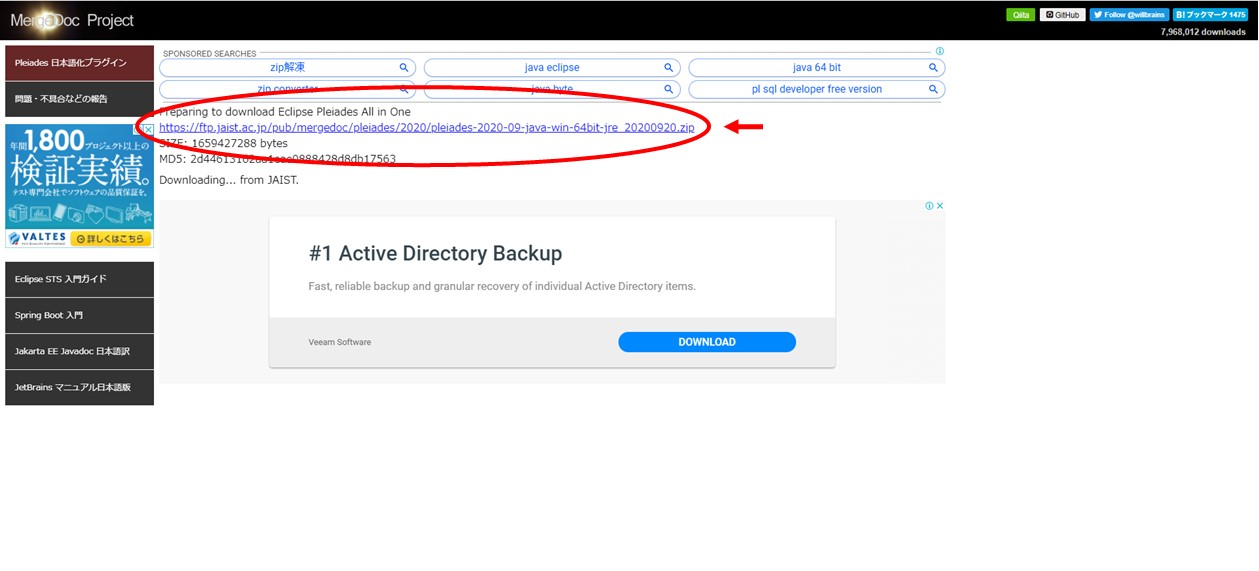
Downloading starts without permission. If it doesn't start, press the URL displayed in blue to start downloading.
 Unzip the downloaded .zip file.
It seems that it cannot be decompressed well with Windows standard decompression software, so decompress it using 7-Zip.
Unzip the downloaded .zip file.
It seems that it cannot be decompressed well with Windows standard decompression software, so decompress it using 7-Zip.
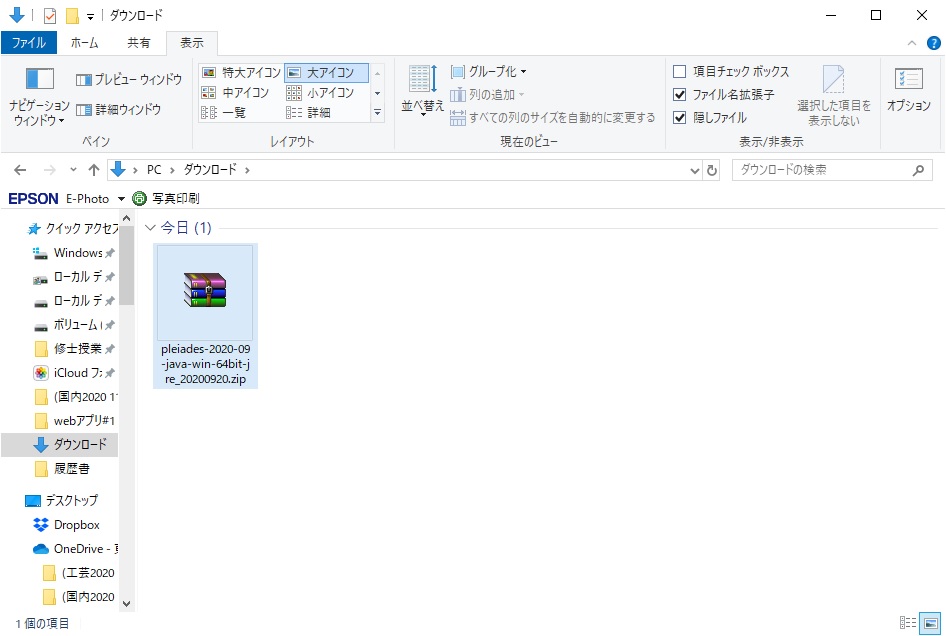
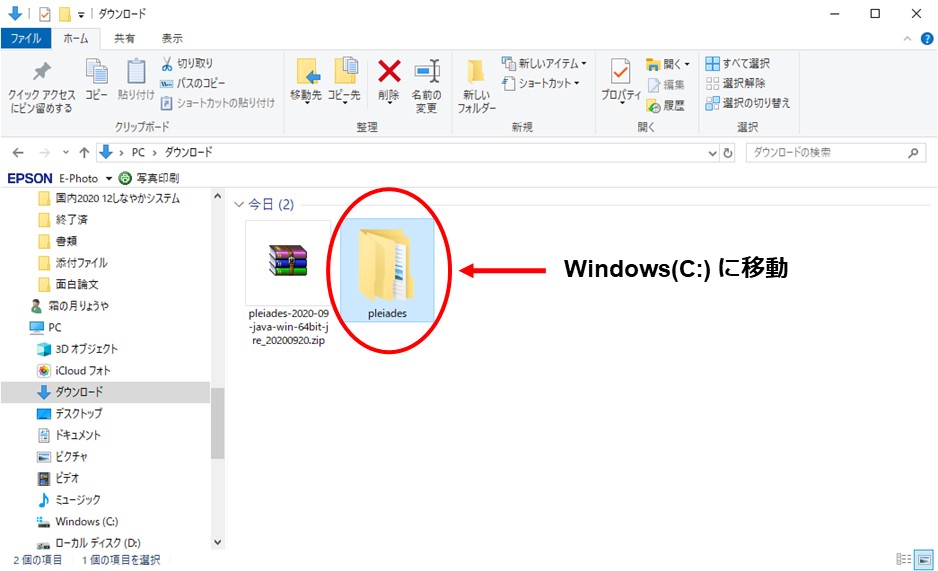
When you unzip it, a folder called pleiades will appear, so place it directly in the Windows (C :) folder (the location is free, but it is easy to see directly under C :).
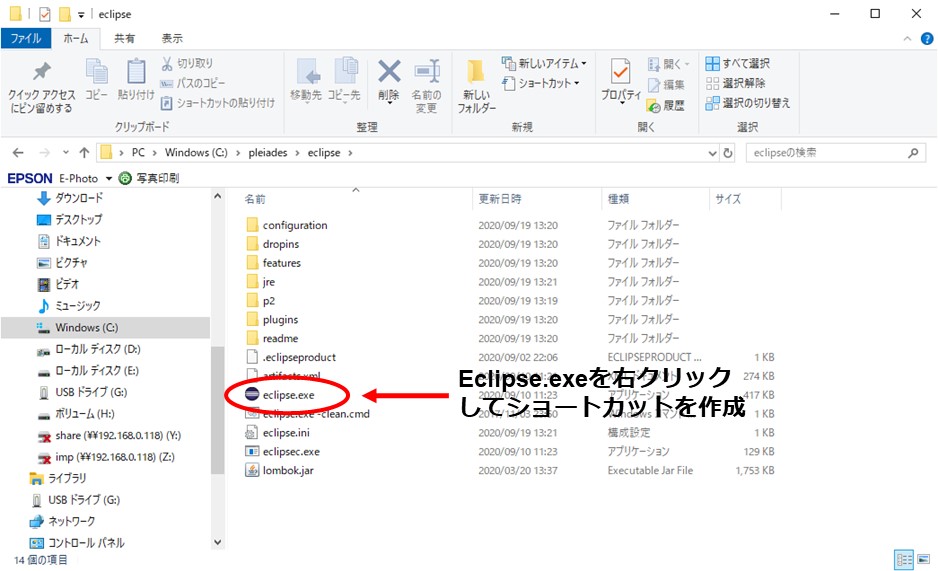
After moving directly under Windows (C :), right-click eclipse.exe in the C: \ pleiades \ eclipse folder to create a shortcut, and place it in an easy-to-understand location such as the desktop. (Start from the shortcut because it is not installed as an application)

At the first startup, you will be asked where to set the workspace (data storage location), so create a new folder called eclipse in the document folder and change the folder from the reference. (There is no problem with the default, but move it to a place that is easy to understand)
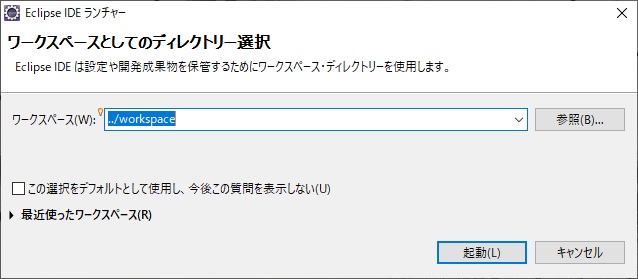 ↓ Change
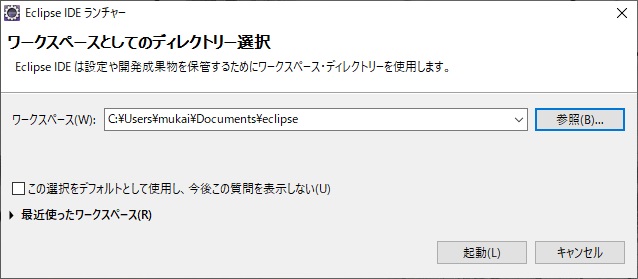
After changing, press Start (L) and if the screen is displayed, the installation is complete.

2. Install Java SE.
This time, 14 of JAVA SE is used. Select 14 from the top page or download the Windows x64 Installer from the JAVA SE 14 Download Site (why Or Chrome may not work, so you should use IE).

There are no particular settings, so just install it as it is.
3. 3. Perspective settings
If you press ① + mark (perspective) next to the Java icon on the upper right, a list will appear. Select ② Java EE.
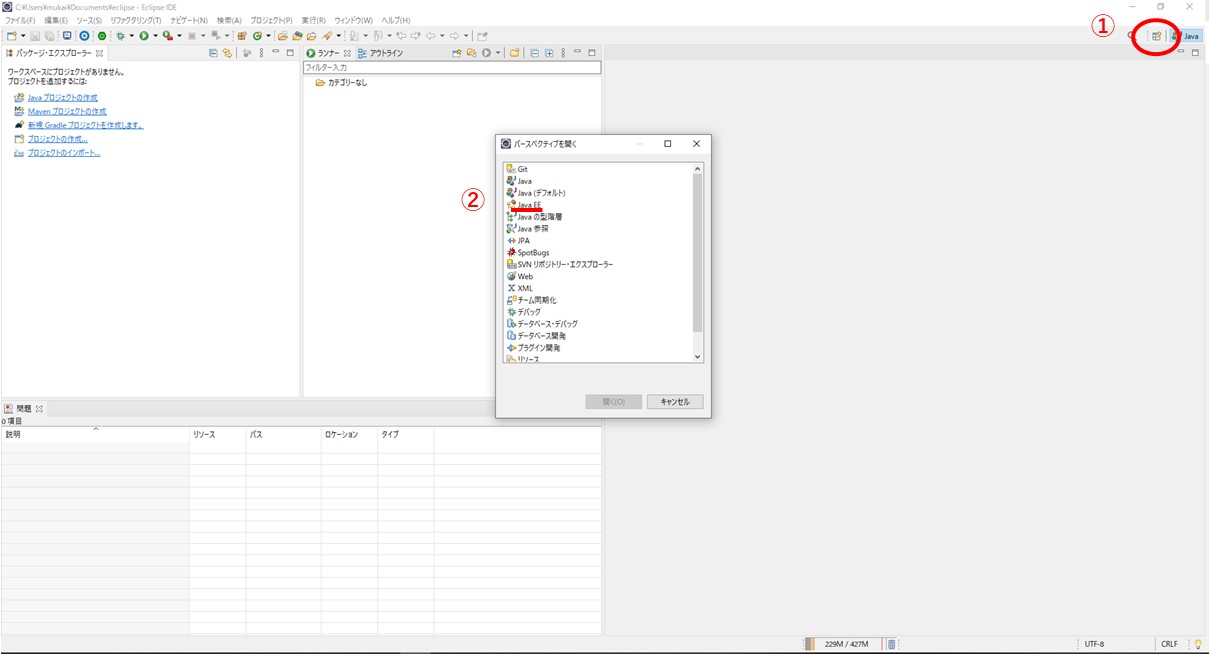
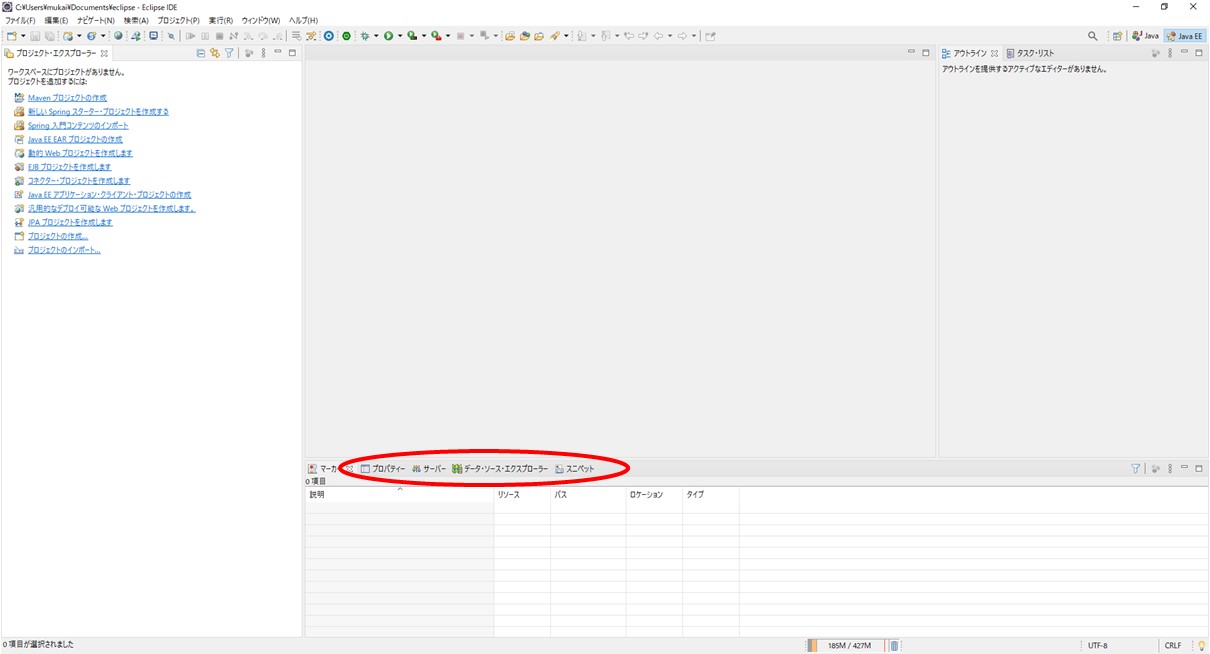
When Java EE is opened, it becomes a Servlet perspective (screen configuration) with support such as server management. Since the server tab etc. are indispensable when developing a Web application, change to Java EE firmly before starting development.
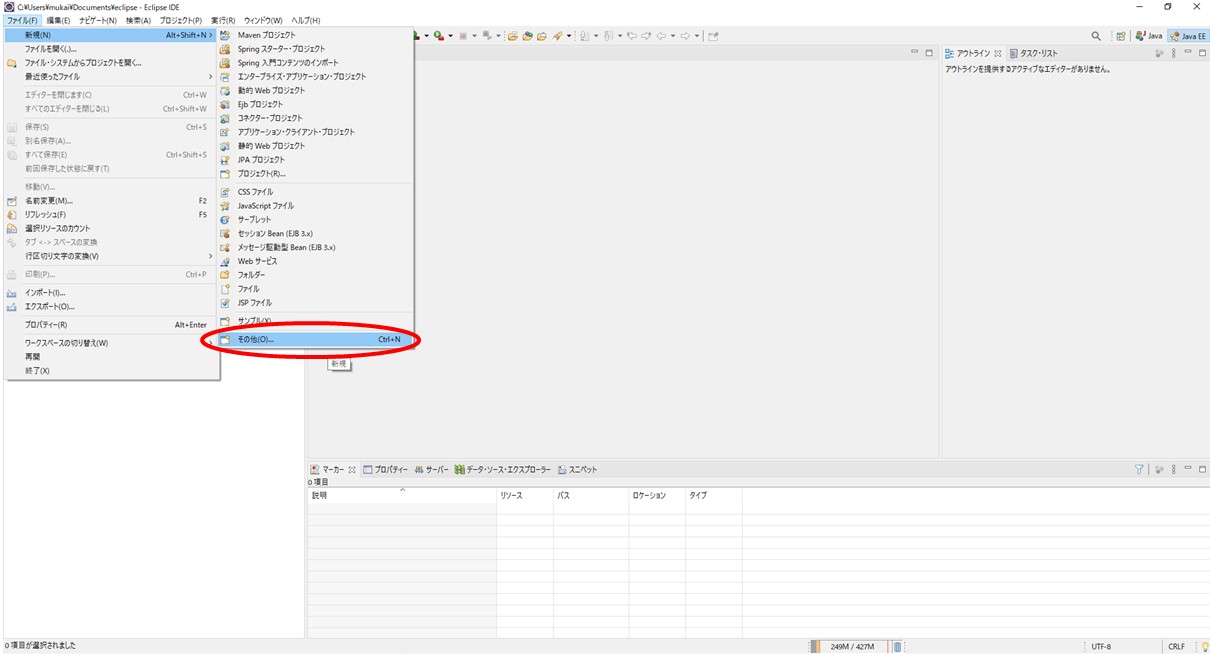
Four. Create a new project
Select File → New → Other
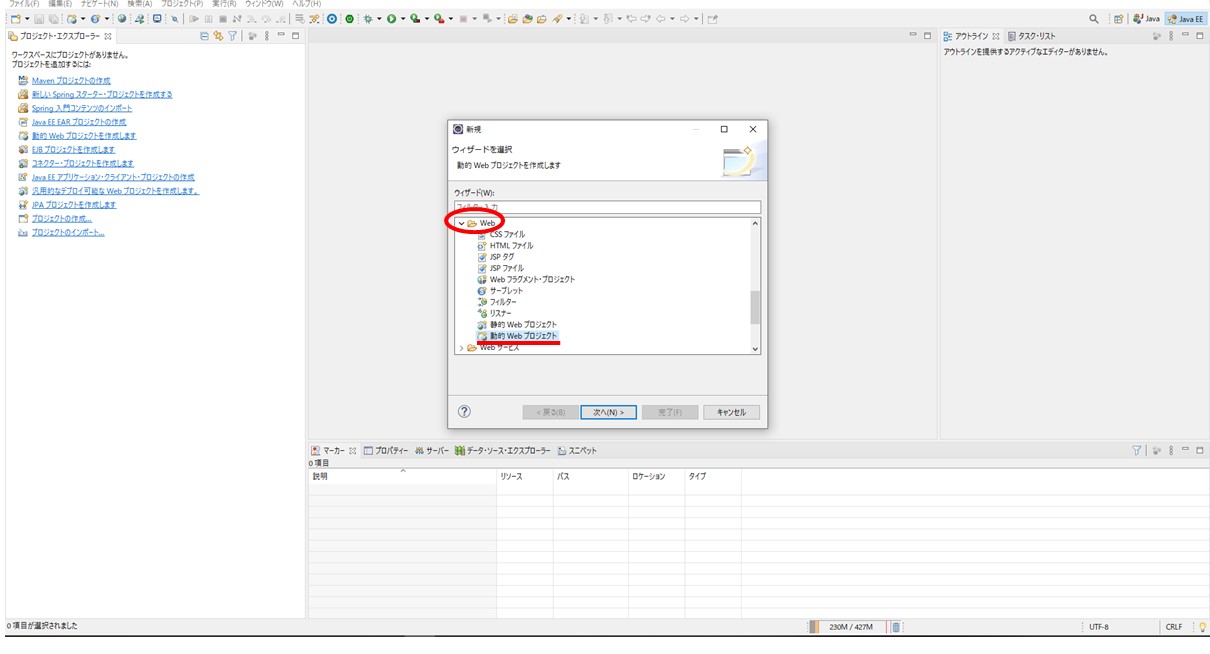
From the wizard, select (1) "Dynamic Web Project" in the Web folder and (2) press Next.
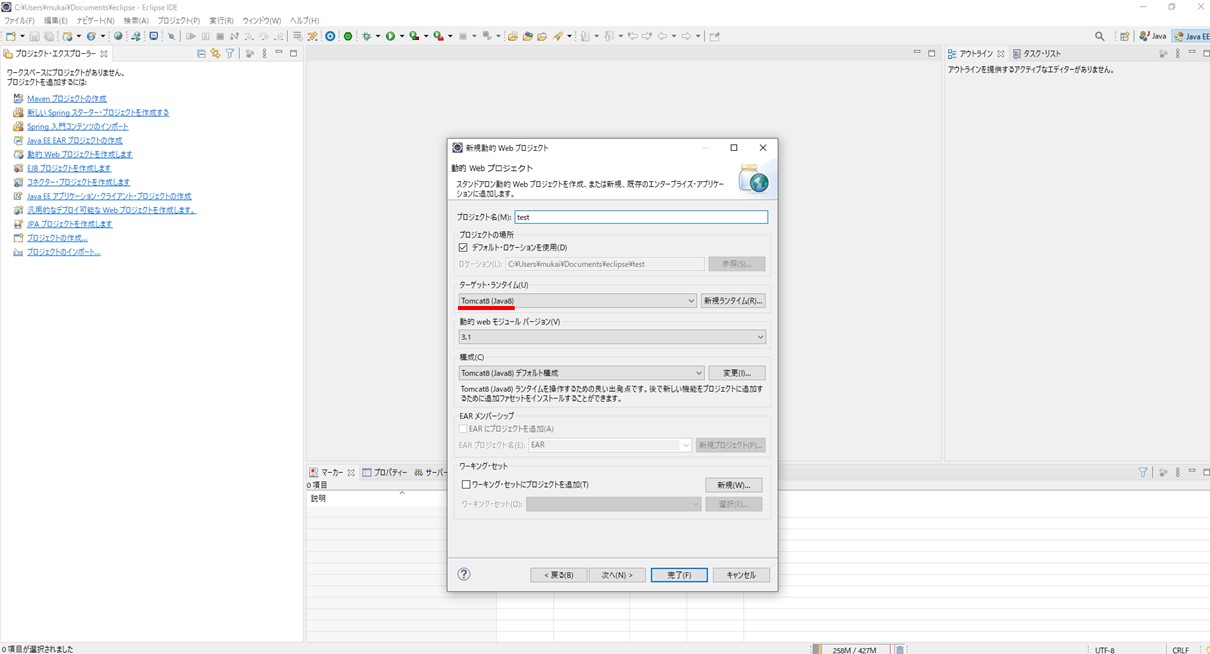
When the setting screen appears, set the project name as you like and change the target runtime to Tomcat8 (Java8). If you change it, the dynamic module version and configuration will be changed automatically according to the target runtime. If you can change it, press Next.
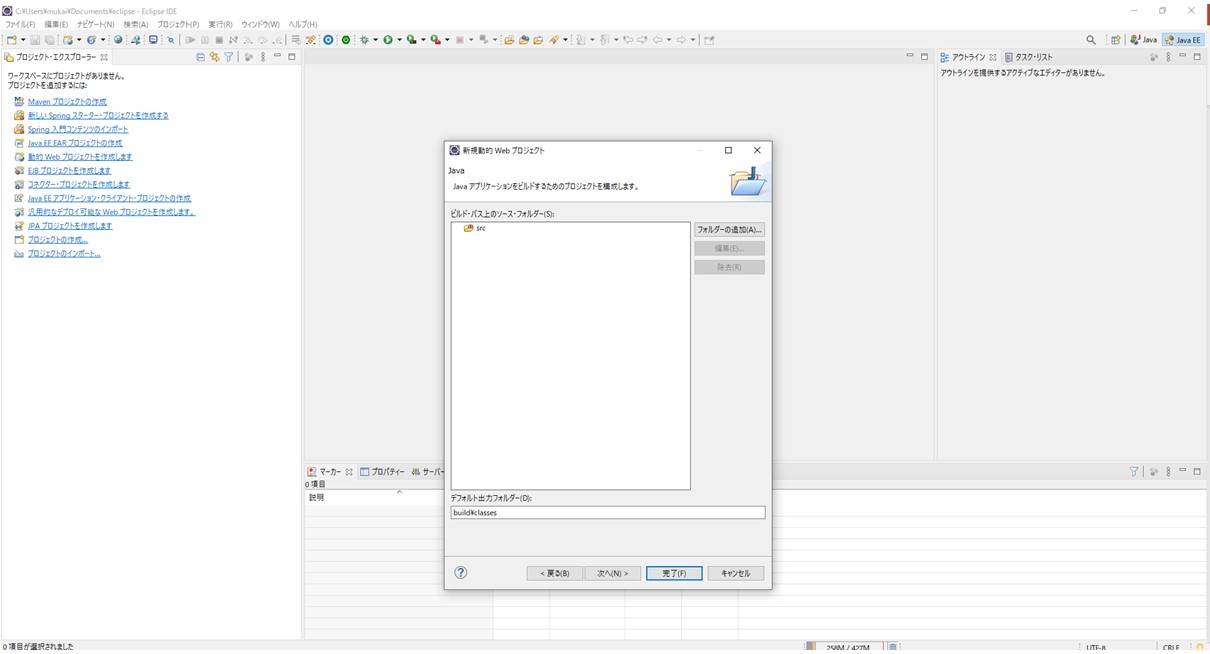
This is okay by default, so press Next.
Check Create web.xml Deployment Descriptor and press Finish to create the project.
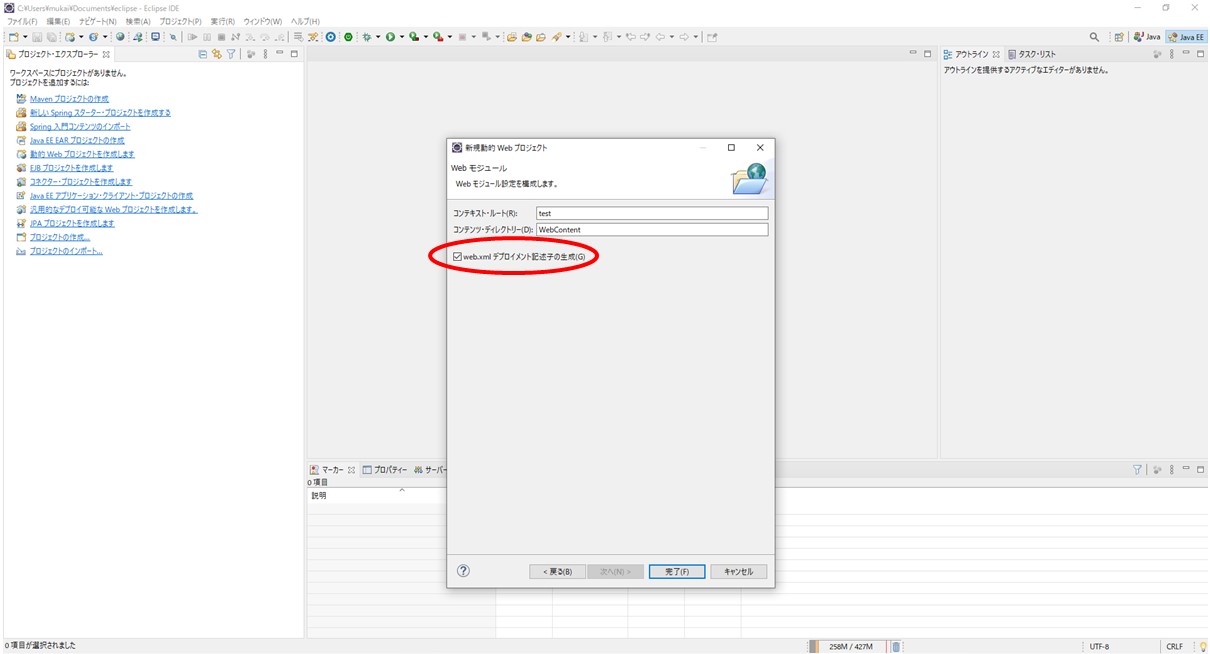
Now you are ready to create a Servlet.
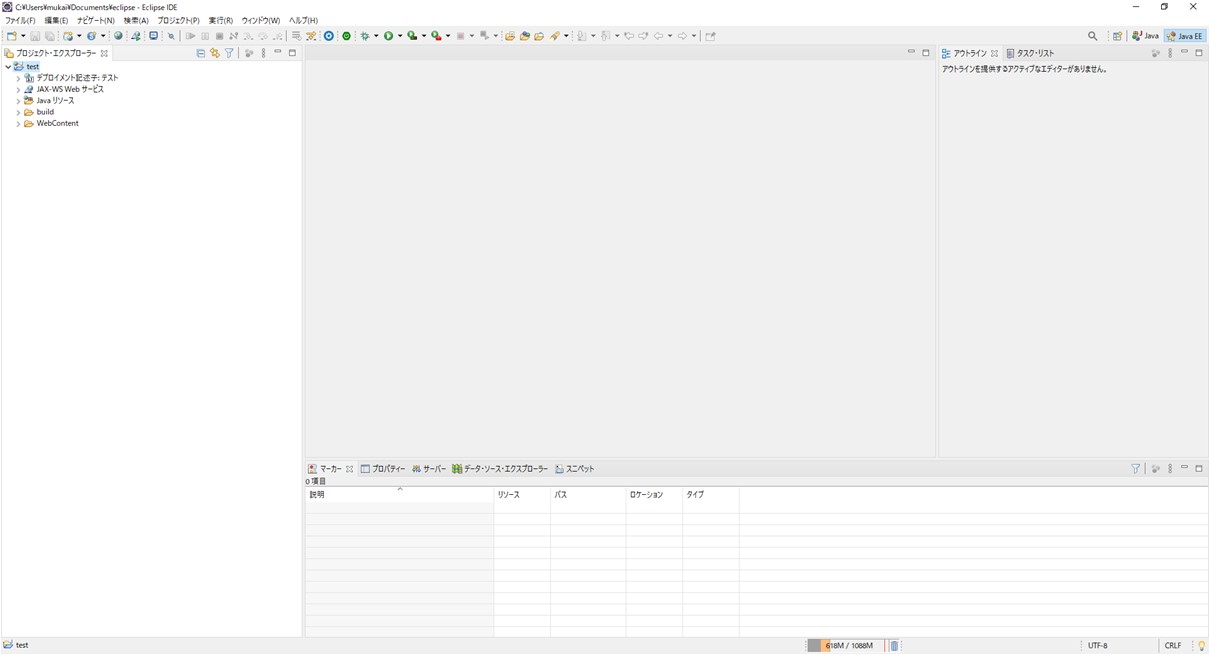
Five. Creating a Servlet
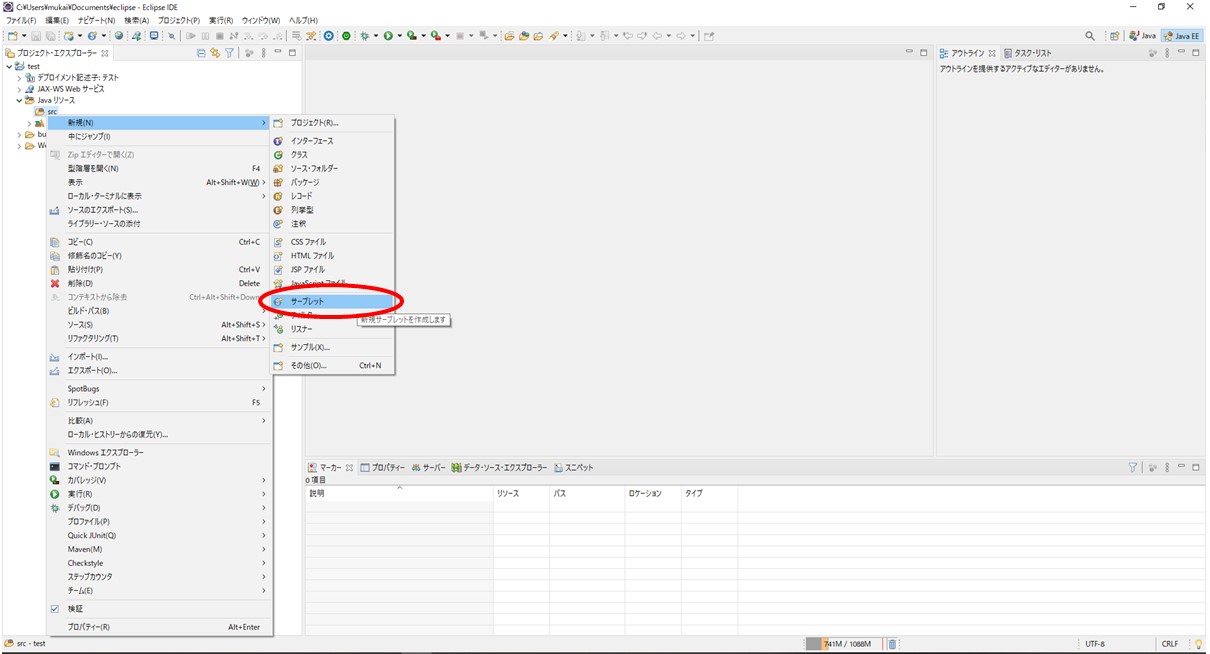
To create a Servlet, right-click Java Resources → src and select Servlet.
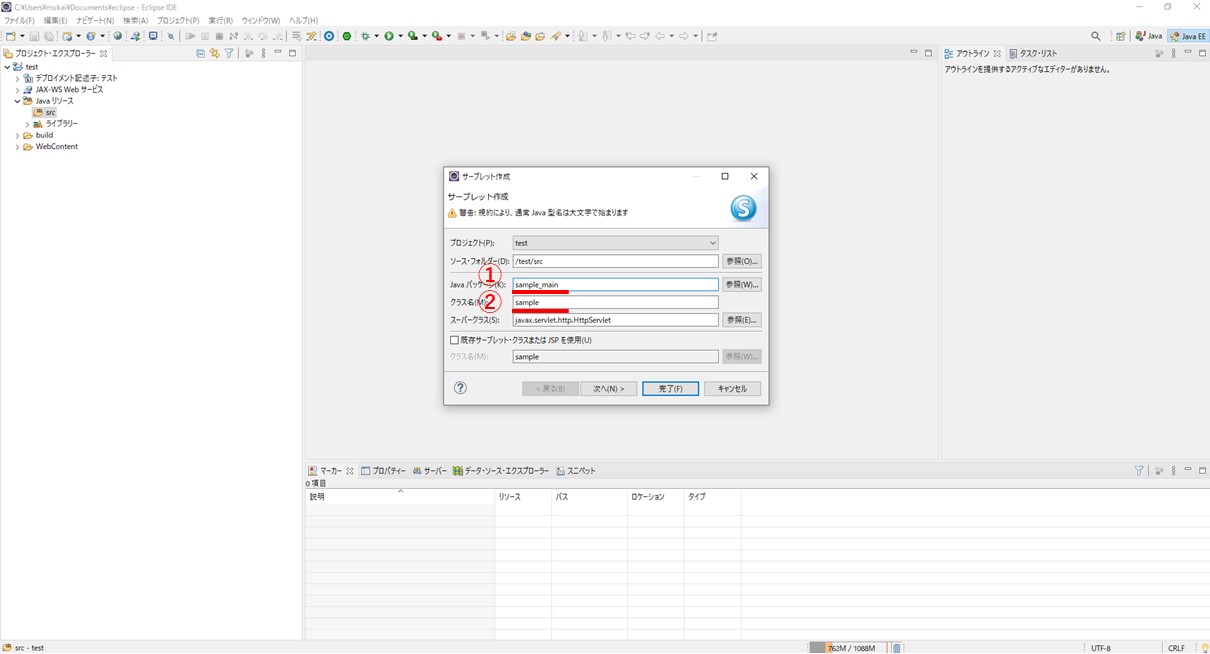
For the time being, set the name appropriately as ①sample_main ②sample and press Finish.
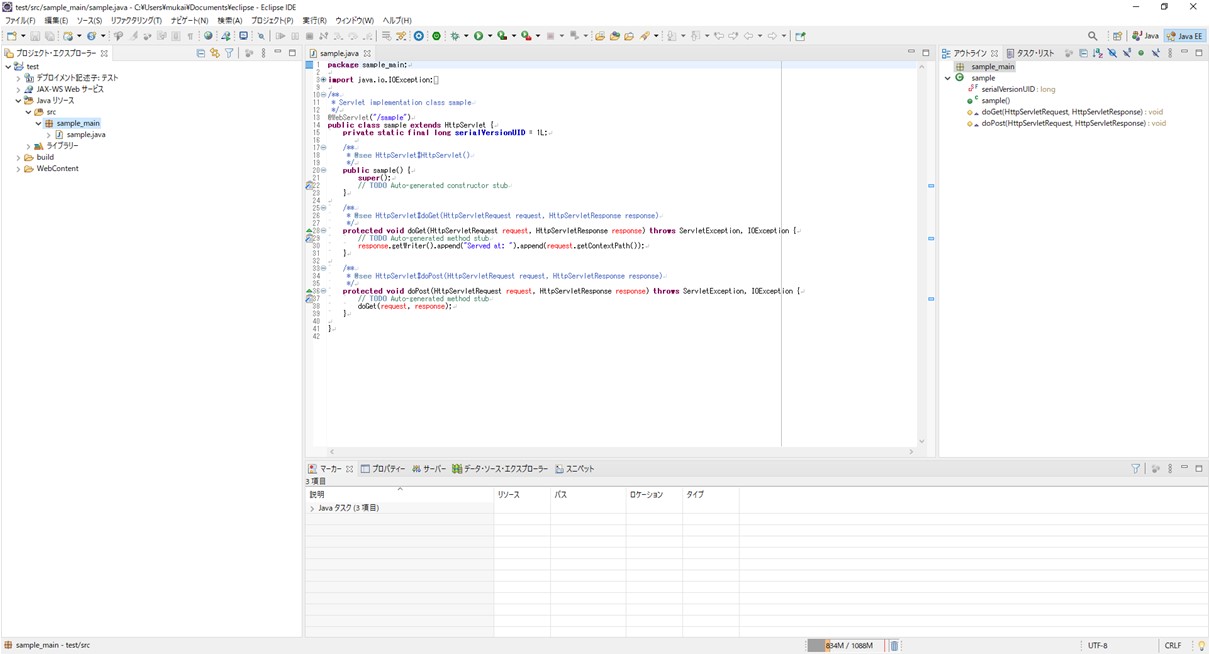
You have successfully created a Servlet with the basic code.
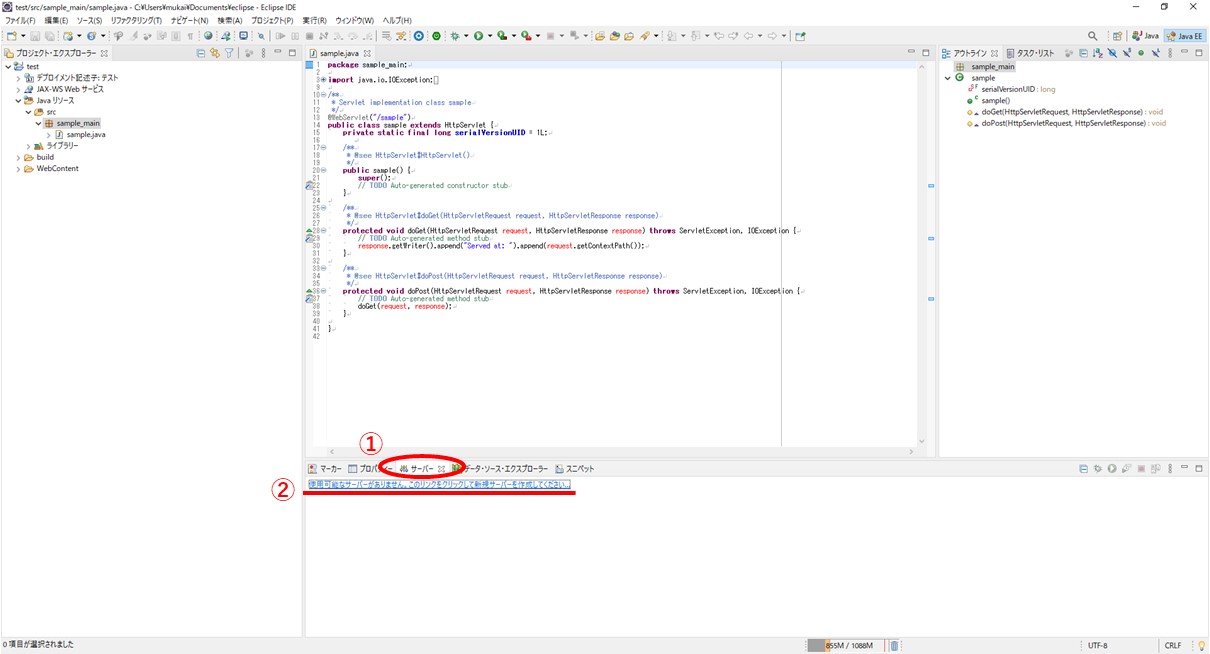
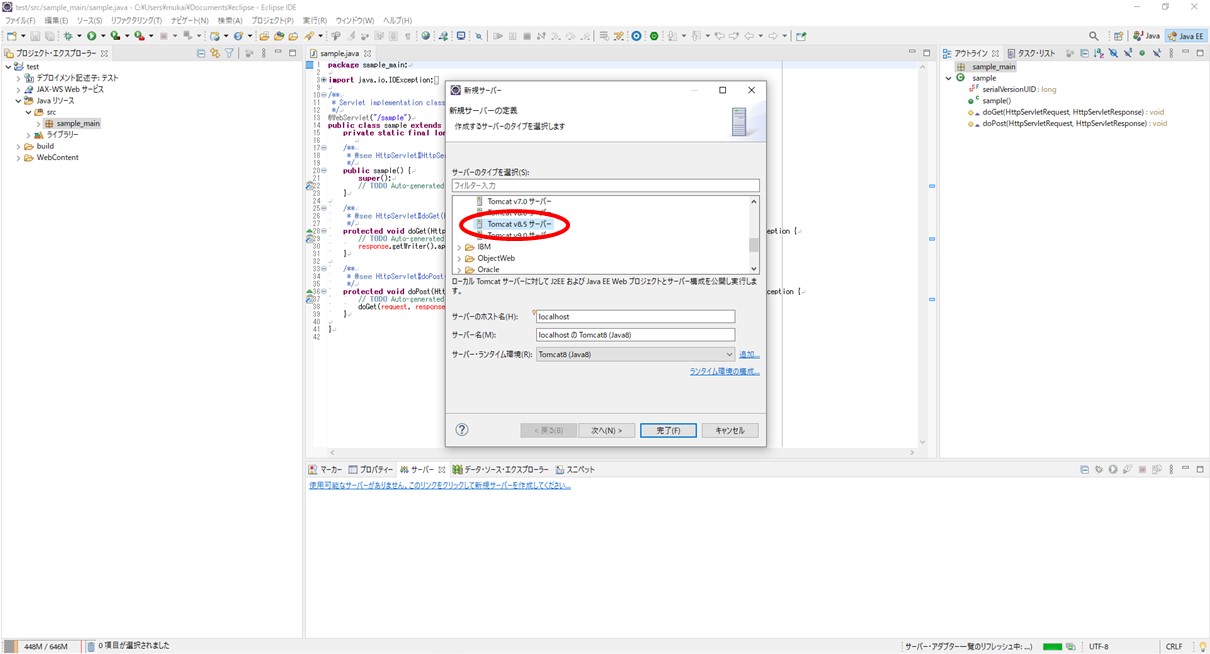
Open the Web server tab and click the part that says "There is no server available. Click this link to create a new server."
Select the "Tomcat v8.5" server from the Apache folder and press Next.
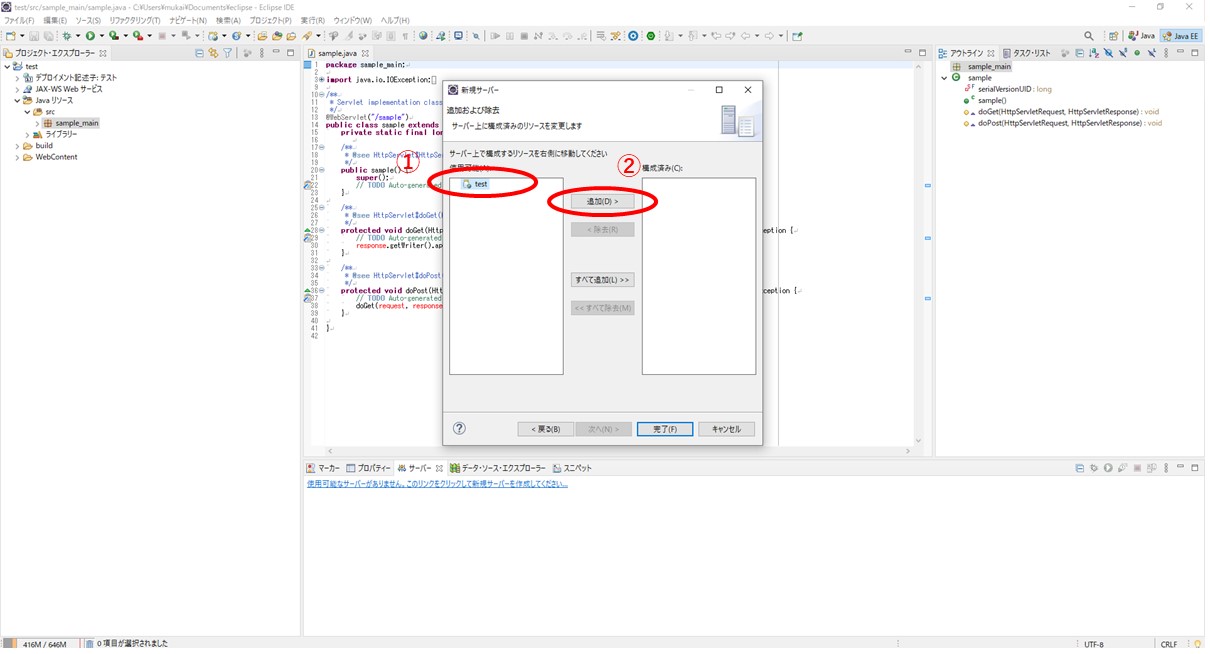
Select the resource you want to add to the server (1) and press (2) Add.
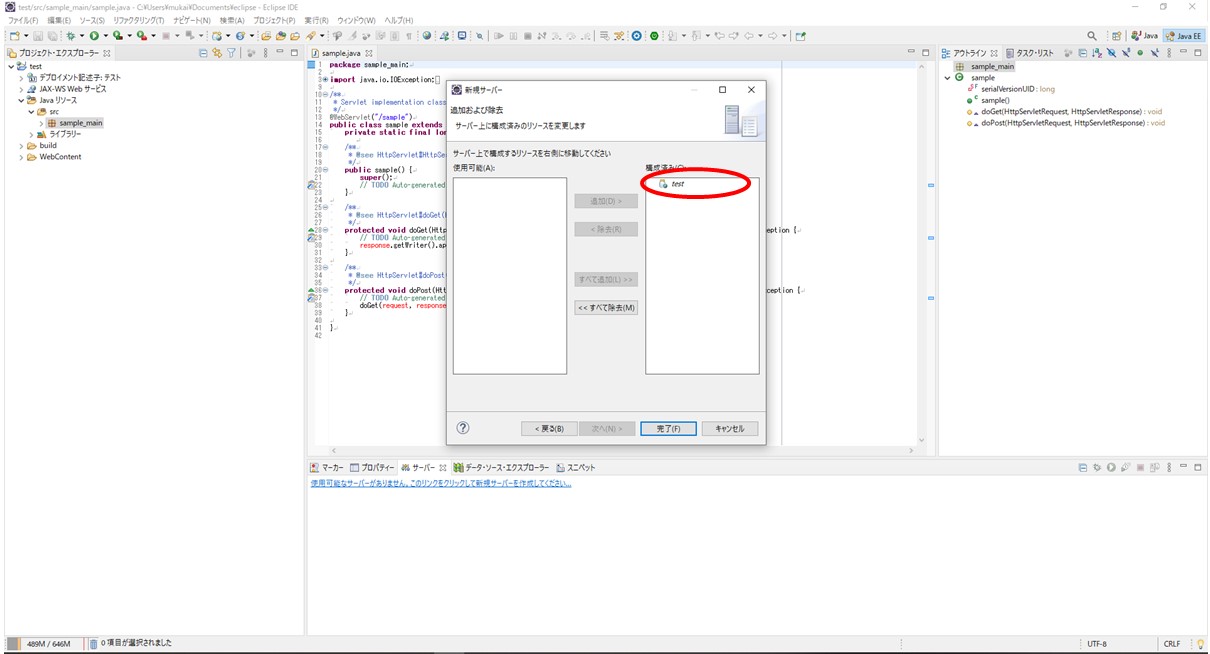
After confirming that the file has moved to the right, press Finish.
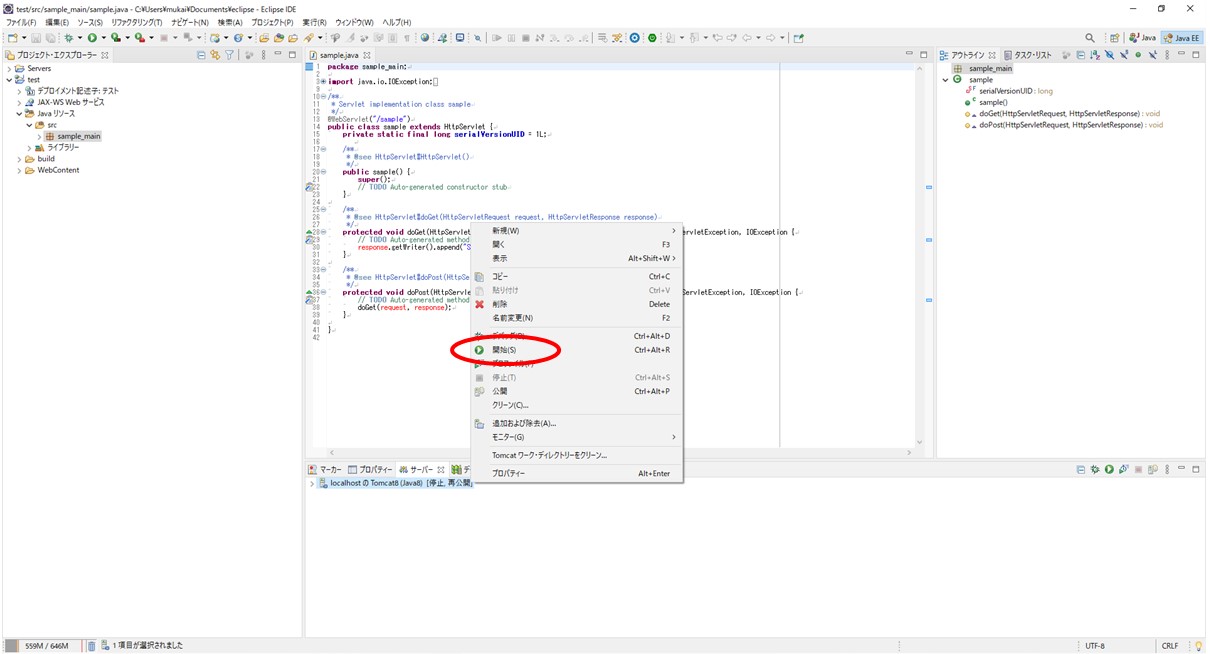
The server will be created, so right-click and press Publish.
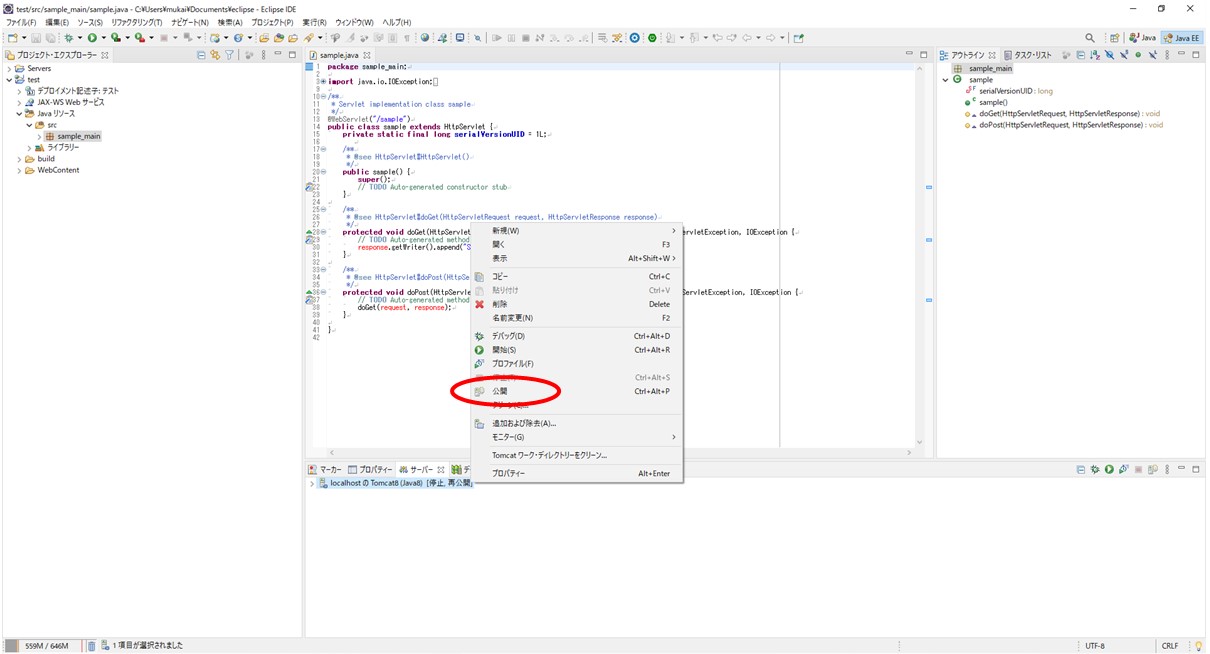
Then right-click again and press Resume.
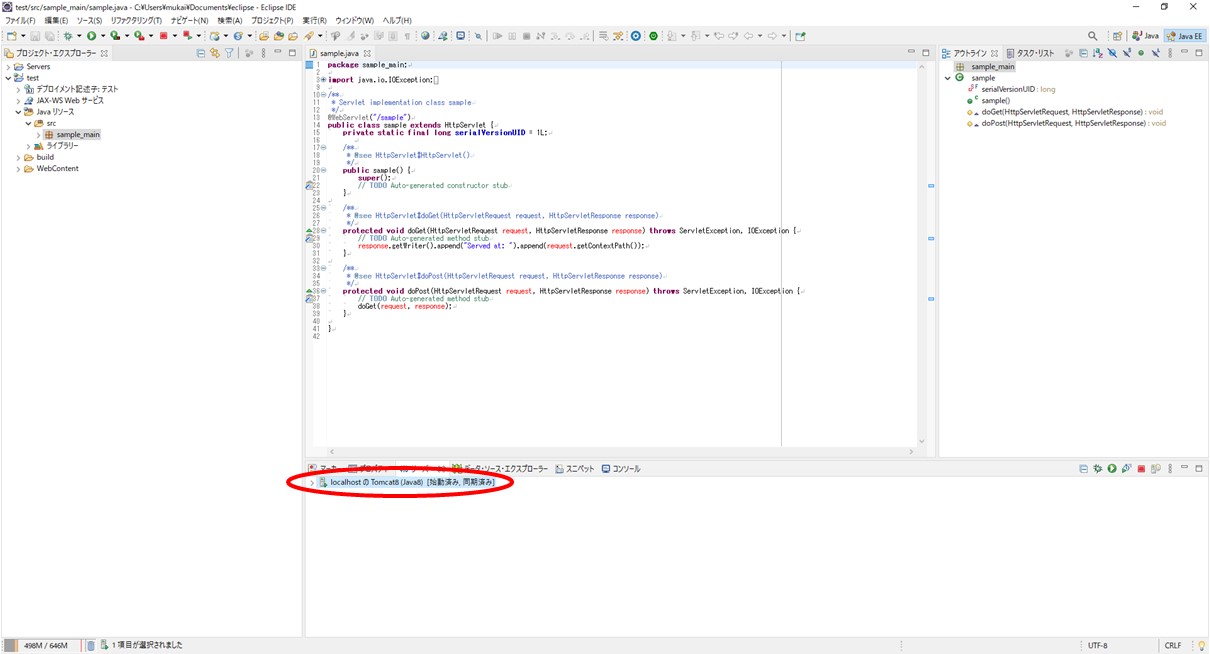
If there is no problem, the status on the right side of the server will be [Started, Synchronized].
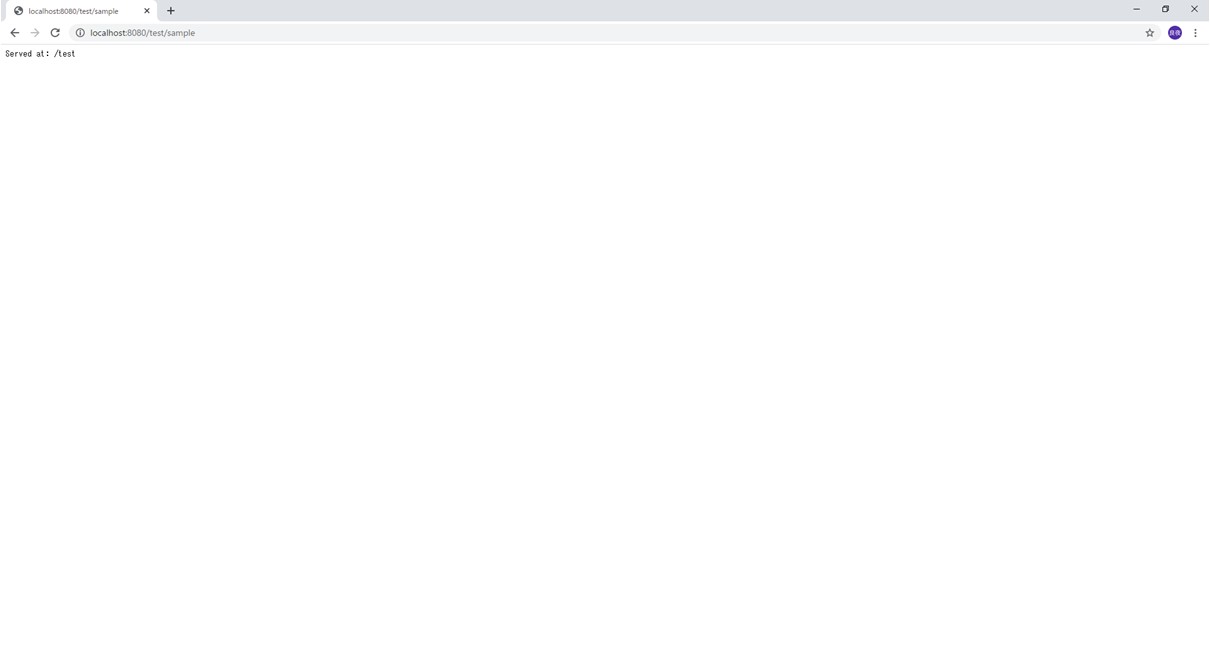
Next, open chrome and enter the following in the URL.
http://localhost:8080/[Project name]/[name of the class]
If you make it according to the procedure this time
http://localhost:8080/test/sample
If such a screen is displayed, it is working without any problem.
As a test
It is here
("Served at: ")
To
("tesutesu")
(If you type in Japanese, the characters will be garbled, so enter in the alphabet).
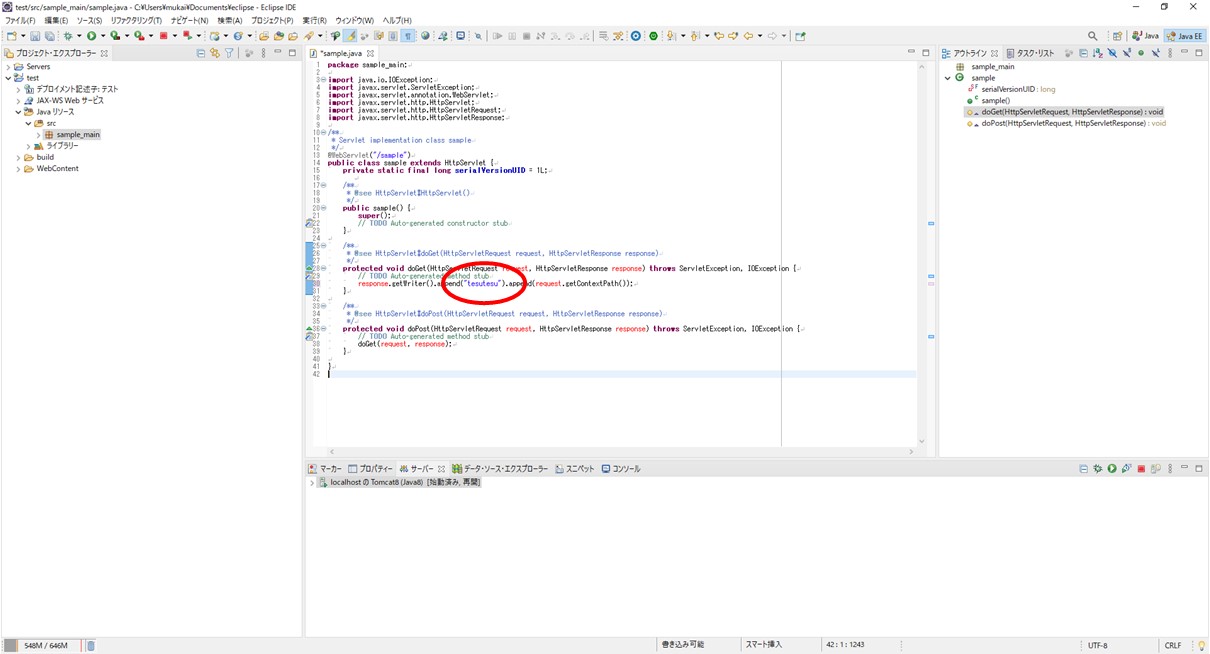
It has been updated firmly.

This completes the development environment settings for the time being, and next time I will share it on Git hub.
Next → []
Recommended Posts