[JAVA] Graph the sensor information of Raspberry Pi and prepare an environment that can be checked with a web browser
Introduction
"Introduction to Raspberry Pi in Java" published by Rick Telecom is one of the few (or only?) Java-based introductory books on Raspberry Pi. Near the end of this book, I will show you how to continuously record the information of the temperature sensor connected to the Raspberry Pi in the database and display it as a graph on the web browser of other PCs and smartphones.
To achieve this, we use MySQL as the RDBMS, MySQL Connecter / J as its interface to Java, Tomcat as the web server, and JFreeChart as the graphing tool. However, the publication date of this book was December 2016, and now, even if you try to install or configure these packages as described in the book, various unexpected things will happen.
So I did some research and built the environment that this book aims for.
Environment / software version used this time
Raspberry Pi 3 Model B Raspbian v2.7.0 Java 1.8.0_65 Pi4J 1.1 Samba 4.5.12 Tomcat 9.0.6 MySQL 15.1 Distrib 10.1.23 MySQL Connecter/J 5.1.46 JFreeChart 1.0.19
- We are using the version of the software package that was available as of April 1, 2018.
Caution
- The file names and directory names listed are those at the time of construction. These will differ depending on the version of the package used. In that case, please read as appropriate.
- The environment built this time is not aimed at Japanese localization. Also, if security is important, you will definitely need to take measures, but please note that this is not mentioned here either.
- If you want to try the programs described in this book, we recommend that you download and use the latest source code from the sites described in the book. The source code on the paper may not be as explained.
Raspbian installation and configuration
Installation
This time I installed from NOOBS. I downloaded Raspbian from DOWNLOADS on the Raspberry Pi's official site, but it was so slow that I used the following mirror site (it still took about 2 hours). This time I used v2.7.0 released on March 14, 2018.
http://ftp.jaist.ac.jp/pub/raspberrypi/NOOBS/images/
Extract the downloaded file (NOOBS_v2_7_0 .zip), copy all the created files to the formatted microSD card as it is, insert it into the card slot of the Raspberry Pi, and start the installation. If necessary, click the Wifi networks icon on the initial screen of NOOBS and set the wireless LAN.
Setting
All subsequent work is done by the pi user.
System modernization
After the installation is complete and Raspbian is started, enter the following command from LXTerminal to refresh your system.
sudo apt-get update
sudo apt-get upgrade
Raspberry Pi Configuration settings
Click the menu icon at the top left of the GUI screen-select "Preferances"-"Raspberry Pi Configuration" to display the Raspberry Pi Configuration panel. This time I set the following.
| Category | Setting item: Setting value |
|---|---|
| System | Password: Optional Underscan:Disable |
| Interface | SSH:Enable SPI:Enable I2C:Enable |
| Localisation - Locale | Country:US (United States) |
| Localisation - Timezone | Area:Japan |
| Localisation - Keyboard | Country:Japan Variant: Keyboard you are using |
| Localisation - WiFi Country | Country:JP Japan |
When you press the OK button, you will be asked to reboot the system, but here we will continue to set the following without rebooting.
Change root password
sudo passwd root
Fixed IP address
Edit /etc/dhcpcd.conf.
sudo nano /etc/dhcpcd.conf
Add the following to this file (specify the IP address etc. according to your environment).
interface wlan0      #Eth0 for wired LAN
static ip_address=192.168.1.100/24
static routers=192.168.1.1
static domain_name_servers=192.168.1.1
This completes the Raspbian settings. Now reboot the system once.
sudo reboot
Pi4J installation
Pi4J is a package for controlling GPIO from Java. Enter the following command to get and execute the installation script.
curl -s get.pi4j.com | sudo bash
The package class files are copied to / opt / pi4j / lib. Documents and samples are introduced on the official website of Pi4J.
After completing the settings so far, it should be possible to control the electronic components and sensors connected to GPIO using Java, but as of today (April 2018), Wiring Pi, which is the basis of GPIO control. Does not support the latest firmware (kernel), so when I run the program, it exits with the following error message.
Unable to determine hardware version. I see: Hardware : BCM2835
Therefore, in order for the program to work properly, downgrade the firmware with the following command (reboot required).
sudo rpi-update 52241088c1da59a359110d39c1875cda56496764
(Reference article) Notes when an error occurs in WiringPi
Samba installation and configuration (optional)
Although not required, it is useful to have Samba installed and set up so that files on the Raspberry Pi can be shared with other PCs.
sudo apt-get update
sudo apt-get install samba
Edit /etc/samba/smb.conf.
sudo nano /etc/samba/smb.conf
At the end of this file, add, for example: In this example, the share name is pi and the files under / home / pi are read and written as the pi user.
[pi]
path = /home/pi
read only = No
guest ok = Yes
force user = pi
After saving the above file, restart the service.
sudo service smbd restart
Make sure that the Raspberry Pi is recognized by Windows Explorer etc. and that the set directory is visible as a folder.

If you can't find the Raspberry Pi, try specifying the host name and share name directly in the address part of Explorer as shown below.
\\RASPBERRYPI\pi
(Reference article) Installation, configuration and connection of Samba
Tomcat installation and configuration
Installation
Download the Tomcat package from the Official Site. Click the Tomcat 9.0 link under Download on the left side of the home page, then click tar.gz in the Binary Distributins Core to download the package file.
Extract the downloaded file (apache-tomcat-9.0.6.tar.gz) with the following command.
tar xzvf apache-tomcat-9.0.6.tar.gz
Move apache-tomcat-9.0.6 created by extracting the directory to the home directory of pi.
mv apache-tomcat-9.0.6 ~
Setting
Set the user to access the management screen of Tomcat. The administration screen can be accessed from the welcome screen of Tomcat (how to access the welcome screen will be described later), but this does not mean that Tomcat cannot be used at all.
Register the user for the following files.
nano ~/apache-tomcat-9.0.6/conf/tomcat-users.xml
Add the following inside the \ <tomcat-users > tag. Specify the contents you want to set for username and password respectively.
<role rolename="manager-gui"/>
<role rolename="admin-gui"/>
<user username="pi" password="raspberry" roles="manager-gui,admin-gui"/>
The administration screen can only be accessed locally by default. If you want to access the Server Status and Tomcat Web Application Manager screens from other PCs among the management screens, edit the following configuration file.
nano ~/apache-tomcat-9.0.6/webapps/manager/META-INF/context.xml
In allow in the \ <Valve > tag, enter the IP address to allow access in regular expression.
 <Valve className="org.apache.catalina.valves.RemoteAddrValve"
         allow="127\.\d+\.\d+\.\d+|::1|0:0:0:0:0:0:0:1" />
For example, if you want to access from the IP address 192.168.1.xxx, replace the regular expression part as follows. 192 \ .168 \ .1 \. \ D + is added with | (or).
allow="127\.\d+\.\d+\.\d+|192\.168\.1\.\d+|::1|0:0:0:0:0:0:0:1"
For the management screen of Tomcat Virtual Host Manager, edit the following files in the same way.
nano ~/apache-tomcat-9.0.6/webapps/host-manager/META-INF/context.xml
<Valve className="org.apache.catalina.valves.RemoteAddrValve"
         allow="127\.\d+\.\d+\.\d+|192\.168\.1\.\d+|::1|0:0:0:0:0:0:0:1" />
Auto start settings
Set Tomcat to start automatically when you start Raspberry Pi. Previously it was started with init.d, but the current version of Raspbian recommends using systemd.
Create a new unit file /etc/systemd/system/tomcat.service for Tomcat.
sudo nano /etc/systemd/system/tomcat.service
Describe the following contents in this file. If you want the execution user to be something other than pi, replace the User and Group specifications in the [Service] section.
[Unit]
Description=Apache Tomcat 9
After=syslog.target network.target
ConditionPathExists=/home/pi/apache-tomcat-9.0.6/bin/

[Service]
User=pi
Group=pi
Type=oneshot
Restart=no
PIDFile=/home/pi/apache-tomcat-9.0.6/tomcat.pid
RemainAfterExit=yes
ExecStart=/home/pi/apache-tomcat-9.0.6/bin/startup.sh
ExecStop=/home/pi/apache-tomcat-9.0.6/bin/shutdown.sh
ExecReload=/home/pi/apache-tomcat-9.0.6/bin/shutdown.sh;/home/pi/apache-tomcat-9.0.6/bin/startup.sh

[Install]
WantedBy=multi-user.target
After creating the file, set the owner and access rights of the file (I think that is the case even if you do not change it).
sudo chown root:root /etc/systemd/system/tomcat.service
sudo chmod 644 /etc/systemd/system/tomcat.service
Use the following commands to start / stop the service and set the automatic start as a daemon. Since root privileges are required except for the confirmation command, add sudo to the beginning and execute it.
| function | command |
|---|---|
| Confirmation of registration status | systemctl daemon-reloadsystemctl list-unit-files --type=service |
| Start-up | systemctl start tomcat.service |
| Stop | systemctl stop tomcat.service |
| Reboot | systemctl restart tomcat.service |
| Check the status | systemctl status tomcat.service |
| Daemon automatic start specification | systemctl enable tomcat.service |
| Daemon automatic start cancellation | systemctl disaable tomcat.service |
| Check the log | journalctl -u tomcat.service |
After confirming that it has been registered correctly, start the service.
sudo systemctl daemon-reload
systemctl list-unit-files --type=service

sudo systemctl start tomcat.service
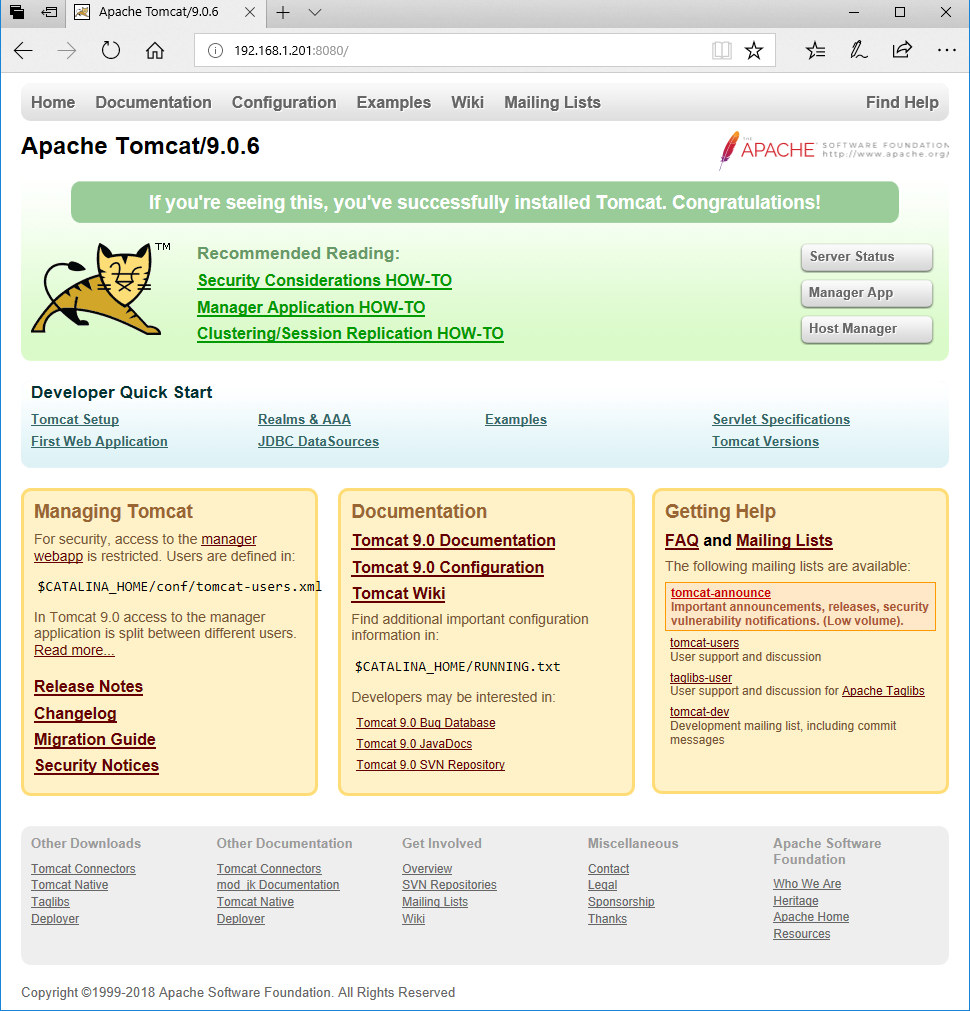
After launching the service, specify the following URL and verify that the Tomcat welcome page is displayed from your web browser.
http://[ip address or localhost]:8080/
When the welcome page is displayed correctly, enable automatic startup with the following command.
sudo systemctl enable tomcat.service
systemctl list-unit-files --type=service ・ ・ ・ Confirm enabled with this command
(Reference article) Install Tomcat 8 on CentOS 7 and set automatic startup
MySQL installation and configuration
Install MySQL, one of the relational database systems, with the following command.
sudo apt-get install mysql-server
Previously, a general user such as pi could access MySQL by specifying a password with the mysql -u root -p command, but the authentication method has changed and the root user who is first registered with MySQL is the OS. It is an authentication method linked with the account.
Since the connection using TCP such as MySQL Connecter / J that we are going to introduce this time needs to be password authentication, here we will register the user pi in MySQL with password authentication.
sudo mysql -u root
mysql> USE mysql;
mysql> CREATE USER 'pi'@'localhost' IDENTIFIED BY 'raspberry';
mysql> GRANT ALL PRIVILEGES ON *.* TO 'pi'@'localhost';
mysql> FLUSH PRIVILEGES;
mysql> exit
You can enter the part written in uppercase in lowercase. Specify the password by enclosing "'registered user' @'localhost'" after USER in the CREATE statement and "'" after IDENTIFIED BY. Also, the GRANT and FLUSH statements grant the pi user privileges on all databases.
Finally, restart the MySQL service.
sudo service mysql restart
Access MySQL with the following command. If you are logged in as the pi user, you can omit the "-u pi". You will be asked for a password, so specify the password you set above.
mysql -u pi -p
The following articles will be helpful for frequently used SQL statements.
(Reference article) Mysql command
Install MySQL Connector / J
This is the package required to access MySQL from Java. Click Download Compressed TAR Archive from the link below.
https://dev.mysql.com/downloads/connector/j/
You will be asked to log in, but you can also download by selecting "No thanks, just start my download." At the bottom of the page.
Extract the downloaded file (mysql-connector-java-5.1.46.tar.gz) with the following command.
tar zxvf mysql-connector-java-5.1.46.tar.gz
Copy the mysql-connector-java-5.1.46-bin.jar file from the extracted files to Tomcat's lib directory (or a directory in your CLASSPATH).
cd mysql-connector-java-5.1.46
mv mysql-connector-java-5.1.46-bin.jar ~/apache-tomcat-9.0.6/lib
Install JFreeChart
JFreeChart is a package that allows you to create a wide variety of graphs from Java. Follow the link below to the SourceForge download page and click the Download Latest Version button.
http://www.jfree.org/jfreechart/download.html
Extract the downloaded file (jfreechart-1.0.19.zip) with the following command.
unzip jfreechart-1.0.19.zip
Copy the jar file extracted under lib to Tomcat's lib directory (or a directory in your CLASSPATH). The point to note here is that of the extracted jar files, ** do not copy only the servlet.jar file **. If you put this file in your CLASSPATH, Tomcat will not work properly.
cd jfreechart-1.0.19/lib
rm servlet.jar
mv *.jar ~/apache-tomcat-9.0.6/lib
Other
Set your CLASSPATH so that you can programmatically access the packages you have installed.
nano ~/.profile
At the end of this file, add the following: If you have various packages in other directories, add them to your CLASSPATH as appropriate.
CATALINA_HOME="/home/pi/apache-tomcat-9.0.6"
export CLASSPATH=$CLASSPATH:.:/opt/pi4j/lib/*:$CATALINA_HOME/lib/*
Apply the settings with the following command.
source ~/.profile
Finally
A personal computer for about 5,000 yen? It's hard to underestimate the Raspberry Pi that it can have such a function as usual!
Based on the environment constructed this time, I made a program that can actually connect the temperature / humidity and barometric pressure sensors and display the graph below from a web browser.

This is introduced in the following article.
Graph the sensor information of Raspberry Pi in Java and check it with a web browser
Recommended Posts