Build OpenCV with Java Wrapper on Ubuntu 18.04
Premise
It is assumed that the JDK is installed.
procedure
Install Apache Ant. This is important. Jar cannot be made without Ant.
sudo apt-get install ant
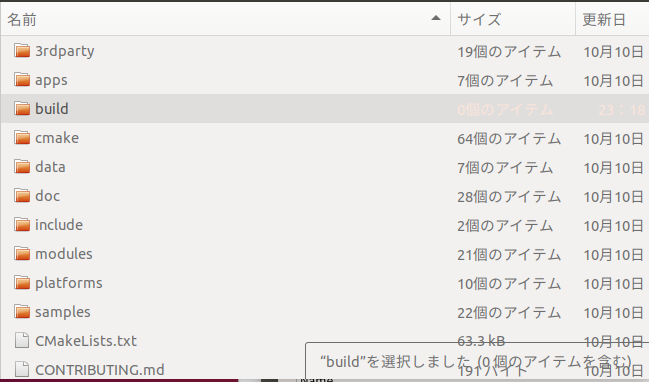
--Download and unpack the current version of opencv Move to a place where the path does not include full-width characters. For example, /home/UserName/Documents/opencv-4.1.2 --Create an empty "build" folder in the folder where you extracted the opencv source

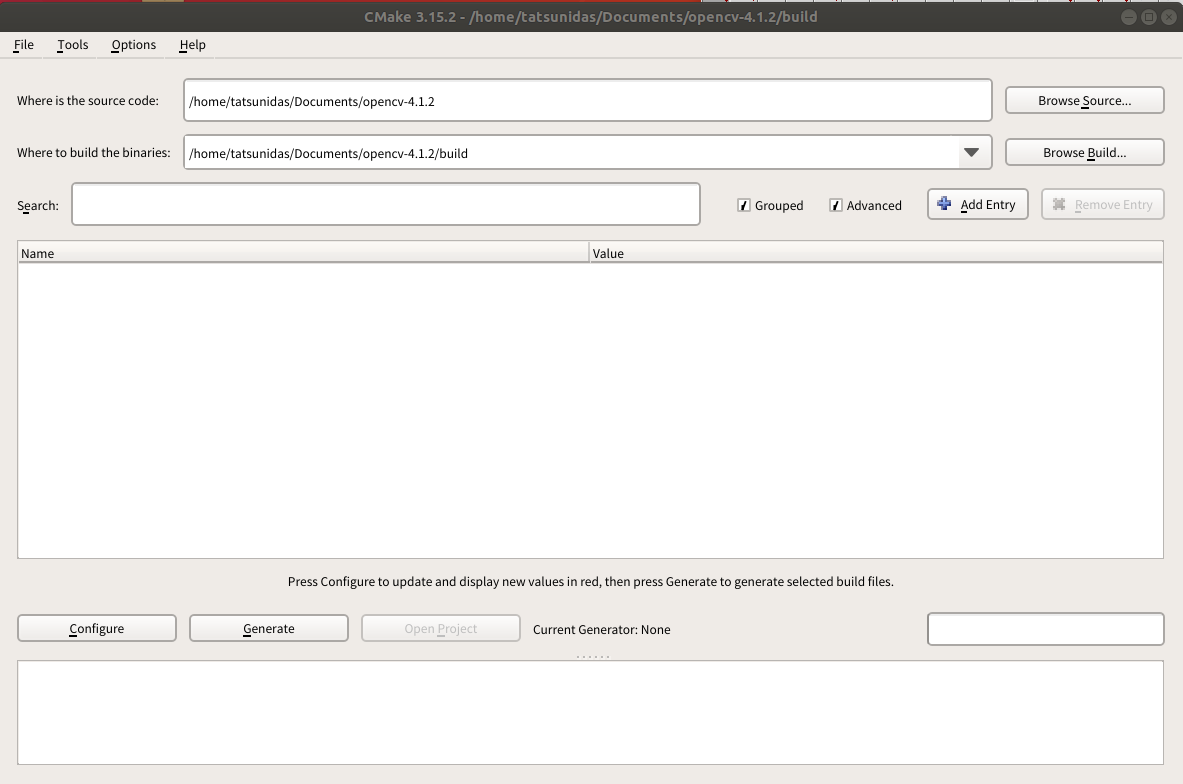
--Use Cmake-GUI to set the source to the parent folder of the opencv source and the path to the build folder created in build.

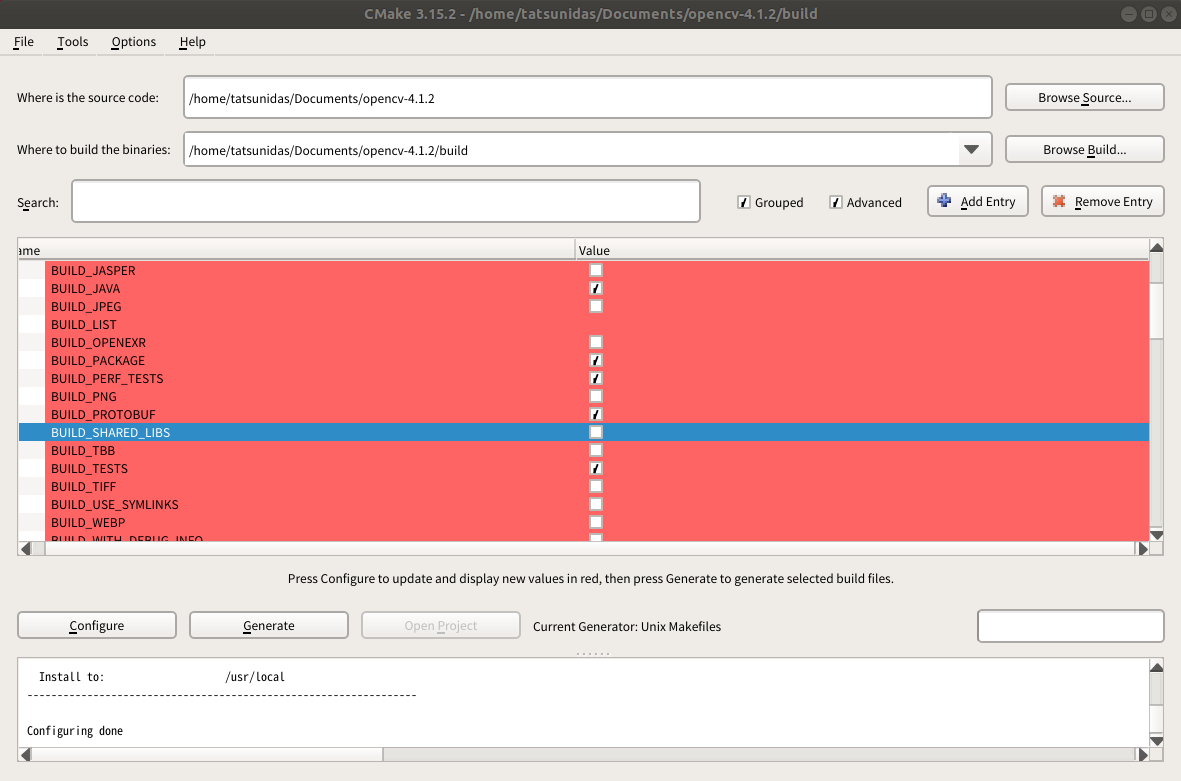
--Check Grouped and Advanced, and configure once --Finish as is with default native compilers --Turn off "BUILD_SHARED_LIBS" from the BUILD tree.

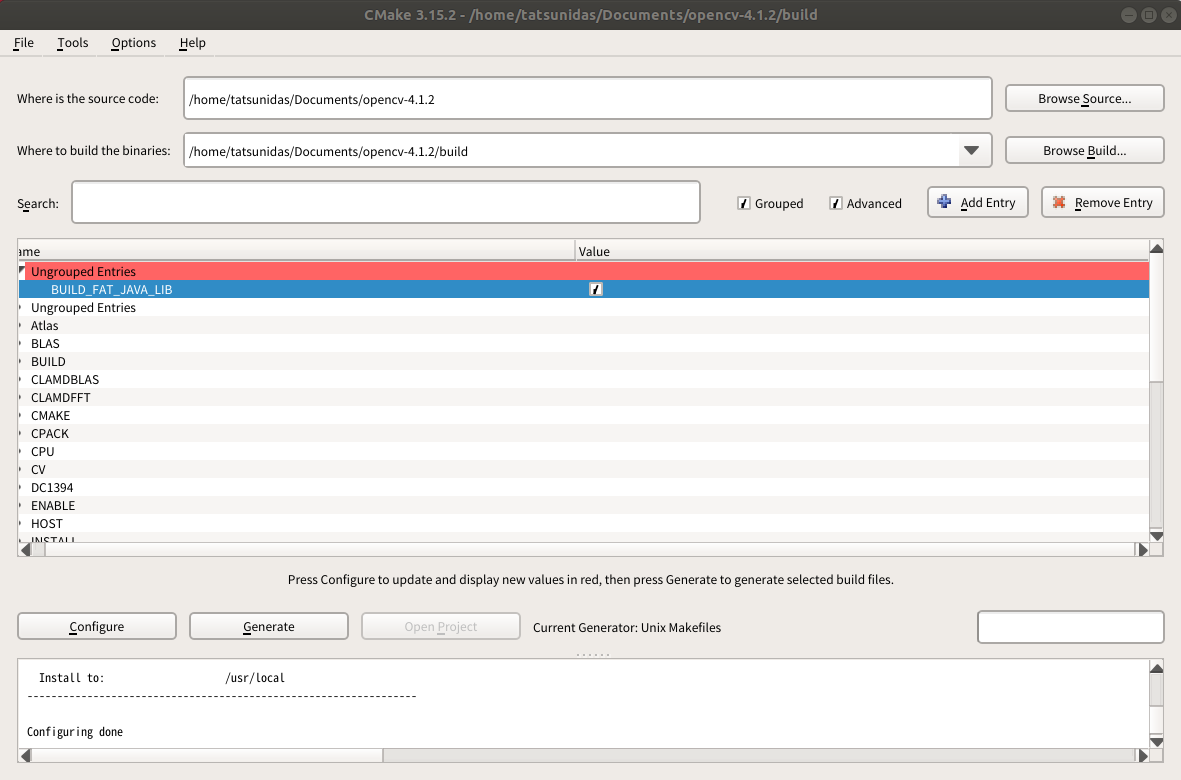
--Configure again --On the updated screen, check BUILD_FAT_JAVA_LIB from Ungrouped Entries.

--Configure again. --And Generate. --If you can do this, cmake-gui is finished. --Go to the created build folder from the terminal and use the make command.
~/Documents/opencv-4.1.2/build$ make -j4
The -j4 option specifies the number of cores. You don't have to.
--Finally, make sure that the jar file is created in the bin folder. The native library is in lib.
that's all
Other
When using the Native library in a project for eclipse development, expand the JRE library settings from the build path settings and edit the Native library path.
When releasing a project, write a script that sets the path to the native library in the startup option, or install opencv on the OS of your environment.
It may be good to use JavaCV from Maven with the following libraries.
- javaCV
- javaCPP
- javacv-platform
- opancv-platform
When using it for compression / decompression processing of dcm4che, use the native library of opencv included in the dcm4che library.
Recommended Posts