[Unity] How to run ML-Agents Release 8 even for transcendental beginners [Windows]
Disclaimer
The person reading this article is a transcendental beginner, so I'm not responsible for any problems. In addition, it is considered that you have agreed when you read the article and proceed. Also, users other than Windows will not be treated this time.
Version confirmation
ML-Agents is updated at a fairly high speed, but it is the latest version as of 2020/10/19 [ML-Agents Release 8]( I would like to build and test the environment of https://github.com/Unity-Technologies/ml-agents/releases/tag/release_8).
Execution environment
To put it simply, it's a list of things to install.
| version | Installation | |
|---|---|---|
| ML-Agents | Release 8 | Not yet |
| Unity | 2019.4.1f1 | Already |
| Anaconda3 | 2020.7 | Not yet |
| Python | 3.7.9 | Not yet |
Unity is Supported after 2018.4, but
This time we will proceed with ʻUnity 2019.4.1 f1. Similarly, [Python 3.6.1 or later is supported](https://github.com/Unity-Technologies/ml-agents/blob/release_6/docs/Installation.md), but What is virtualization this time? ?? ?? I would like to create a virtual environment with Anaconda for people in Japan. Anaconda will create a 3.7 environment later, so we will use the newest 3.8 compatible 2020.7 (as of October 19, 2020). Also, ʻUnity and Unity Hub will proceed on the assumption that they have already been installed.
Of course, you also need an internet environment.
Please note that this time, the purpose of learning with GPU is to move it, so it is not included.
ANACOND A3 installation procedure
If you have already installed it, please skip it.
The download location is a scroll of the Anaconda 3 site (https://www.anaconda.com/products/individual).
 Please continue reading with NEXT for the time being.
 This time with Just Me to match the directories
 You will be asked for the installation folder, but this time let's install it obediently to C: \ Users \
 user name \ anaconda3.
This is the last item, but check it as shown in the image below. It's red, but don't worry about it.
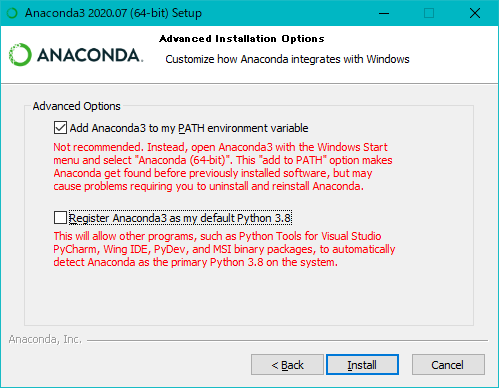 The upper item is necessary to pass the troublesome
 path, and the lower item is not so relevant, but this time I will remove it for the convenience of using Python 3.7 as the main.
Let's install it as soon as we can check it.
After installation, open a command prompt and type conda to confirm.
If you don't understand the command prompt, type cmd in the Windows search bar to open the app.
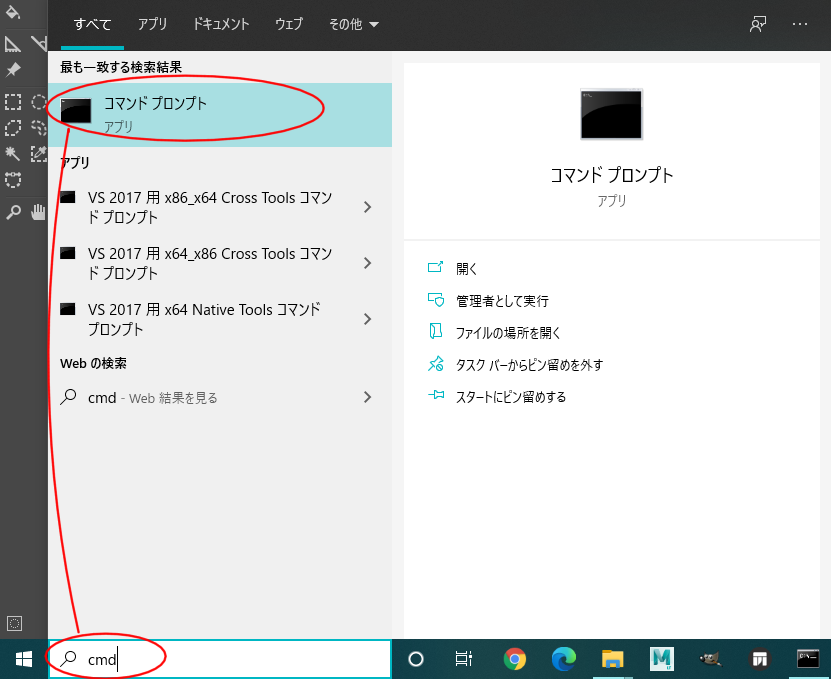 When opened, on a black background,
C: \ Users \
 username >
Because it is displayed
Enter conda, and if the help is output as shown below, the installation is complete.

In the future, when you execute a command from the command prompt` like this,
$ conda
It is written as remember. ($ Means execute the following command)
ML-Agents download procedure
If you have already downloaded, please match only the directory hierarchy.
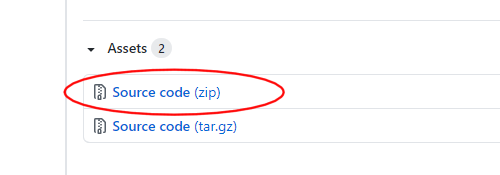
Scroll through the ML-Agents Release 8 site (https://github.com/Unity-Technologies/ml-agents/releases/tag/release_8) and download the Source code (zip),
Let's unzip it directly under C: \ Users \ user name .
 The directory should be C: \ Users \
 username \ ml-agents-release_8.
The com.unity.ml-agents file in the folder is used by Unity.
- mlagents
- mlagents_envs
- gym_unity
This file will be used the next time you install Python. See here for details on each function.
Python 3.7 installation procedure
Execute the command.
$ conda create -n ml-agents python=3.7
After executing, let's wait for a while until the virtual environment is built.
Y / n on the way? Press y to enter
When the operation is over, again
C: \ Users \ username>
Is displayed, then move on to the next step.
After that, please wait until the processing of one command is completed and start from `.
$ conda activate ml-agents
The command prompt will change to (ml-agents) C: \ Users \ username>.
You can now add the library to your virtual environment.
$ pip install -e ./ml-agents-release_8/ml-agents-envs
$ pip install -e ./ml-agents-release_8/ml-agents
$ pip install -e ./ml-agents-release_8/gym-unity
Enter in order from the top. If the directory hierarchy is correct, the installation will start.
It takes time, so don't rush and drink tea.
$ pip list
Check if there is a library you added last.

Unity test environment construction
Open Unity Hub and click Project> Add to List.

Select the Project folder in C: \ Users ` username\ ml-agents-release_8 and select the folder. 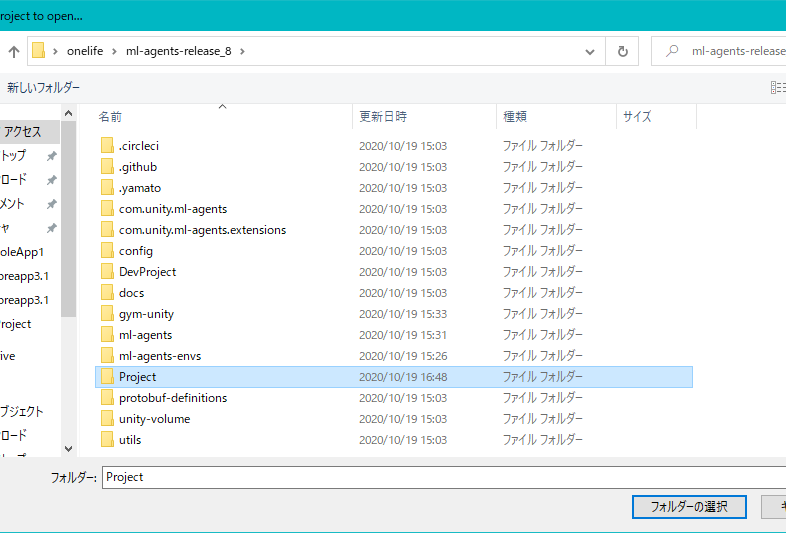 After changing the Unity version to2019.4.1f1, click the project name to start it. 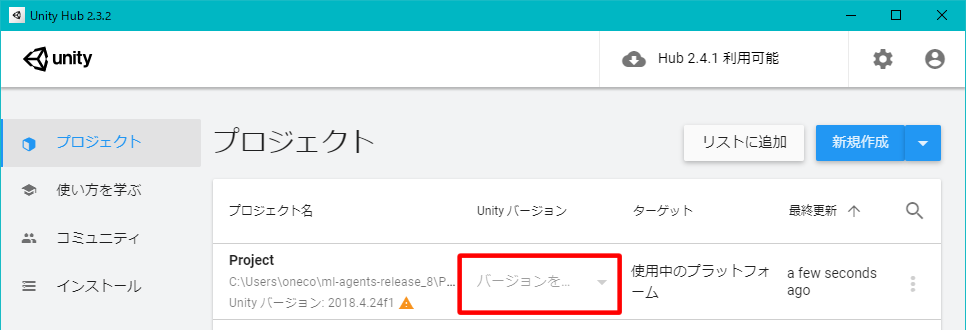 Check the upgradeof the project. SelectYesfor the next popup. 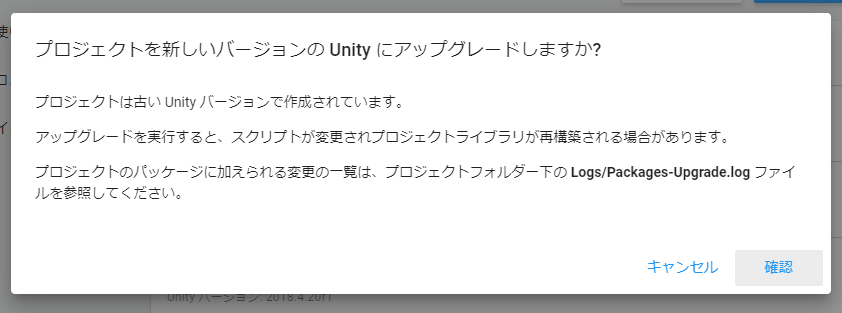 Let's drink tea until the import is finished. Then double-click on3DBall.unityfrom the Assets> ML-Agents> Examples> 3DBall> Scenes folder. 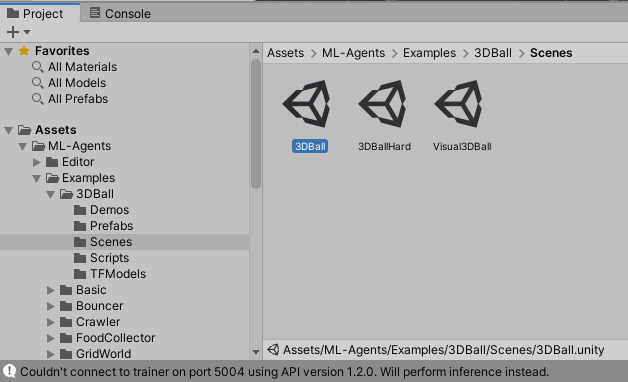 Once the scene is loaded, press thePlay buttonat the top of Unity to run the scene. (There is a little reading, so let's wait) 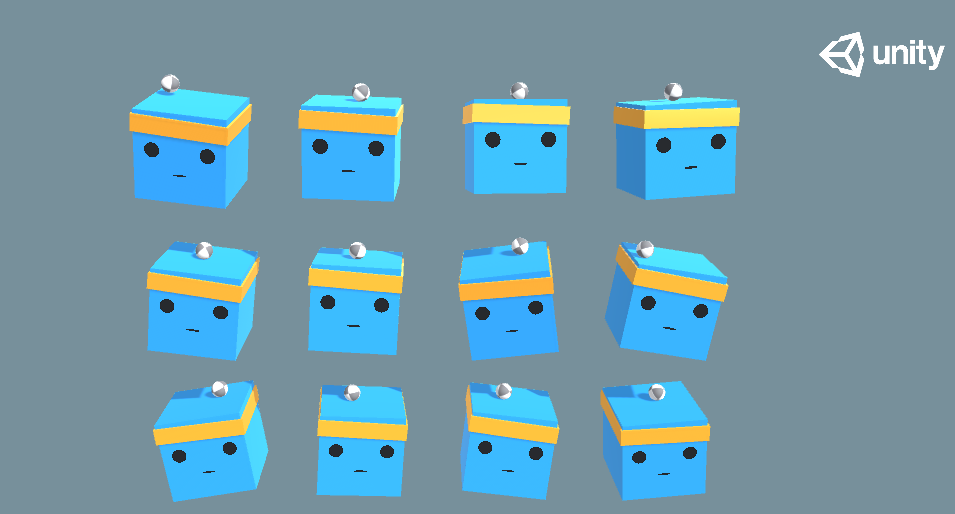 A cute scene has been played! Trained data is set in this scene so as not to drop the ball on the head. Now press Play again to end the scene and start learning from scratch. (ml-agents) In the state of C: \ Users \username`>
$ mlagents-learn ./ml-agents-release_8\config\ppo\3DBall.yaml --run-id=3DBall-1 --train
Finally, Start training by pressing the Play button in the Unity Editor.
Is displayed, press the Play button of Unity.
Then I think Box-kun will start to vibrate slightly. ~~ That is the beginning of learning in the world.
Depending on the person, the computer may groan, but I'm patient. (If it seems to be dangerous on an old computer, stop Play or press Ctrl + C at the command prompt to exit.)
Take a look at the command prompt and Unity for a while. It will stop automatically when the learning is over.
The Mean Reward displayed at the command prompt is the average reward, so if it gets higher, your learning is going well.
After learning, it will be displayed on various command prompts, and then it will return to the state of (ml-agents) C: \ Users \ user name>.
Open the C: \ Users \ username \ results \ 3DBall-1 file.
 An NN format file called
 3DBall.nn is the trained data obtained in the previous learning. (NN means Neural Network)
Drag and drop it into Unity's Project and right click Rename to rename it so that it is not mistaken for 3DBall-NN.
Then from Hierarchy, click the arrow > to the right of 3D Ball to open the 3D Ball Prefab.
 Then, it will move to the Prefab setting screen, so after confirming that the background of the Scene changes to blue, if you select ʻAgent
 from Hierarchy, there is a component calledBehavior Parametersin the Inspector. 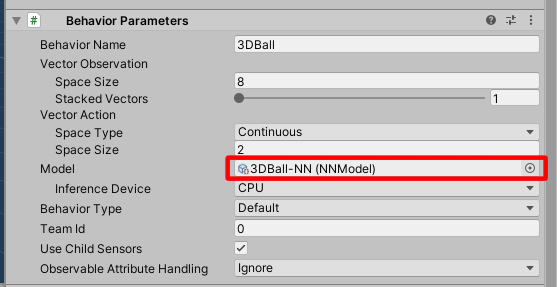 Please set the learned NN file that you just added to the Model there by dragging and dropping. After setting, exit the Prefab setting screen with the small left arrow<` on the upper left of the Hierarchy.
If you press Play at the top of Unity to play the scene, you can see that the 3D Ball in Hierarchy is the assigned trained file. (There may not be a big change in appearance, but it is the data learned earlier)
This is the end of the learning test. There are other demo scenes available, so I think it's a good idea to try them while changing the name of the .yaml from the scene you were learning.
Building a clean Unity project
It's an extra edition, but it's how to create a new project for a clean ML-Agents without a demoscene.
Open Window> Package Manager from the menu.
Press the + button in the upper left and select ʻAdd package from disk. 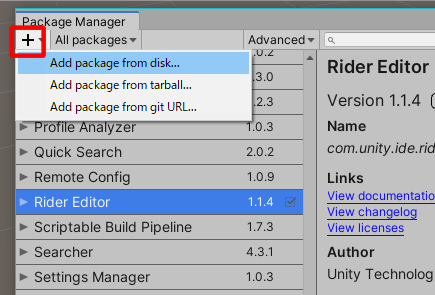 Go to C: \ Users \ username \ ml-agents-release_8 and open package.jsonin thecom.unity.ml-agents` folder.
 When the import is finished, it is complete.
Recommended Posts