Momokuro member face recognition by TensorFlow (second part)
Click here for the first part http://qiita.com/kenmaz/items/4b60ea00b159b3e00100
This is a continuation of the story of a software engineer who is completely new to machine learning and deep learning, who created an app that uses a convolutional neural network to identify the faces of members of "Momoiro Clover Z."
deeplearning In the first part, we explained how to extract face images from the images collected by the crawler and generate learning data. I will finally start learning from here.
The code for the machine learning part is attached to Tensorflow Deep MNIST for Experts and CIFAR. -10 Classification I recommended the implementation based on the code.
Generate and read CSV
gen_testdata.py https://github.com/kenmaz/momo_mind/blob/master/deeplearning/gen_testdata.py
First of all, it is the part that feeds the training data to Tensorflow, but like the sample code of MNIST, I decided to generate CSV and read it. In the first part, the learning Momokuro member images were divided into folders on the Mac Finder, but based on the structure of the folders / files,
Training image file path,Member name 0-Numerical value corresponding to 4
I wrote a small script that spits out CSV in the form.
By the way, in Tensorflow, training data is serialized with like this protocol buffer, and [TFRecords] It seems that it is recommended to export to the file format (https://www.tensorflow.org/versions/r0.8/how_tos/reading_data/index.html#standard-tensorflow-format). It was a little troublesome, so I gave it up this time.
Input of training data
The following is a script that reads CSV and builds Tensor which is the input data of the model described later. mcz_input.py https://github.com/kenmaz/momo_mind/blob/master/deeplearning/mcz_input.py
Read text files into TensorFlow tf.TextLineReader and decode the read data as csv Convenient classes and functions such as tf.decode_csv function are prepared in advance. If you read the input data using these, it is the input data format to TensorFlow as it is [tf.Tensor](https://www.tensorflow.org/versions/r0.8/api_docs/python/framework.html# Tensor) will be built automatically.
Furthermore, as a machine learning technique, the training sample image is "inflated" by flipping the training sample image left and right, rotating and zooming it slightly, and randomly changing the contrast (called "data expansion"). There seems to be), but most of those processes are also prepared by TensorFlow.
Randomly flip left and right tf.image.random_flip_up_down (), change brightness randomly tf .image.random_brightness (), also change contrast [tf.image.random_contrast](https: / /www.tensorflow.org/versions/r0.8/api_docs/python/image.html#random_contrast) etc.
At first, I didn't notice the existence of these functions and tried to use openCV by myself, but it seems better to use TensorFlow's one obediently.
Batch input
This time, as training data, we have prepared a total of 750 facial images, 150 for each member. ** 120 ** images are randomly extracted from these, and after the data is expanded and randomized as described above, they are collectively input as the input of the learning model. This work is set as one step, and learning is repeated for 1000 to 30,000 steps.
Learning model
This is probably the most important script in the code I made this time to build a learning / inference model. mcz_model.py https://github.com/kenmaz/momo_mind/blob/master/deeplearning/mcz_model.py
Examination of model 1
First, I defined the following convolutional neural network model. https://github.com/kenmaz/momo_mind/blob/master/deeplearning/mcz_model.py#L6
-input(28x28 3ch color)
-Convolution layer 1
-Pooling layer 1
-Convolution layer 2
-Pooling layer 2
-Fully connected layer 1
-Fully connected layer 2
This is almost the same as the CIFAR-10 sample. With this model, the classification accuracy was only about ** 65 ~ 70% **.
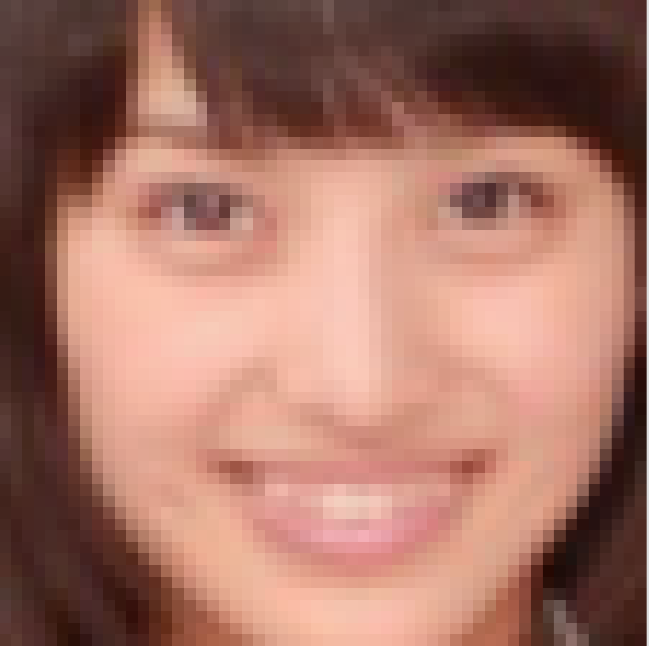
The input 28x28 is because I brought the CIFAR-10 sample as it is, but 28x28 is, for example, a 28x28 image.
 Hmm, who is it? (** I understand **)
It seems to be very difficult for humans to do it because we have to find out the features from this rough image. I want to make it higher resolution.
Examination of model part 2
With that said, I wanted to improve the accuracy, so I doubled the resolution of the input image and added convolution and pooling layers one by one. https://github.com/kenmaz/momo_mind/blob/master/deeplearning/mcz_model.py#L53
-input(56x56 3ch color)
-Convolution layer 1
-Pooling layer 1
-Convolution layer 2
-Pooling layer 2
-Convolution layer 3
-Pooling layer 3
-Fully connected layer 1
-Fully connected layer 2
I defined a model of a convolutional neural network called. Then the accuracy finally increased to about ** 85% **.
A 56x56 image looks like this.
 You know who this time, right?
Only at this resolution can you recognize the dimples **. After all I want this much.
Well then, I wondered if we could improve the accuracy by increasing the resolution and increasing the number of layers. Actually, I tried to make a version with more layers and higher input resolution, but it didn't work because the cross entropy did not converge easily. The cause is not well understood. According to Mr. Sugiyan's blog, it was possible to achieve 90-95% by inputting 112x112. Where did the difference come from? ..
Model graph
TensorFlow has a function to display the learning model as a graph, so I will post it below with a rough explanation.

It is an image of data flowing from bottom to top.
The end of the second part
I'm getting sleepy soon, so I'll continue at a later date.
Recommended Posts