[JAVA] Introduction to Programming for College Students: Make Straight Lines More Attractive
- With Qiita, it is difficult to print only the text part. Therefore, the same content is posted on the following page. If you want to print out or convert to PDF, please use this page:
http://gurakura.sakura.ne.jp/hellomondrian/strokeweight/
Introduction
The use of the line function has made it possible to draw pictures programmatically, albeit at a minimum. However, this alone is not enough to express itself. This section describes how to change the line thickness and color.
Change the thickness of the line
First, I will show you how to change the line thickness. The line thickness is set with the strokeWeight function.
Regarding how to use the stroke function, use strokeWeight (20) etc. and specify the thickness of the line you want to use as an argument in pixels. In the example below, the line width is 20 pixels.
background(250,250,250);
size(500,500);

strokeWeight(20);
line(70,100,450,300);
The result of running this program is as follows:
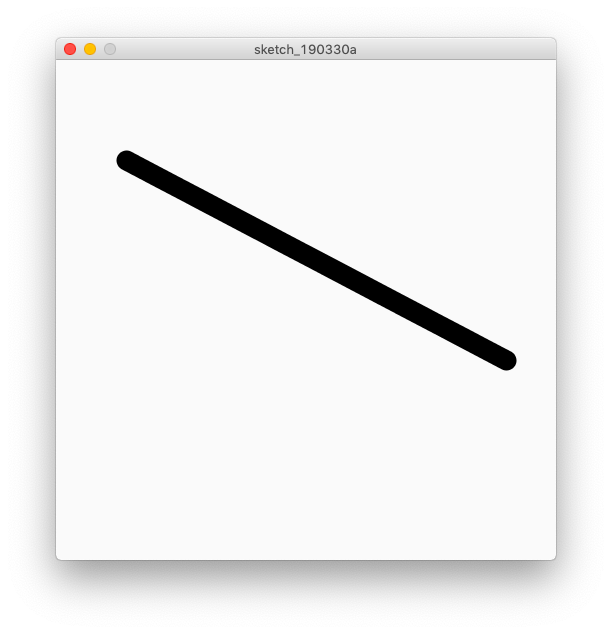
As an aside, if you increase the width of the line, you can see that both ends of the straight line are rounded.
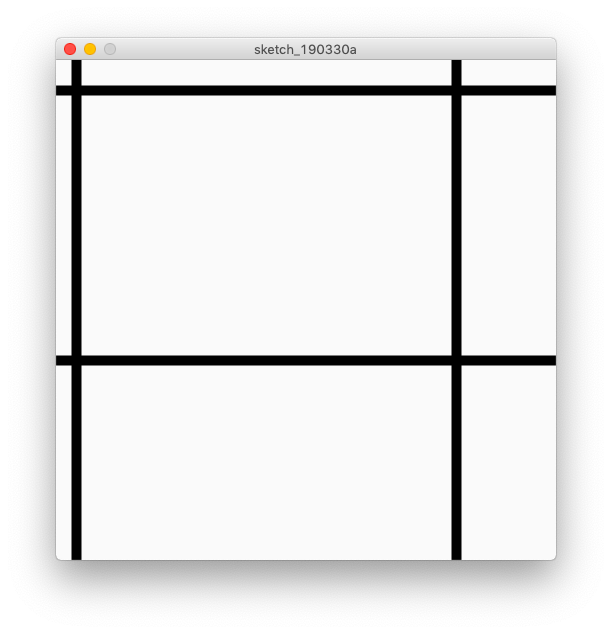
The line width set by strokeWeight remains in effect until it is changed again by strokeWeight.
background(250,250,250);
size(500,500);

strokeWeight(10);
line(  0, 30,500, 30);
line( 20,  0, 20,500);
line(400,  0,400,500);
line(  0,300,500,300);
When I run this program, I get the following figure:
Change the color of the line
The line color can be changed with the stroke function. As with the background, there are various ways to specify the color, but here we will introduce the method of setting with the RGB value as explained in the background color section.
As with background, as stroke (r, g, b), set the color determined by (R, G, B) = (r, g, b) to the line color. For example, if stroke (255,0,0) is specified, the lines drawn after that will be red. The values for R, G, and B, like backgrund, range from 0 to 255.
background(250,250,250);
size(500,500);

strokeWeight(10);
stroke(255,0,0);	// <--- red
line(400,30,50,350);
The execution result of the above program is

It will be.
Like strokeWeight, the line color specified by stroke is retained until it is changed again using the storke function. In other words, once it is set to red, all drawings by the line function executed after that will be red lines.
In the program below, after drawing the red line, the stroke function is called again with an argument that means blue. By changing the color as needed in this way, you can freely create images (although it is still only line art).
background(250,250,250);
size(500,500);

strokeWeight(10);	// <--- weight

stroke(255,0,0);	// <--- red
line(  0, 30,500, 30);
line( 20,  0, 20,500);

stroke(0,64,255);	// <--- light blue
line(400,  0,400,500);
line(  0,300,500,300);
Execution result of the above program:
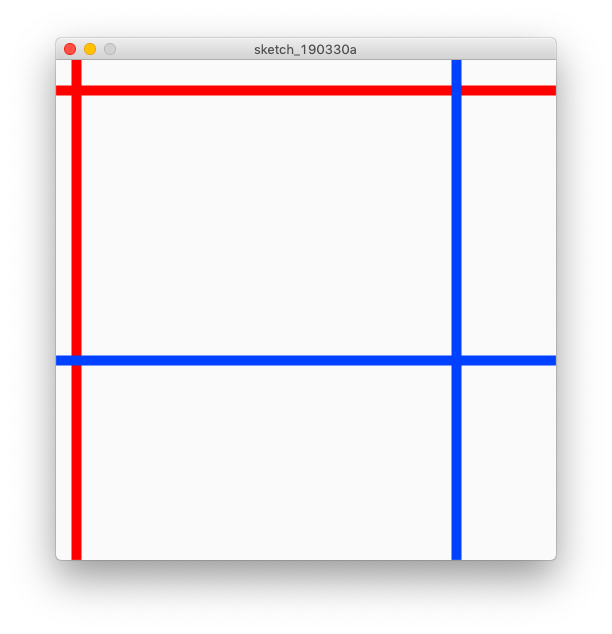
As you can see from this figure, the line drawn later is drawn above. This is the same as when using opaque paints such as oil paints, so I think it will be familiar to all college students.
Processing can also handle information called "alpha value" that indicates opacity. In other words, you can specify a translucent color, and to put it bluntly, you can paint it like a transparent watercolor paint.
By the way, please note that alpha is not transparent. Since it is "non-transparency" rather than transparency, 1.0 = 100% is the value for complete opacity, and 0 = 0% is the value for complete transparency.
Column 1: Isn't it overwritten even if I draw it later?
Since only so-called 2D images are handled in this series, they will be overwritten in sequence even when drawn by a program. However, Processing can also handle 3D CG, so in that case it is not always overwritten by what you drew later.
In the case of 3D CG, information indicating the depth is added, so things drawn later may be placed deeper.
Your City I --- Let's draw using the functions so far
At the end of this section, try drawing a program with your town as the theme. Here, I will programmatically generate a picture with the theme of the area where I have finished:
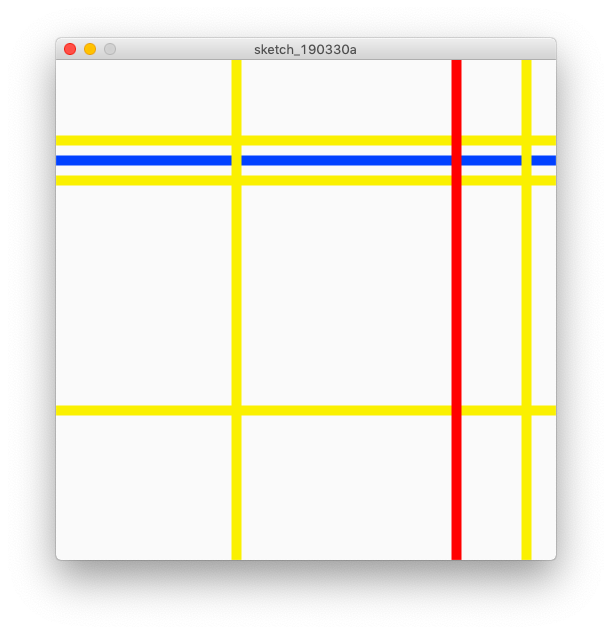
Here, the blue color represents the river, and the yellow on either side of it represents the road that runs by the river. There is a bridge that intersects the road at right angles.
Here is the program that generates this image
// my Town I  by Koji Iigura
background(250,250,250);
size(500,500);
strokeWeight(10);

stroke(0,64,255);   // <--- light blue
line(0,100,500,100);

stroke(250,240,0);   // <--- yellow
line(  0, 80,500, 80);
line(  0,120,500,120);
line(180,  0,180,500);
line(  0,350,500,350);
line(470,  0,470,500);

stroke(255,0,0);    // <--- red
line(400,  0,400,500);
Because there is no particularly technical part in the program If you read it in order from the top, you will understand it.
Column # 2: Aliasing and Antialiasing
The lines drawn on the computer are now completely clean. The straight lines drawn on personal computers in the early 1980s, when personal computers were still called microcomputers, were very jagged.
In general, a computer-generated picture (= image) is like a very fine mosaic picture composed of squares called pixels.
Why is it possible to display smooth straight lines in spite of such a structure? The secret lies in the technology called antialiasing.
For example, if you draw a diagonal black straight line on a white background in Photoshop and zoom in with the zoom function, you can see that the pixels near the outline of the straight line are nicely gray. Antialiasing is a technology that expresses this kind of expression.
A straight line drawn by a computer is mathematically a very long and narrow rectangle. In other words, unlike straight lines in mathematics, having an area is one of the characteristics of straight lines in computer graphics (CG).
Therefore, straight lines in CG are drawn based on a slightly different idea from straight lines in mathematics. Antialiasing, which we are talking about now, is one of them.
Antialiasing calculates how much the area of a straight line is related to the pixel of interest. If a pixel is contained in a 100% straight line, the color of that pixel is filled with the color of the straight line, but if, for example, only 30% of the pixel's area overlaps the straight line, then the pixel is Only 30% is affected by the color of the straight line.
The anti-aliasing process in straight line drawing determines the color around the straight line based on such calculations.
By default, Processing has antialiasing enabled (that is, without doing anything). Of course, this feature can also be turned off. If you want to achieve jagged, old computer-like drawing, you may want to turn off the antialiasing function.
You can also turn off antialiasing in Processing. In that case, call the noSmooth function. Conversely, to enable (turn on) it, call the smooth function. Those who are interested should search based on these keywords.
Column 3: How to save the generated image to a file
Images generated by the program cannot be published on SNS as they are. Here's how to convert the generated image to an image file.
The output to the image file is
save(Output file path)
You can easily do it.
Path (= path) is a word that means a way. File path, which means the path of a file, means information that includes the location of the file.
For mac, if you want to output the file to the desktop of the currently logged in user, you can easily do it with the following code:
String filePath=System.getProperty("user.home")
                +"/Desktop/File name you want to output.png ";
save(filePath);
Add this piece of program to the end of the program and the image will be saved as a PNG file.
For example, if you want to output to the desktop with the file name test.png, the filePath variable part is
String filePath=System.getProperty("user.home")
                +"/Desktop/test.png ";
It will be.
If you want to output to a JPEG file, change .png to .jpg. It is relatively easy to output, so if you are interested, please try it.
Recommended Posts