[Android Studio] How to change TextView to any font [Java]
From left image to right image


Introduction
Prepare a free font.
FONT FREE(https://fontfree.me/)
Free font Kensaku (https://cute-freefont.flop.jp/)
There are many others, but the above site is recommended.
This time, I will use "Rondo B" here. Download the font you want to use.

Prepare the project
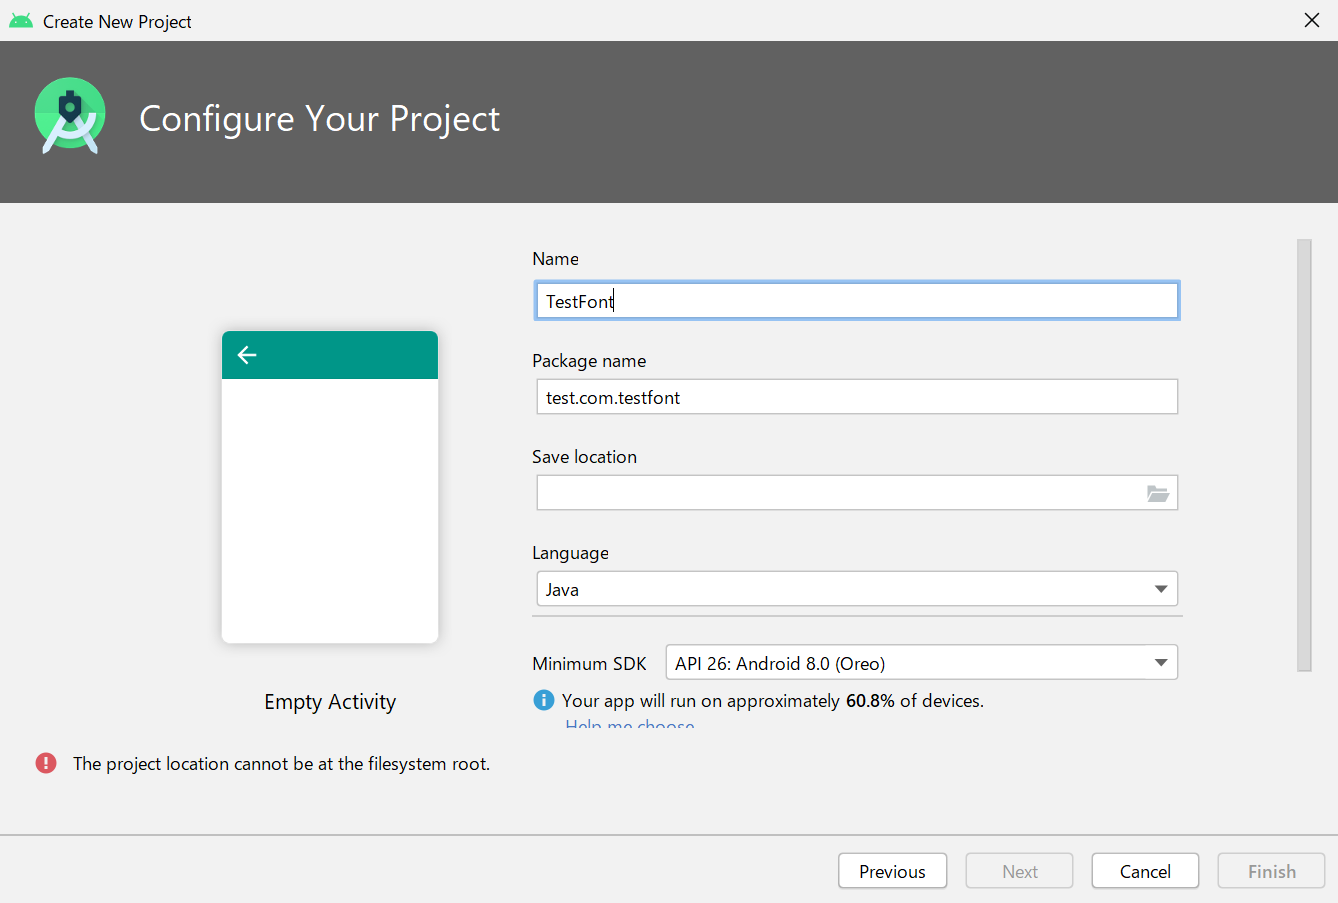
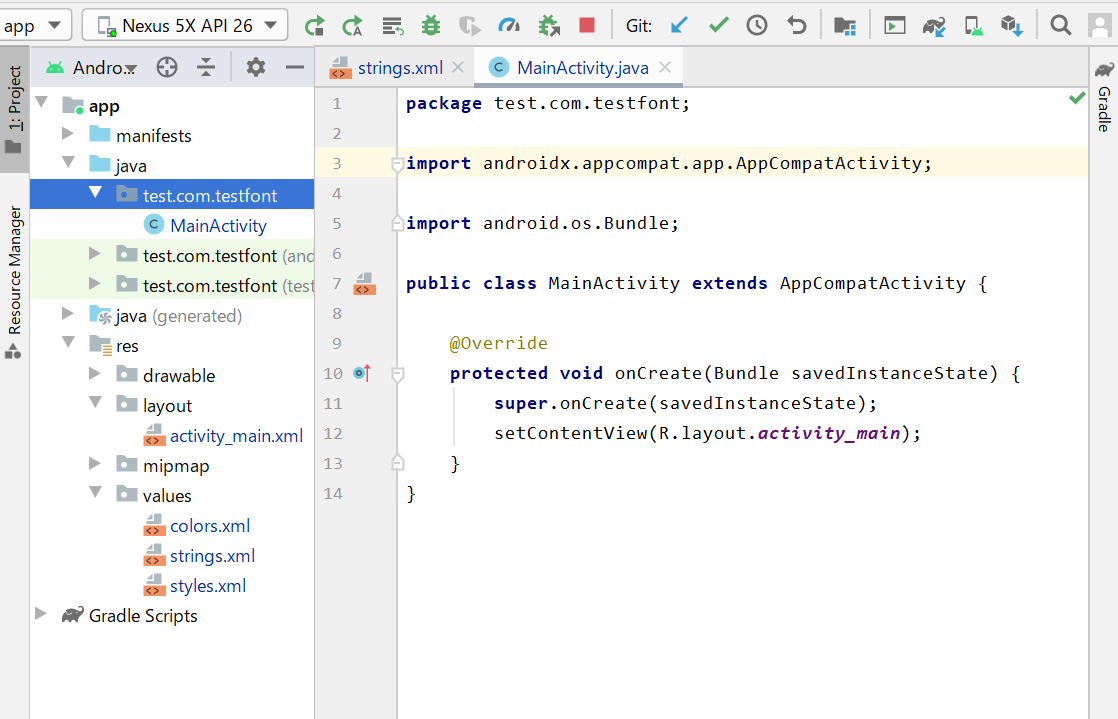
This time I created a project with the name TestFont. We will proceed assuming that you have MainActivity.java and activity_main.xml.
Change the project name, save location, etc. according to your own project.
Prepare the assets folder
The font file should be in the asset folder, but it doesn't exist at first, so create it.
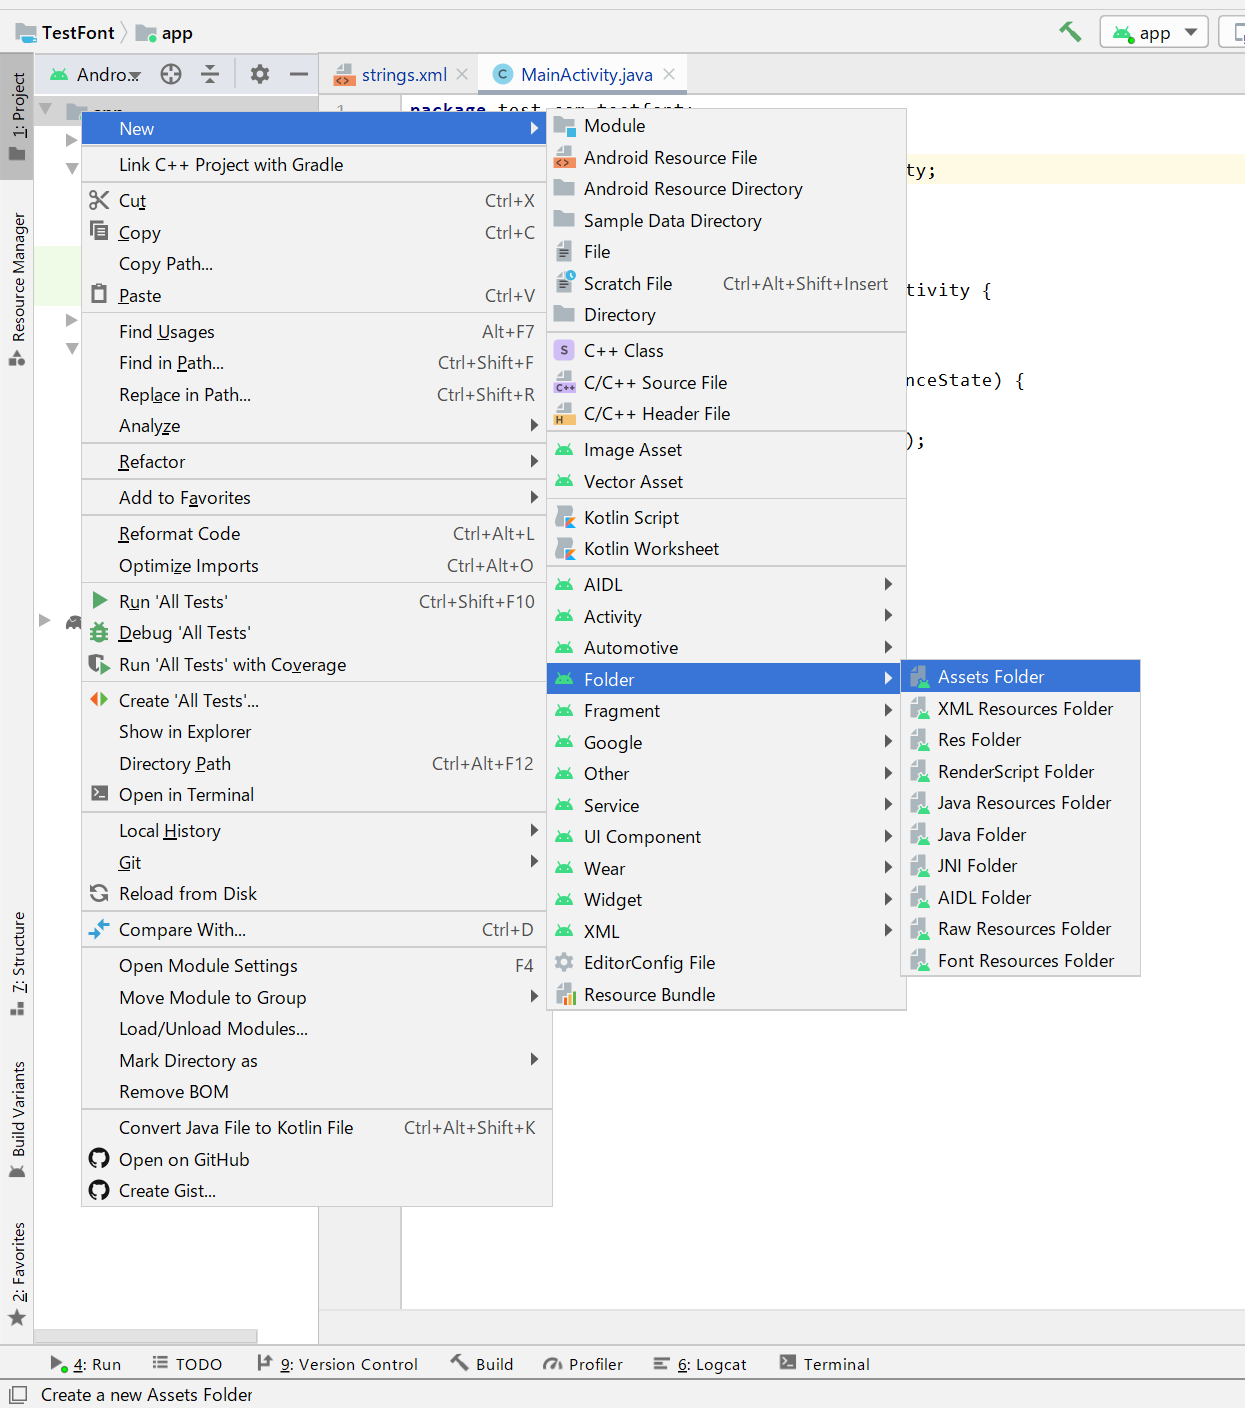
Right-click on the app in the upper left corner of the Android Studio screen and select ** New → Folder → Asset Folder **.
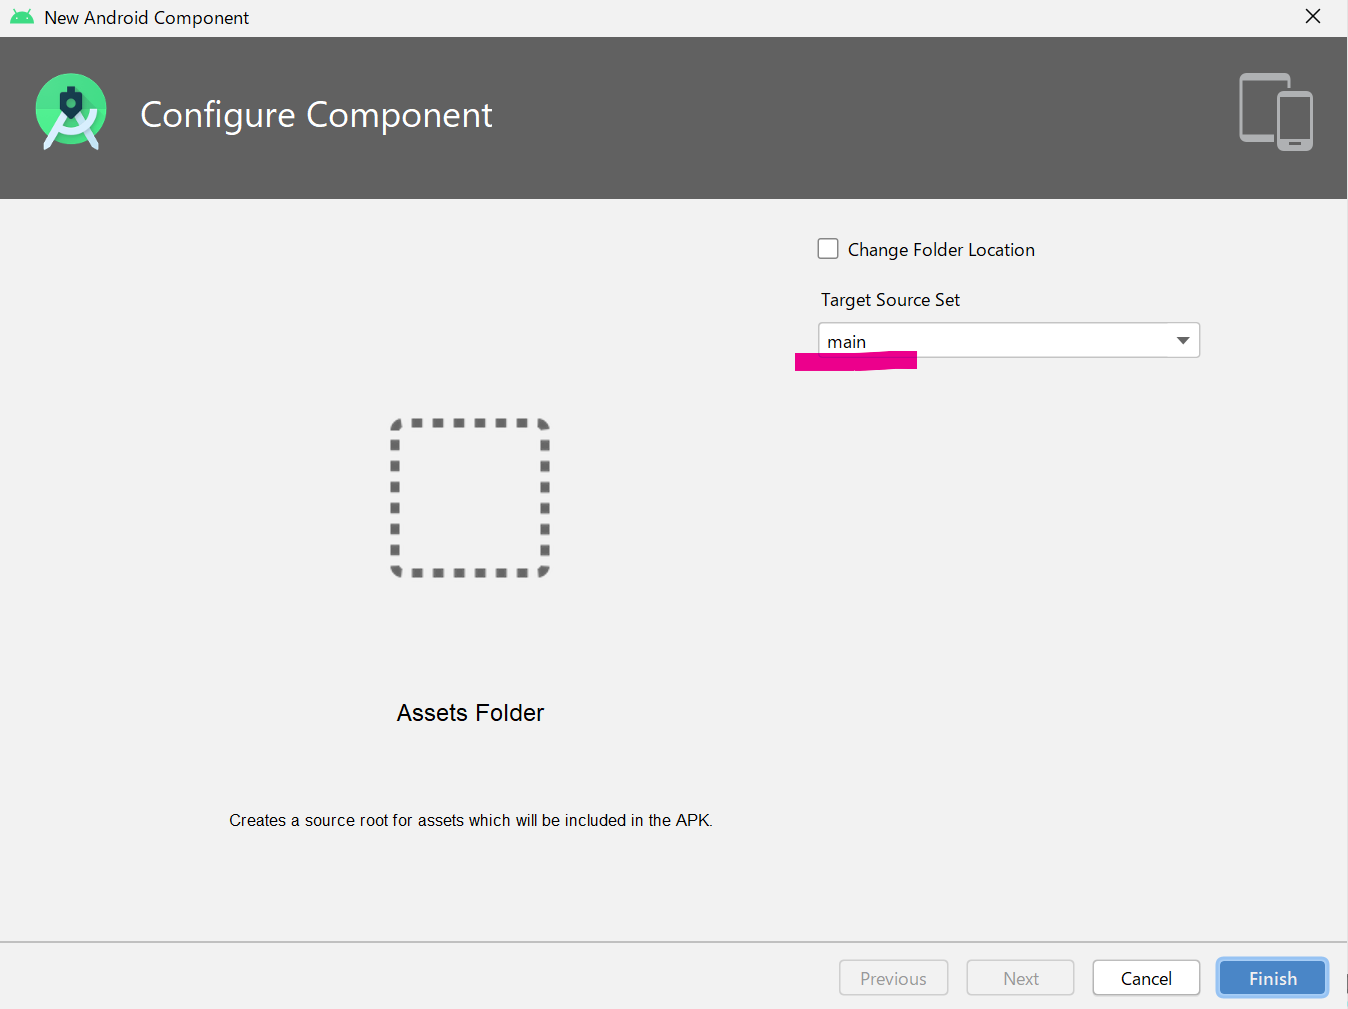
 Make sure the Target Source Set is main and press Finish.
 The assets folder has been created.
 Right-click on the assets folder and select Show in Explorer.
(Of course, you can deploy Explorer yourself)
 Place the downloaded font file in the assets folder.
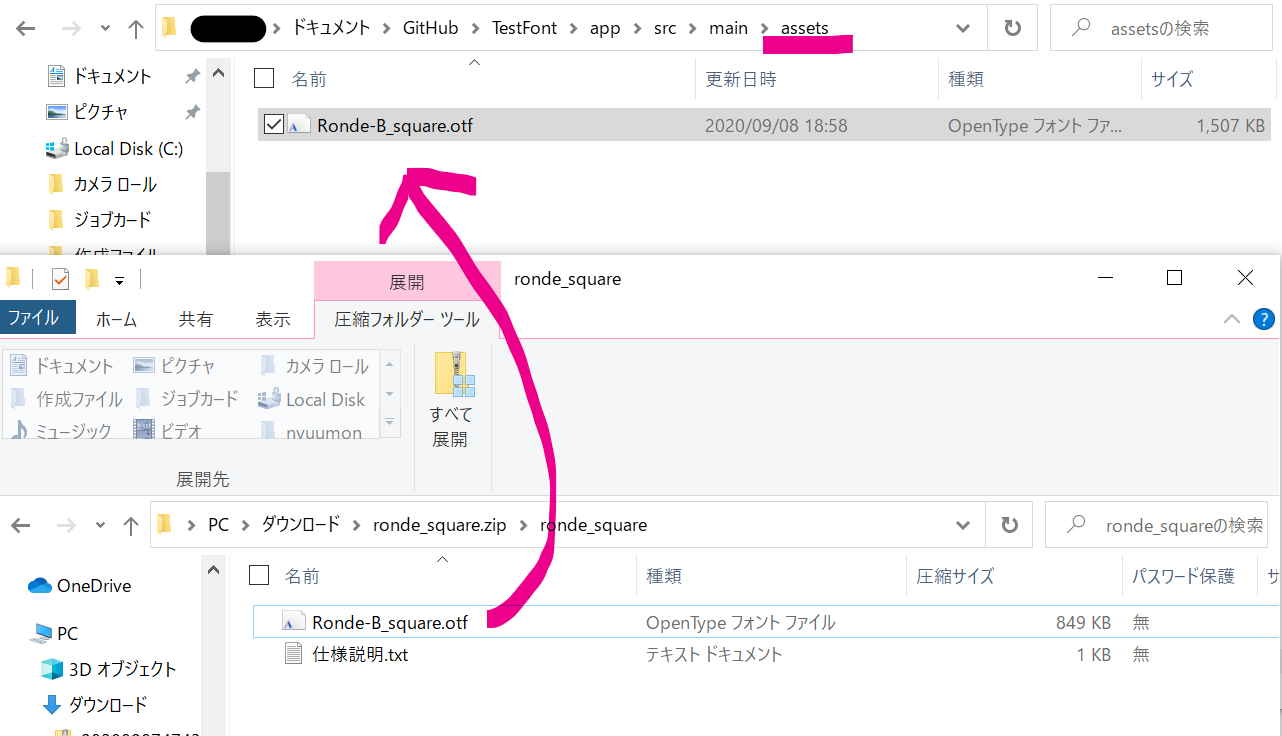
If the font file is added when you open the AndroidStudio assets folder, you're ready to go.

Tag .xml file
Two lines have been added from the default. We'll be using tags in our .java files, so tag text = "Hello World!". This is the second line. The letters are small and hard to see, so I made them larger. This is the 6th line.
activity_main.xml
    <TextView
        android:id="@+id/text01"
        android:layout_width="wrap_content"
        android:layout_height="wrap_content"
        android:text="Hello World!"
        android:textSize="30sp"
        app:layout_constraintBottom_toBottomOf="parent"
        app:layout_constraintLeft_toLeftOf="parent"
        app:layout_constraintRight_toRightOf="parent"
        app:layout_constraintTop_toTopOf="parent" />
Introduced in .java file
Here is the default
MainActivity.java
package test.com.testfont;

import androidx.appcompat.app.AppCompatActivity;

import android.os.Bundle;

public class MainActivity extends AppCompatActivity {

    @Override
    protected void onCreate(Bundle savedInstanceState) {
        super.onCreate(savedInstanceState);
        setContentView(R.layout.activity_main);
    }
}
The 3rd, 4th, and 5th lines of the onCreate method are the added lines. Change variables (rondeB, text, etc.) as appropriate. I think import will be added automatically. (If it is not added automatically, it will be added by pressing Alt + Enter)
MainActivity.java
package test.com.testfont;

import androidx.appcompat.app.AppCompatActivity;

import android.graphics.Typeface;
import android.os.Bundle;
import android.widget.TextView;

public class MainActivity extends AppCompatActivity {

    @Override
    protected void onCreate(Bundle savedInstanceState) {
        super.onCreate(savedInstanceState);
        setContentView(R.layout.activity_main);
        Typeface rondeB = Typeface.createFromAsset(getAssets(), "Ronde-B_square.otf");
        TextView text = findViewById(R.id.text01);
        text.setTypeface(rondeB);
    }
}
The finished product
 ## reference##
[[Android Studio] How to use custom fonts (Java code)](https://codeforfun.jp/android-studio-how-to-use-custom-fonts/)
Recommended Posts