Set up a file server using samba on ZeroPi of Friendly Arm [OS installation]
Lottery
-Purchased Items -Personal import -OS installation This article -samba settings
at first
It is a continuation of the following article. Set up a file server using samba on ZeroPi of Friendly Arm [Personal import]
I will set up the ZeroPi I got.
That said, it's easy because you just burn the image dropped from the friendly arm formula to the micro SD.
environment
Windows 10 64bit
Get OS image
The official wiki is very extensive for settings and more.
The kernel is a little old, but since the OS tailored for ZeroPi is prepared, Let's use this.
First, follow the download link on the wiki to download the image
http://wiki.friendlyarm.com/wiki/index.php/ZeroPi#Install_OS
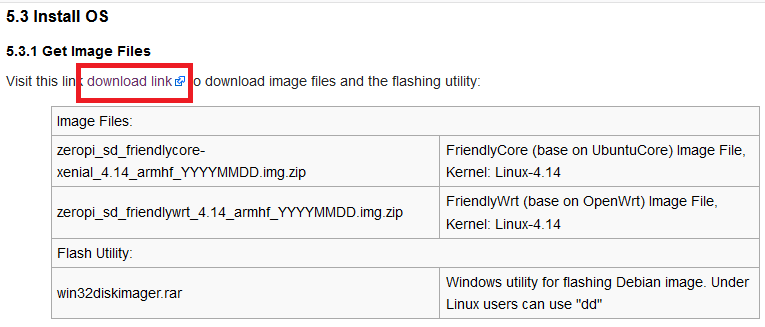
Let's drop it from google drive.

Download ZeroPi-xxxxxx.7z at the bottom.
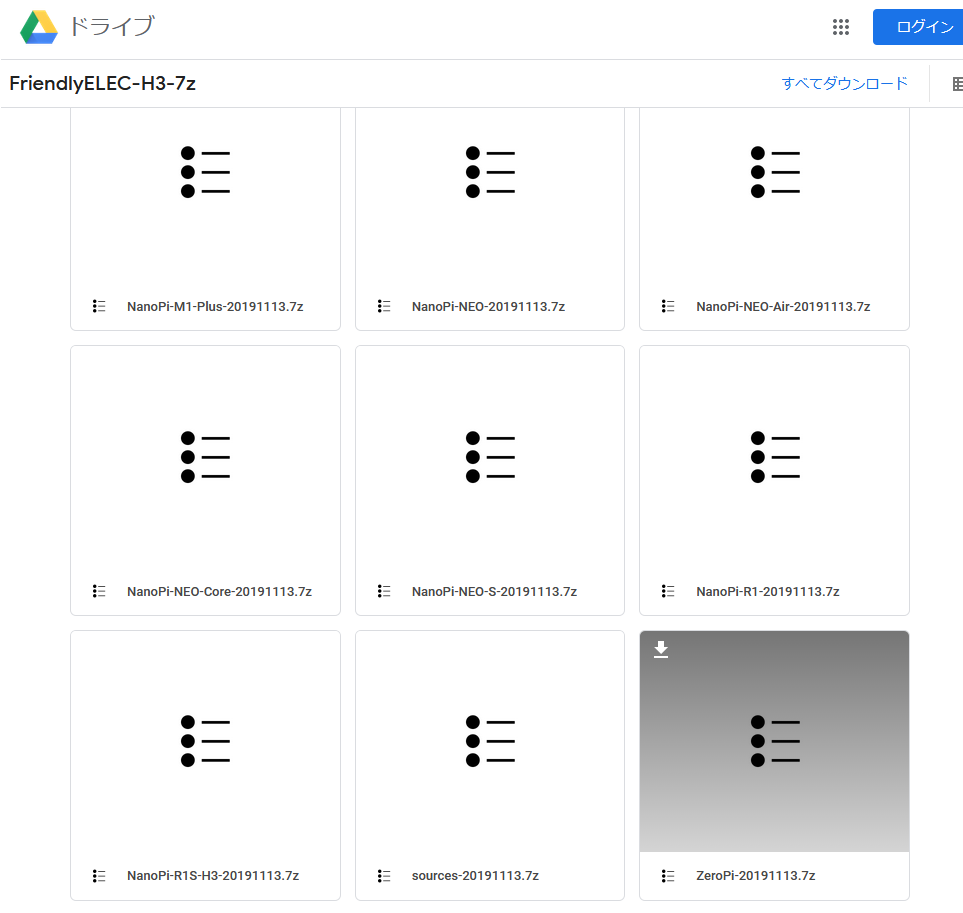
In this, the image to install and
Contains a tool to burn an image to a microSD.
There are two images, but this time we will use a friendly core based on ubuntu core.

Image writing
You can use the included writing tool as it is, but the version is old.
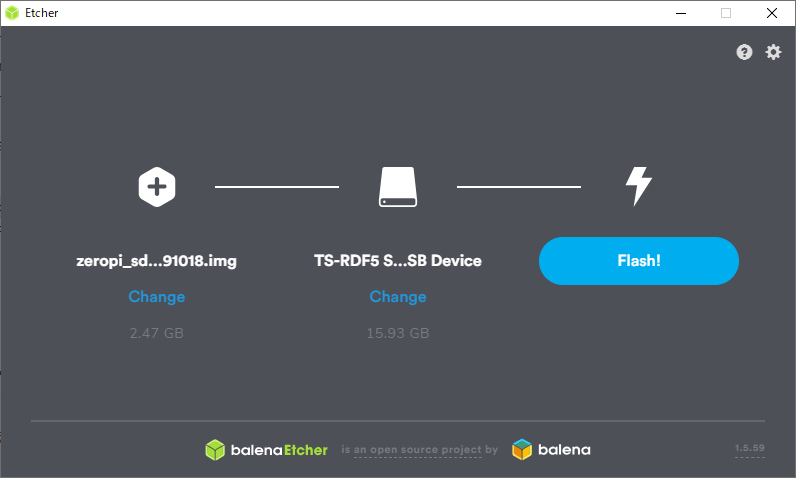
There are many other image writing tools. I used balena Etcher. https://www.balena.io/etcher/
Select an image, select the media to burn, and start.
It's simple.
Start-up
Insert the completed microSD.
The orientation is as follows, so do not force it in the opposite direction and break it.
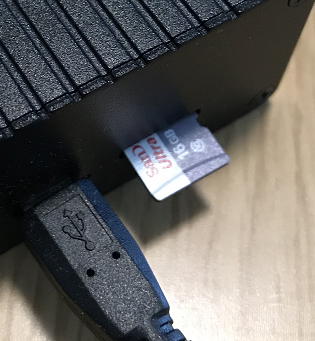
When you plug it in, it looks like this
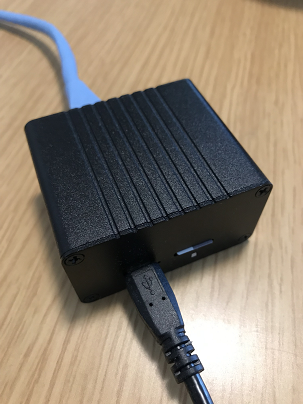
There is no power switch, so point to the USB cable to turn it on.
Access to ZeroPi
By the way, I noticed when I thought that I should see it on the startup screen as well. "Oh, display output ...?"
I got caught! There is no such thing!
Well, people who buy this should know and buy it, so it's okay! ... isn't it?
But it's okay, you can access it from the Ethernet cable. By default, ZeroPi gets an IP from a DHCP server (≒ home router), so you can use SSH to that address.
Physical connection to LAN
First, connect ZeroPi to the same LAN as your PC. In the initial setting, do not connect to a place accessed by an unspecified number of people, such as directly piercing the Internet. Anyone can access it with the default ID / path combination as described below.
At this point, ZeroPi should have an IP assigned.
IP identification
Not sure which IP was assigned? Let's search by pushing. (We are looking for a smarter way)
However, it is difficult to find all the IPs, so first look for a terminal that will reply to ping. For the time being, about 20 is fine. Select the XX part within the range of your own LAN. If you hit ipconfig, it will come out.
cmd
>for /L %f in (1,1,20) do ping -n 1 -w 50 192.168.XX.%f | find "Receive= 1"
The response is the ZeroPi IP candidate. (Can't you identify? Ah, I can't hear you)
Ssh connection
Get your SSH client first. Anything is fine, but let's make it the standard for windows. I referred to this area. https://www.onebizlife.com/windows10-ssh-client-1980
There are also teraterm and putty.
The login id / pass is as official. http://wiki.friendlyarm.com/wiki/index.php/ZeroPi#System_Login
id:pi
pass:pi
After that, I will attack the candidate I checked earlier ~~ I will try to connect.
powershell
>ssh [email protected]
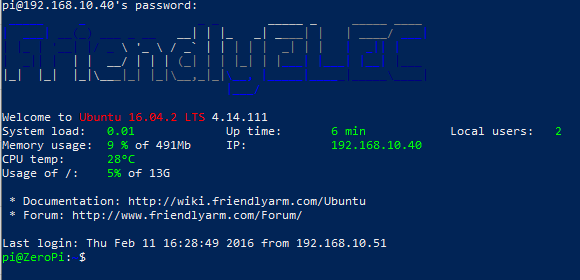
You're connected.
change Password
Let's change the password.
pi@ZeroPi:~$ passwd
Changing password for pi.
(current) UNIX password:
Enter new UNIX password:
Retype new UNIX password:
passwd: password updated successfully
Disable root user
First of all, even though ubuntu is valid, the root user is valid and can be accessed from ssh, so Let's disable it.
bash
pi@ZeroPi:~$ sudo passwd -l root
passwd: password expiry information changed.
At the end
This time it was OS installation. Next is the samba settings.
Recommended Posts