Make an Ev3 radio control with JavaFx and leJOS [Part 1]
Introduction
This article assumes that you have a leJOS development environment in place. Please refer to this article for details.
[LeJOS] Let's program mindstorm-EV3 in Java [Environment construction first part]
[LeJOS] Let's program mindstorm-EV3 in Java [Environment construction part 2]
Overview
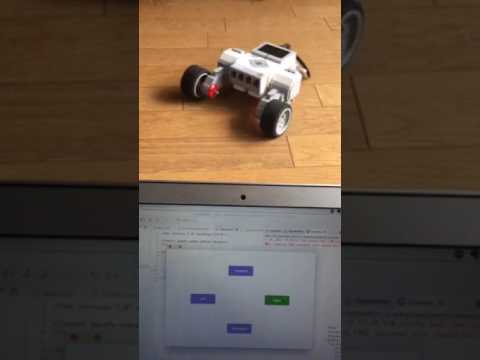
We will explain how to develop a GUI application that controls Ev3 using leJOS's remote control class and JavaFx using a simple sample program. What we will create this time is a simple radio control app. In the first part, we will explain how to build an environment for application development.
Click to play video
Please refer to this article for remote control of leJOS.
[[LeJOS] Let's remotely control the EV3 motor with Java](leJOS] Let's remotely control the EV3 motor with Java)
[LeJOS] Get EV3 sensor value remotely with Java
environment
- mindstorm-EV3
- PC : MacBook OS X
- Eclipse Version: Neon.2 Release (4.6.2)
- leJOS leJOS_EV3_0.9.1-beta
- Java System Library [JavaSE 1.8]
Install SceneBuilder
SceneBuilder is a JavaFx GUI construction tool. Please install from this link. http://gluonhq.com/products/scene-builder/
Settings on the Eclipse side
Select Eclipse-> Preferences-> JavaFx from the menu bar of the Eclipse startup screen. Set the path to the SceneBuilder executable file there.
In my environment I set it to / Applications / SceneBuilder.app.

Create a new project
Right-click on Package Explorer and select New-> Other.
The following screen will appear. Select JavaFx-> JavaFx Project.

The project name is JavaFxEv3.
Select Next instead of Finish.
 No special settings are required on this screen. Select Next.
 This is the setting for GUI. The language is FXML, the file name is Form, and the controller name is FormController.

Addition of leJOS Runtime
Right-click on the JavaFxEv3 project created in Package Explorer and select leJOS EV3-> Convert to leJOS Project.
The file structure of the project should look like this:

Try to run
Now you are ready to develop.
First, let's run the program without editing anything. Run as a Java Application.

If you see a blank window with nothing, you are successful.

Summary
Now you are ready to create JavaFx and leJOS applications. In the second part, I will explain the actual program.
Recommended Posts