[JAVA] A memorandum when trying Spring Data JPA with STS
Overview
I will keep a memorandum when I tried Spring Data JPA using STS. Mainly for myself. Spring Data JPA is Spring's O / R mapper, A framework for model layers.
Explanation of words before introduction
O / R mapper
One row of records in a DB table or view Treat as one instance of Java Tables and instances The module to associate with. I will write in a little more detail later.
- Strictly different, but the image is I think it's a good match.
Model layer
Model of MVC (Model, View, Controller). DB itself, CRUD to DB (** C ** reate, ** R ** ead, ** U ** pdate, ** D ** elete), The logic part of the application.
Reasons to recommend JPA in Spring
What are the strengths of Spring Data JPA? Class and method naming conventions, etc. If you keep your promise, just make an interface You can CRUD. Convenient.
However, when you need to write SQL JPQL instead of SQL ** Tight dialect like SQL mixed with Java ** It seems that there are many patterns for writing SQL.
In other words, it can be implemented only with the interface Simple CRUD may not meet your requirements. There may be cases where you want to customize it. But I don't want to write JPQL. You want to write in SQL, right? ** I can write. ** **
For those like me, in this article We will write and implement SQL directly. In this article, R (Read) of CRUD is used as a sample. I will introduce how to use it.
Setting up Spring Data JPA with STS
It's a good idea, so use STS Let's make it with the Spring Boot project. Not validation from a web application I would like to verify from JUnit. By the way, the OS of the verification PC is Windows 7.
First, Download STS. Download the zip one.
STS is an eclipse-based IDE To make each Spring product easier to use It is customized.
By the way STS = Spring Tool Suite Like "Put all Spring toppings" It's a nuance.
After downloading, unzip the zip. I expanded it to c: \ sts. It took about 20 minutes.

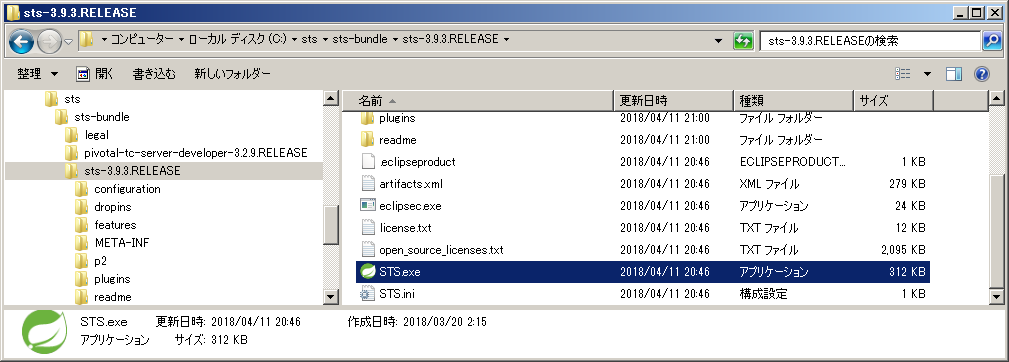
Go to C: \ sts \ sts-bundle \ sts- (version number) .RELEASE,
Start sts.exe.

Note here. It ’s a common pattern, Error: Failed to load the JNI shared library Does not start with. This error message is for the application and OS bits Occurs when they do not match. For example, Windows and Java are 64bit, but STS is 32bit. At the time of writing this article, there is a 32-bit zip on the top page of STS. It was a trap for me.
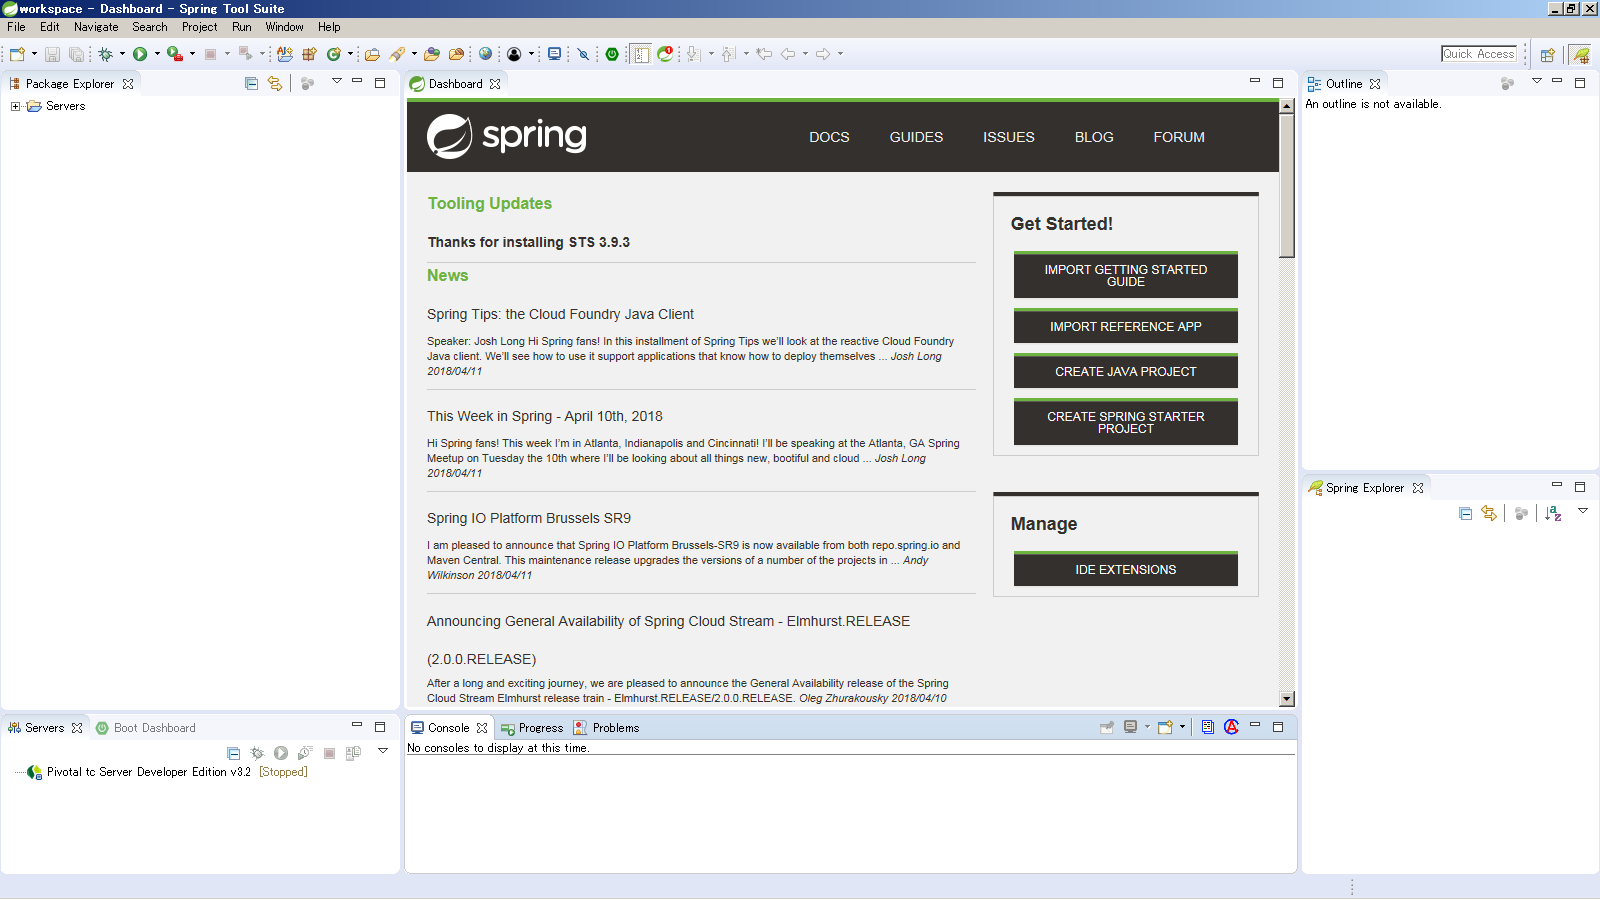
That's why I started STS.

Right click on Package Explorer, Create a new project.

The type is Spring Boot> Spring starter project.


Next is the preparation of the DB. I dared to use Oracle. The reason is the combination of Spring Boot + Oracle, I thought it would be in practice later.
And "dare" is Database Driver in MySQL or STS While some DBs are included, It means that Oracle is not included.
The database to connect to is Oracle Database 11g Express Edition. I made it with reference to here. It is convenient to create a DB user with administrator privileges from a browser.
However, as it is, from the Spring Boot project I can't connect to the Oracle Database Download the Driver from Oracle (http://www.oracle.com/technetwork/database/enterprise-edition/jdbc-112010-090769.html). Maven Repository I couldn't find it in I added the library directly to my project. It's a red guy. Originally, Maven or Gradle Project management is recommended, but It wasn't there.
I feel like this in practice.
Add the following tables and records to the created DB.
CREATE TABLE USER (
  USER_ID VARCHAR2(20),
  USER_NAME VARCHAR2(20),
  AGE NUMBER(3,0),
  CONSTRAINT PK_USER PRIMARY KEY(USER_ID)
);

Here is a little supplement about the O / R mapper. For the above table, prepare the following class.
** UserInfo.java ** Class corresponding to table USER_INFO
package jp.co.illmatics.app.samples.entity;

import javax.persistence.Entity;
import javax.persistence.Id;

@Entity
public class UserInfo {

	@Id
	public String userId;

	public String userName;

	public Integer age;

	/**
	 *Convert the acquired record into a character string
	 */
	public String toString() {
		return "userId = " + userId +
		       ", userName = " + userName +
		       ", age = " + age;
	}

}
Table name and column name By changing from Upper Snake Case to Lower Camel Case It is linked with the class name and field name.
in this case, The table name USER_INFO is the class name UserInfo, Column USER_ID is field name userId, And so on.
By the way, here is the project I made.

Next, I will introduce each class. By the way, in this article, the class that is `` `SpringApplication.run``` is I will not use it, so I will omit the introduction.
** UserInfo Repository **
package jp.co.illmatics.app.samples.repository;
import java.util.Optional;
import org.springframework.data.jpa.repository.JpaRepository;
import jp.co.illmatics.app.samples.entity.UserInfo;

public interface UserInfoRepository
		extends JpaRepository<UserInfo, String> {
	public Optional<UserInfo> findByUserId(String userId);
}
Promise to extend JpaRepository, Specify the entity and ID classes in generics.
** Entity of class to access DB ** Write SQL here.
package jp.co.illmatics.app.samples.repository.impl;

import java.util.List;
import java.util.Optional;

import javax.persistence.EntityManager;
import javax.persistence.Query;

import org.springframework.beans.factory.annotation.Autowired;
import org.springframework.data.domain.Example;
import org.springframework.data.domain.Page;
import org.springframework.data.domain.Pageable;
import org.springframework.data.domain.Sort;
import org.springframework.stereotype.Component;

import jp.co.illmatics.app.samples.entity.UserInfo;
import jp.co.illmatics.app.samples.repository.UserInfoRepository;

@Component
public class UserInfoRepositoryImpl implements UserInfoRepository {

	@Autowired
	EntityManager manager;

	@SuppressWarnings("unchecked")
	@Override
	public Optional<UserInfo> findByUserId(String userId) {
		String sql = "select * from USER_INFO "
					+ "where USER_ID = :userId";
		Query query = manager.createNativeQuery(sql, UserInfo.class);
		query.setParameter("userId", userId);
		UserInfo rawResult = (UserInfo) query.getSingleResult();
		Optional<UserInfo> result = Optional.ofNullable(rawResult);
		return result;
	}
       // abbreviated
}
- Override only unused methods It is omitted because it is not implemented.
** JUnit test case ** We have confirmed the operation.
package jp.co.illmatics.app.samples.repository.impl;

import static org.junit.Assert.*;

import java.util.Optional;

import org.junit.Test;
import org.junit.runner.RunWith;
import org.springframework.beans.factory.annotation.Autowired;
import org.springframework.boot.test.context.SpringBootTest;
import org.springframework.test.context.junit4.SpringRunner;

import jp.co.illmatics.app.samples.entity.UserInfo;

@RunWith(SpringRunner.class)
@SpringBootTest
public class UserInfoRepositoryImplTest {

	private String userId = "user001";

	@Autowired
	UserInfoRepositoryImpl userInfoRepositoryImpl;

	@Test
	public void testFindByUserId() {
		Optional<UserInfo> result =
			userInfoRepositoryImpl.findByUserId(userId);
		assertTrue(result.isPresent());
		System.out.println(result.get().toString());
	}

}
The point is the annotation attached to the class.
@RunWith(SpringRunner.class)You can test your class using Spring with.
 Spring Runner stands for Spring JUnit 4 Class Runner.
 After that, you can use DI for the class in the project with ``` @ SpringBootTest```.

 ** application.properties ** configuration file

```properties
spring.datasource.driver-class-name=oracle.jdbc.driver.OracleDriver
spring.datasource.url=jdbc:oracle:thin:@localhost:1521:XE
spring.datasource.username=xxxxxx
spring.datasource.password=xxxxxx
spring.jpa.database-platform=org.hibernate.dialect.Oracle10gDialect
spring.jpa.show-sql=true
- Dialect is specified as 10g, but when I tried it, it was the same as 11g.
An excerpt from the JUnit execution log.
Hibernate: select * from USER_INFO where USER_ID = ?
userId = user001, userName = userName001, age = 40
Finally
Thank you for reading until the end.
Recommended Posts