Starting with installing Docker on EC2 and running Yellowfin in a container

First of all
It seems that Yellowfin can now be run on Docker and Kubernetes, probably because containerization of apps is popular, so I would like to write an article from nothing to running on Docker. With this, I am grateful that even short-term POC (All-in-one package), sandbox, and medium- to long-term POC (App-only-image) can be done immediately. The docker file etc. are prepared here. https://github.com/YellowfinBI/Docker https://hub.docker.com/u/yellowfinbi
And here, we will explain assuming that it will be started on AWS EC2.
Advance preparation
Set up the server before installing docker. Roughly speaking, first update the language settings and time zone settings to match those of Japan so that you can see the server resources with dstat.
sudo yum update
sudo localectl set-locale LANG=ja_JP.UTF-8
sudo timedatectl set-timezone Asia/Tokyo
sudo yum install dstat
install docker
Install docker with yum and set service start and service automatic start when the server starts. The usermod on the 4th line seems to be able to execute the docker command without sudo when the user is added to the docker group, so add it. After rebooting, check the version as a user and test if you can hit the command safely.
sudo yum install docker
sudo systemctl start docker
sudo systemctl enable docker
sudo usermod -aG docker $USER
sudo reboot //Reboot to apply
docker --version
This completes the installation of docker itself.
Install docker-compose
docker-compose allows you to write multiple container definitions in a yml file, including options for Docker build and container startup, and use it to build Docker and start containers. You will be able to manage multiple containers with one simple command. The Yellowfin settings are also written in a yml file, so install this.
Remember the latest version of docker-compose at ↓. https://github.com/docker/compose/releases When typing with a command, replace the 1.27.4 part with the confirmed version. Execution permission is given on the second line.
sudo curl -L https://github.com/docker/compose/releases/download/1.27.4/docker-compose-`uname -s`-`uname -m` -o /usr/local/bin/docker-compose
sudo chmod +x /usr/local/bin/docker-compose
docker-compose --version
Run Yellowfin on Docker
Start Yellowfin from here in two patterns. The first pattern, All-in-one package, includes Yellowfin including postgreSQL, so if you just want to give it a try, this is fine. However, since I live with the DB, all the data will be lost the moment the service is dropped. .. The second pattern, App-only-image, is a method of creating a Yellowfin repository externally and containerizing only Yellowfin apps. Therefore, even if this service is dropped, the data is stored in the DB, so if you raise the service again, you can continue working again. You just need to be careful that you have to match the version of the application and the repository DB. In case of Yellowfin 9.3.1, the repository DB must also have the configuration of 9.3.1.
Run Yellowfin with All-in-one package
Get the image with this command.
docker pull yellowfinbi/yellowfin-all-in-one:latest
https://github.com/YellowfinBI/Docker/blob/master/Docker%20Files/yellowfinAllInOne/Dockerfile Download the configuration file from here and save it as docker-compose.yml. Type the following command in the saved directory to start it.
[ec2-user@ip-172-31-4-99 all-in-one]$ docker-compose up -d
Creating all-in-one_yellowfin-all-in-one_1 ... done
Then visit xxx.xxx.xxx.xxx:8080 to open the Yellowfin login page.
Run Yellowfin with App-only-image
This method requires a repository DB created / updated in advance with the version to be moved. Therefore, in order to create from scratch, it is necessary to first install the full version of Yellowfin, create a repository DB, and complete the initial startup. If you want to create from scratch, please see here. Notes on building the best Yellowfin test environment on EC2
Now for the steps, first copy the link from https://portal.yellowfinbi.com/yf_latestbuild.jsp and download the full version of the latest build.
wget https://files.yellowfin.bi/downloads/9.3/yellowfin-9.3.1-20201022-full.jar
Then change this file name so that it can be read by yml.
mv yellowfin-9.3.1-20201022-full.jar yellowfin-installer.jar
Download Dockerfile and perform_docker_configuration.sh from here to the same directory. https://github.com/YellowfinBI/Docker/tree/master/Docker%20Files/yellowfinAppOnly
Grant execute permission to the shell file.
sudo chmod 764 perform_docker_configuration.sh
Create an image.
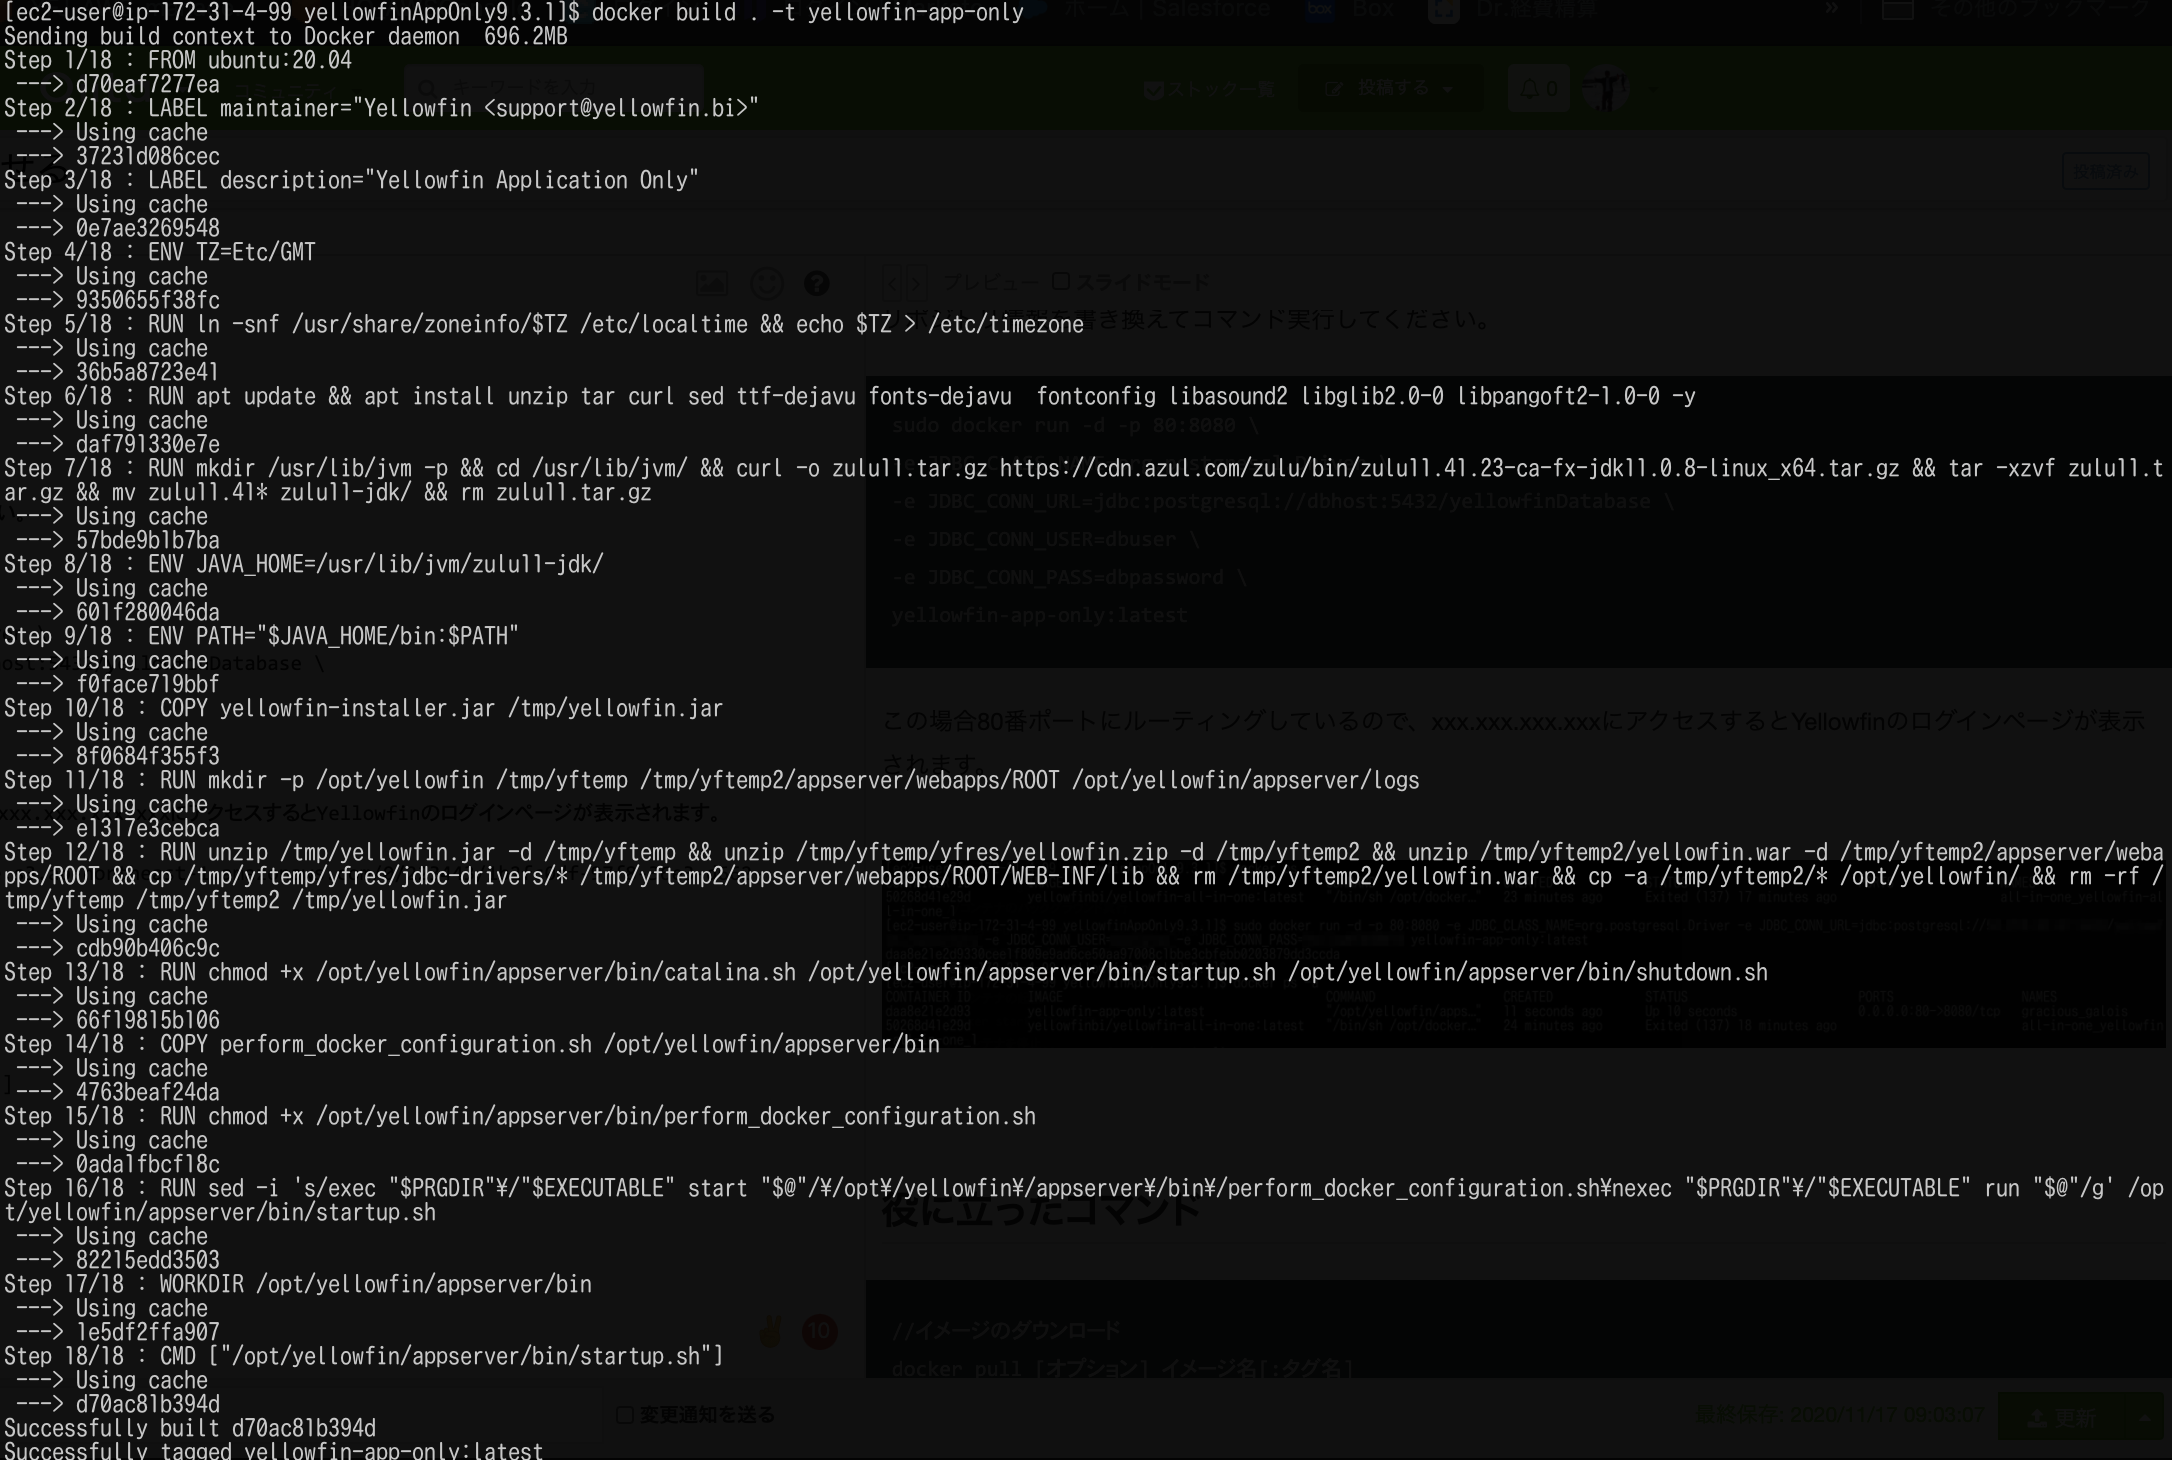
docker build . -t yellowfin-app-only
Then, the Dockerfile is read and the command is executed.

Rewrite the repository information and execute the command.
sudo docker run -d -p 80:8080 \
-e JDBC_CLASS_NAME=org.postgresql.Driver \
-e JDBC_CONN_URL=jdbc:postgresql://dbhost:5432/yellowfinDatabase \
-e JDBC_CONN_USER=dbuser \
-e JDBC_CONN_PASS=dbpassword \
yellowfin-app-only:latest
In this case, we are routing to port 80, so accessing xxx.xxx.xxx.xxx will bring up the Yellowfin login page.
Click here for the state of the container at this time. You can see that the All-in-one package is dropped and only the App-only-image container is up.

Useful commands
//Image download
docker pull [option]Image name[:Tag name]
//List of Docker images in the local environment
docker images
//Container background execution
docker run -d image name[:Tag name] [argument]
//Show all containers
docker ps -a
//Start container
docker start container ID
//Stop container
docker stop container ID
//Delete container
docker rm container ID
So
As soon as you build this, you can create a sandbox, or it will be launched as a service separate from the DB, so you can create an environment that feels more comfortable. It was difficult to command if I wasn't used to it, but I feel like I've come to understand it while using it. For the official documentation, please contact Yellowfin Japan for a white paper. I would like to challenge clustering with Docker and building with Kubernetes when I have some time.
I was allowed to reference.
Installing docker and docker-compose (Linux) Introduction to Docker (6th) ~ Docker Compose ~ Docker command list