How to build a Jenkins server with a Docker container on CentOS 7 of VirtualBox and access the Jenkins server from a local PC
What made you decide to write this article
The Udemy course below uses VirtualBox, CentOS7, and Docker, so I created it because I wanted to remember the procedure. 【Jenkins, From Zero To Hero: Become a DevOps Jenkins Master】 https://www.udemy.com/course/jenkins-from-zero-to-hero/
version
You need to install VirtualBox, Docker, and download the ISO of CentOS7, but the procedure changes every time a new one comes out, and even if it is an article, it will often not be usable after a few months, so I will omit it and only the version will be posted. VirtualBox 6.1.14 platform packages Docker 19.03.12 Docker Compose 1.26.2 CentOS-7-x86_64-Minimal-1810.iso ※http://repos-tx.psychz.net/centos/7.6.1810/isos/x86_64/ There is an ISO of CentOS in, so click it to download it.
Target readers
mac user Udemy's Jenkins, From Zero To Hero: Become a DevOps Jenkins Master course for those who didn't understand what they were saying
How to build a CentOS virtual environment on VirtualBox

Click New.

Name Jenkins
Type is Linux The version is Red Hat (64-bit) To The reason for changing the version to Red Hat (64-bit) is that CentOS is Red Hat series Linux and CentOS-7-x86_64-Minimal-1810 is for 64bit.
Click Continue.

The memory size is displayed. Set it to 2048MB and click.

Select Create virtual hard disk and click Create.

Select VDI and click Continue.

Select a variable size and click Continue.

The above pass is not particularly tampered with. Make the size 20GB.
Click Create.

I was able to build an environment for building a Jenkins server.
Click Settings to open the network.

Change the adapter 1 assignment from NAT to bridge adapter. The name may differ from person to person ... My house is connected to the network via Wi-Fi, so I set en0, which is Wi-Fi. The wired one is probably Ethernet ...?

Click OK when you are done.

Click Start ... and before that, there are a lot of people who can't move the mouse cursor in VirtualBox. The solution is to press the left Command key once, so be sure to remember that and move on to the next step. The timing of onset is different for each person. Now take a second and click Launch.
Some people need to set security and privacy here, so I'll allow you to monitor the input from the keyboard of VirtualBox.app.

After completing the settings, restart VirtualBox and start the Jenkins virtual environment again.

Some people also have to allow privacy, so check this as well and restart VirtualBox again.
- After that, even if I started the virtual environment called Jenkins, I did not go to the screen below for some reason, so I gave up and deleted the environment once created, and then repeat the procedure up to this point again.

Specify the CentOS 7 ISO (CentOS-7-x86_64-Minimal-1810.iso) downloaded here, but it is Empty (empty). You need to specify it, so click the folder on the right. Click Add to navigate to the location where you saved the ISO and select it. Click Choose.

Click Start.

Use the up and down keys to select, and the Return key to confirm. Move the cursor to Install CentOS7 and press the Return key.

The installation of CentOS7 will start, so wait for a while. It will end unexpectedly soon.

Language setting. Select Japanese and click Continue.
- If you change the screen resolution, it will be very difficult to operate, so operate with the default size.


Scroll down.

Auto party ... Click selected.

Click Finish without touching anything.

Then, the △ </ font> mark disappeared.
Then click Network and Hostname.

Click Ethernet (enp0s3) in the upper right.

Click Finish when you are done.
Click Start Installation.

Click the ROOT password to create the ROOT password.

Here, the password is set to 123456 for the sake of clarity.

Click Finish twice as you type.

Next, create a user.

Enter as shown in the image below. The full name should be jenkins. The user name is automatically entered each time you enter the full name. If you make this user an administrator, don't forget to check Require password to use this account. Leave the password at 123456.

When you're done, click Done in the upper left twice.
Then wait until the installation is complete.

When you're done, click Finish Settings at the bottom right.

Click Reboot when you're done.

Change Settings → Display → Graphics Controller from VMS VGA to VBox VGA. * It took a whole day to fix this.

It says that an invalid setting was found, but that's okay. Press OK to start again.
Even if the ISO selection screen appears at startup, you can cancel it.

CentOS 7 has started successfully. localhost login:jenkins password:123456 Log in with.
Remember the shortcut key for clearing the screen
clear
If you type the command, all the characters will disappear, but it is inefficient, so be sure to remember the shortcut key. With Command + l, the same operation as the clear command is performed.

Find out the IP address
ip a
You can find out the IP address by typing.

Looking at the inet of enp0s3, it is 192.168.0.6. This will be the IP address of this virtual environment.
Set to access with terminal
With VirtualBox Manager open, select File ® Host Network Manager.
[File tab]


Click Create.

Make sure the IP address is 192.168.56.101. Confirm that vboxnet0 has been created and click Close. I think everyone will have the same IP address, but if they are different, you will need to replace the IP address used in the following steps.
Set the host-only adapter in the VM settings → network → adapter 2 created earlier.

Click OK.
Start the virtual environment and log in. localhost login:jenkins password:123456
Execute the nmtui command. This command is a command that allows you to visually configure network settings instead of commands. It's called the Iwaruyu GUI. It seems that you can do it with a command, but I will omit the method. It's a hassle to open various files and edit them with vi text.

The nmtui screen is operated with the up and down keys and the Return key. Use the up and down keys to move and select Edit a connection with the Return key.

Select enp0s3 with the Return key.

Change IPv6 to Ignore with the Return key. It is OK if you can confirm that Automatically connect is [X].
Place the cursor on OK and select.
Then select * * * * *. (Actually, it should be enp0s8, but there is a bug. My acquaintance also displayed the same.)

If the Profile name is buggy, leave it as enp0s8. Change Ipv4 CONFIGURATION to Manual and Addresses to 192.168.56.101/24.

Then change Ipv6 to Ignore. It is OK if you can confirm that Automatically connect is [X].

Select OK and exit with Back → Quit.
Then enter the following command.
service NetworkManager restart
service network restart
- When prompted for a password, enter 123456.
Now you're ready to access VirtualBox's CentOS from your mac using terminal.
Access with terminal.
Open the spotlight search with Command + Space, type terminal.app and enter the Return key to launch terminal. It's a strength of mac that is different from Windows.
For Windows, I think you should use putty or teraterm. (I don't think Windows is looking at it because I think the procedure up to this point is quite different from Windows ...)
Enter the following command to make an ssh connection with terminal.
ssh [email protected]
Enter 123456 when prompted for a password.

Then you can access Centos on VirtualBox with terminal. Now, after that, if you start the virtual machine with VirtualBox, start CentOS, and minimize it appropriately, you can operate Centos from the mac side. It's difficult to operate on the screen displayed in VirtualBox.
Check if the yum command can be used
Run yum list as a trial. Originally, after the yum update started, the software installed by yum is displayed in a list, but an acquaintance wrote an article when it did not work.
I did it without doing anything, but if it doesn't work, please refer to it. https://qiita.com/yuri2509/items/6715fe853515a8719518
Install Docker
Check if you can connect to the network once.
ping google.com

If connected, it will look like the image. The log will continue to flow endlessly, so press Control + c to interrupt it.

Search google for docker for centos and open the Install Docker Engine on CentOS | Docker Documentation web page.


Based on this page, enter commands one after another from the top. I will post the command for the time being, but the command on the official homepage changes every day, so the command may be completely different.
First, uninstall the old version of Docker (there is no point in doing it without Docker)
sudo yum remove docker \
                  docker-client \
                  docker-client-latest \
                  docker-common \
                  docker-latest \
                  docker-latest-logrotate \
                  docker-logrotate \
                  docker-engine
I get a lot of logs saying that the arguments do not match. In other words, docker is not installed.
Next, install the software yum-utils that makes yum convenient.
sudo yum install -y yum-utils
Next, create a repository for docker.
sudo yum-config-manager \
    --add-repo \
    https://download.docker.com/linux/centos/docker-ce.repo
You have now created docker-ce.repo in the following directory: /etc/yum.repos.d ┗docker-ce.repo
Finally, I've come to the point of installing docker. Do the following:
sudo yum install docker-ce docker-ce-cli containerd.io
It's okay to stop in the middle. It's searching for a mirror site. Therefore, please refrain from key input. If you enter it, the installation will be interrupted and you will need to execute the command again. (I did it once) If [y / d / N] or [y / N] appears on the way, enter y to proceed.

Finally completed! Is displayed, Docker installation is complete.

Start docker.
sudo systemctl start docker

Nothing happens, but it's okay.
Although it is not in the command collection on the official website, it executes the command to start Docker automatically at startup.
sudo systemctl enable docker

To check if docker is installed, try displaying the docker process with the following command.
docker ps

Right now I'm running it as an administrator so it works fine, but I think I created the jenkins user when installing CentOS. I change the user to the jenkins user using the su command there, and when I run docker ps, it fails because I don't have permission. Therefore, execute the following command so that it can be executed.
sudo usermod -aG docker jenkins
To reflect that setting, disconnect the ssh connection once with exit and connect again with ssh. Now the jenkins user can also run docker ps and work.
Install docker compose
Search google for docker compose installation.

Install Install Docker Compose | Open Docker Documentation.
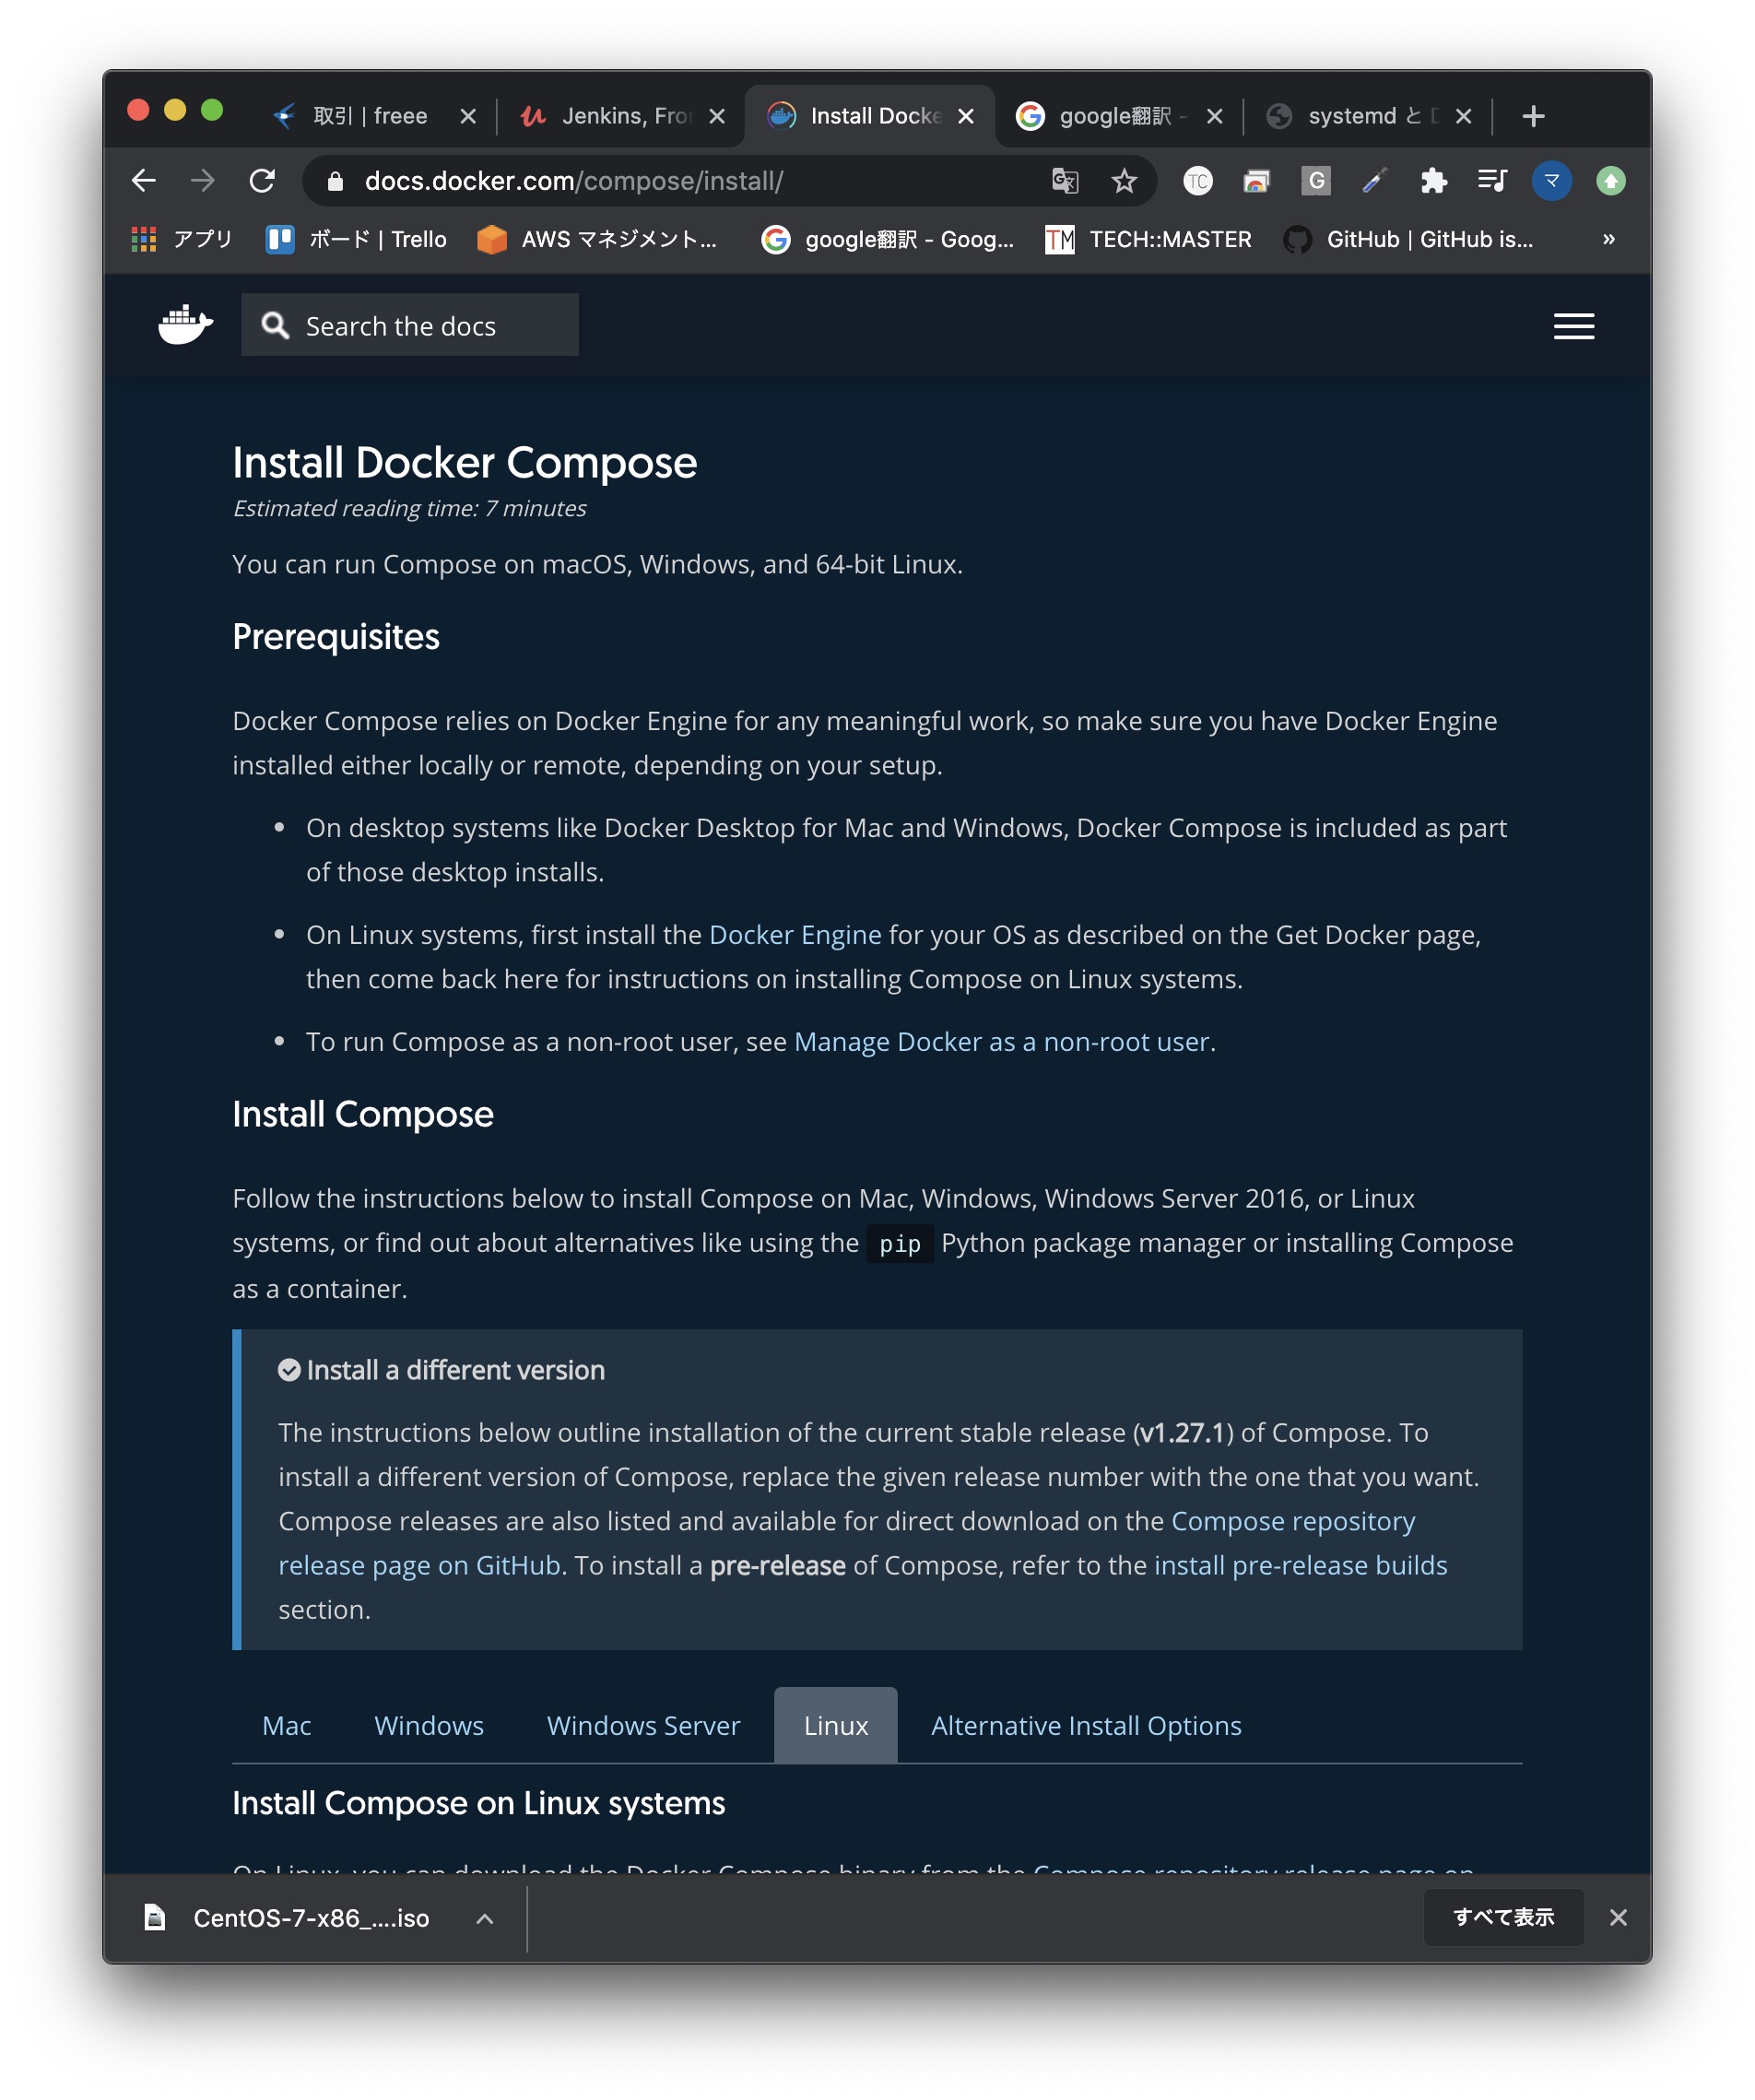
If you go down a little, there are tabs such as mac and Windows, so select Linux.

Enter the command displayed there. This also changes every day, so it is better to refer to the official sail, but I will post the command for the time being.
docker compose installation command
sudo curl -L "https://github.com/docker/compose/releases/download/1.27.1/docker-compose-$(uname -s)-$(uname -m)" -o /usr/local/bin/docker-compose
It will end soon.

As per the command, docker-compose will be installed in / usr / local / bin.

I moved the directory with cd, displayed the path with the pwd command, and displayed the partition (the one with -rw-r--r--) with the ll command.
Since you do not have execute permission, you do not have execute permission for docker-compose as it is. Therefore, grant execute permission.
You can grant execute permission by executing the following command.
sudo chmod +x /usr/local/bin/docker-compose

The partition has changed from -rw-r--r-- to -rwxr-xr-x! This means that you have been granted execute permission.
If docker-compose is installed, you can view the version, so check that way.
docker-compose -v

It's docker-compose version 1.27.1. Installation is successful.
Build a jenkins server using docker
Google search for docker jenkins image.

Open jenkins / jenkins. This is a Docker image maintained by the jenkins team. The one with jenkins is the official image, but be careful because this is a mistake!

Then, the command to install is on the right side, so copy and paste it and execute it on the terminal. * I will do it while logged in to CentOS with ssh connection
docker pull jenkins/jenkins

docker images

docker info

Make sure you have the jenkins Docker image with the following command. As an aside, where is the Docker data? You can find out by viewing the Docker information. A lot of information is displayed. The root directory of docker is written in this, but it is difficult to find. Therefore, you can quickly find it with the following command.
docker info | grep -i root
The grep command is useful for searching for strings. From the character string displayed by docker info, the line containing root is extracted and displayed. By adding -i, you can search in a case-insensitive manner.

I was able to confirm that / var / lib / docker is the root directory of Docker. Docker related data is stored in this.
Next, create a directory to store jenkins data. Create it in the form / home / jenkins / jenkins. First, move to the home directory, create a jenkins directory, and then create a jenkins directory in it.
cd /home
mkdir jenkins
cd jenkins
mkdir jenkins
pwd

You have now created a jenkins directory. Finally, the pwd command is used to display the current directory.
For practice, try renaming the directory using the mv command.
Before correction
/home/jenkins/jenkins
Revised
/home/jenkins/jenkins-data
Execute the following command.
cd /home
cd jenkins
mv jenkins jenkins-data
ll
cd jenkins-data
pwd

I was able to change the directory name safely.
Next, create docker-compose.yml in / home / jenkins / jenkins.
Execute the following command to create a new file.
vi docker-compose.yml

To briefly explain vi, the default is normal mode that accepts commands, you can enter characters in insert mode with i, cancel insert mode with esc and enter normal mode, and press ": wq" in normal mode When executed, it saves and exits, closes with ": q", and forcibly terminates without saving with ": q!". If you have this much knowledge, I think you can do something about it. Maybe.
I will write more and more with vi. First, specify version 3.
docker-compose.yml
version: '3'
Next, specify the container name of jenkins.
docker-compose.yml
version: '3'
services:
  jenkins:
    container_name: jenkins
Specify the Docker image. This specifies the image name described in the Repository when docker images are executed. I think it's a good idea to make a habit of writing after confirming it.
docker-compose.yml
version: '3'
services:
  jenkins:
    container_name: jenkins
    image: jenkins/jenkins
Then specify the port. Since jenkins is an http server, set it to 8080. The left side is the port number of the jenkins server, and the right side is the port number when accessing with mac.
docker-compose.yml
version: '3'
services:
  jenkins:
    container_name: jenkins
    image: jenkins/jenkins
    ports:
      - "8080:8080"
Next, create a volume. Docker has the concept of volumes. If you create a Docker container and then destroy it, all the data on the container will be blown away. What if I have data that I don't want to blow away? The answer is to save it to a volume. For now, it would be good if there was that much recognition. Press the esc key once to switch from insert mode to normal mode, save with: wq, exit, and create space for the volume. Make sure you are in the following directory:
/home/jenkins/jenkins-data
Next, create the jenkins_home directory, which is the area for the volume.
mkdir jenkins_home
Inside, you can store the data on your Docker container. Once created, go back to editing docker-compose.yml.
vi docker-compose.yml
Specify the volume. The left is the directory created earlier (copy destination), and the right is the directory on the Docker container (copy source). The information that the directory on the right is / var / jenkins_home instead of / var / lib / jenkins_home is out of date.
docker-compose.yml
version: '3'
services:
  jenkins:
    container_name: jenkins
    image: jenkins/jenkins
    ports:
      - "8080:8080"
    volumes:
      - "$PWD/jenkins_home:/var/lib/jenkins_home"
Next, write four lines of information about the network. One is under jenkins: and the other is under docker-compose.yml.
docker-compose.yml
version: '3'
services:
  jenkins:
    container_name: jenkins
    image: jenkins/jenkins
    ports:
      - "8080:8080"
    volumes:
      - "$PWD/jenkins_home:/var/lib/jenkins_home"
   networks:
      - net
networks:
  net:
The final form is as follows.
docker-compose.yml
version: '3'
services:
  jenkins:
    container_name: jenkins
    image: jenkins/jenkins
    ports:
      - "8080:8080"
    volumes:
      - "$PWD/jenkins_home:/var/lib/jenkins_home"
    networks:
      - net
networks:
  net:

Press the esc key to return to normal mode and press: wq to save.
When you're done, change the permissions on the jenkins_home directory.
sudo chown 1000:1000 jenkins_home -R
Go to the directory where docker-compose.yml is located and start the docker container.
docker-compose up -d
The trailing -d means run in the background.

Execute the following command.
docker ps

The Jenkins server is now running on the Docker container.
[If not displayed]
If jenkins is displayed with the following command
Failed to start Docker container.
docker ps -a

You can view the log with the following command,
You can investigate the cause of the error.
docker-compose logs jenkins

The volume on the Docker container side/var/lib/jenkins_home
not,/var/jenkins_If the information that is home is old
As I wrote earlier, it is by displaying this log
I came to a solution.
Since the password generated by jenkins is required, execute the following command to display the log with docker.
docker logs -f jenkins

You will see the words "1a193f6a36674f58856aed0b3041bc13", copy it and make a note of it.
This is the last spurt.
What was the CentOS IP address on VirtualBox? Yes, it was 192.168.56.101. Now, attach the port number 8080 that indicates the http server to it, and enter "192.168.56.101:8080" in the URL of your web browser.

Can you go ...?

I was able to access jenkins safely ~! Mammoth happy!
Now you can build a Jenkins server in VirtualBox CentOS 7 with a Docker container and access the Jenkins server from your local PC.
To finish, paste the 1a193f6a36674f58856aed0b3041bc13 you noted earlier and make sure you can access it. (This string varies from person to person!)

Sounds okay. How to use Jenkins is explained below. If you like, please read this as well.
What is Jenkins? ] I will explain from the installation of Jenkins to how to use it in the world's easiest way https://qiita.com/JUN_WEB_FREE/items/c7b42528a87911386391
Recommended site for studying docker
I haven't explained about docker in particular this time, but I highly recommend it because the following sites are easy to understand!
Fox planet https://kitsune.blog/engineer/docker
Recommended Posts