[RUBY] [Rails 5] Create a new app with Rails [Beginner]
Overview
"Hello everyone, good evening"
(... I wanted to say it once)
I'm a beginner who recently started making RoR apps. Since this is Qiita's first post, I would like to post about the insanely rudimentary "process of creating a new app with Rails"! : writing_hand:
Prerequisites
- OS: MacOS
- Ruby version: 2.5.1
- Rails version: 5.2.3
- Database: MySQL
- Ruby version control: rbenv
- IDE: VisualStudioCode
We will create an app in the above environment! : fist:
Create a new app with Rails
On the terminal
rbenv local 2.5.1
rails _5.2.3_ new app_name --database=mysql --skip-bundle
To execute.
What are you doing
rbenvrbenv command execution declarationlocal 2.5.1Specify the version of Ruby used in this project (this time ver.5.2.3)railsDeclaration of rails command execution_5.2.3_Specify version of ruby (ver.5.2.3 this time)newNew app creation commandapp_nameDefinition of the name of the app you want to make--database=mysqlSpecify the database you want to use (mysql this time)--skip-bundleInstructions to skipbundle install
- If ʻapp_name
_ is _.`_, it will be created on the current directory _--database = mysql_ is OK with-d mysql_: ok_hand:--skip-bundle_ can be-Bbut _: ok_hand:
For the usage and mechanism of rbenv, please refer to the following article because it is easy to understand. How to use and how rbenv works--Qiita
Files in the app
If you do rails new on the terminal as above, many folders and files will be created. The contents should look like this:
app
It contains the application's controllers, models, views, helpers, mailers, channels, jobs, and assets.
bin
Contains script files such as Rails scripts for launching, updating, and deploying applications.
config
The application's configuration files (routing, database, etc.) are located here.
db
It contains the current database schema and database migration files.
lib
Contains extension modules used by the application.
log
Contains the application log files.
public
The files under this folder can be viewed directly from the outside (Internet). Place static files and compiled assets here.
storage
Contains Active Storage files used by the Disk service.
test
Place test related files such as Unit tests and fixtures here.
tmp
Temporary files such as cache and pid are placed.
vendor
All code written by third parties is placed here. For a normal Rails application, put the external gem file here.
.gitignore
Specify a file (or pattern) that is not registered in Git in this file.
.ruby-version
The default Ruby version is specified in this file.
config.ru
A Rack configuration file for Rack-based servers that you need to launch your application.
Gemfile
Describes the gem dependencies required by your Rails application. This file is used by the Bundler gem.
package.json
You can specify the npm dependencies required by your Rails application in this file. This file is used by Yarn.
Rakefile
This file describes the tasks that you can perform from the command line. The task definition here is defined for the Rails-wide components.
If you want to define your own Rake task, writing it directly in Rakefile is too powerful, so try to add a file for Rake under the lib / tasks folder as much as possible.
README.md
Fill in the manual here to give an overview of the application. It is necessary to fill in this file with the application setting method etc. so that anyone can build the application by reading this.
gem installation
Gem in Ruby has the following two roles.
- Package
- Package management tool
By using the package, development can proceed efficiently, so it seems that it is often used in the actual field. Since the package can be installed easily, even beginners of Ruby on Rails can quickly equip it with full-scale application functions. : relaxed:
Gemfile with the function you want to use in the app
Gemfile
gem 'gem name'
It is described as. (Here, I will omit the specific types of gems.)
Also, the description of rails in the Gemfile,
Gemfile
~
gem 'rails', '5.2.3'
~
Fix it with the version you want to use (ver.5.2.3 this time).
I skipped the gem installation with the --skip-bundle command earlier, so on the terminal
bundle install
To execute.
What are you doing
bundle installCommand to install gem according to the contents of Gemfile using gem called bundler
Server startup
Let's actually start the server! On the terminal
rails server
To execute.
What are you doing
rails serverInstructions to connect Rails application created byrails newcommand to server in local environment
rails server_ can be _rails s_ but OK _: ok_hand:
If the following log is displayed on the terminal, the connection with the server is complete!
=> Booting Puma
=> Rails 5.2.3 application starting in development
=> Run `rails server -h` for more startup options
Puma starting in single mode...
* Version 3.12.6 (ruby 2.5.1-p57), codename: Llamas in Pajamas
* Min threads: 5, max threads: 5
* Environment: development
* Listening on tcp://localhost:3000
Use Ctrl-C to stop
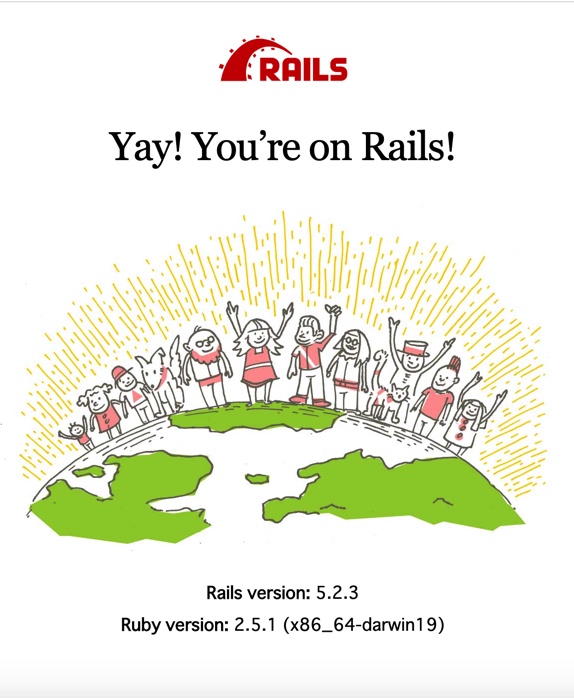
Let's check it on your browser! Go to localhost: 3000 (localhost: 3000).

You have successfully connected to the server! : sunglasses:
At the end
Thank you for watching until the end. In the future, I'd like to write articles about how to register users with devise and how to build a RoR environment on Docker (it is undecided when).
Also, if you have any questions regarding this article, please let us know. As an engineer, I want to start running as soon as possible. : walking_tone 1:: walking_tone 1:: walking_tone 1: Well then!
Referenced website
Recommended Posts