Install Ubuntu 20.04 LTS (Server) 64bit version on RaspberryPi3B +
Download Ubuntu (RapsberrPi version)
Get the OS from the following, not from the Raspberry Pi site.
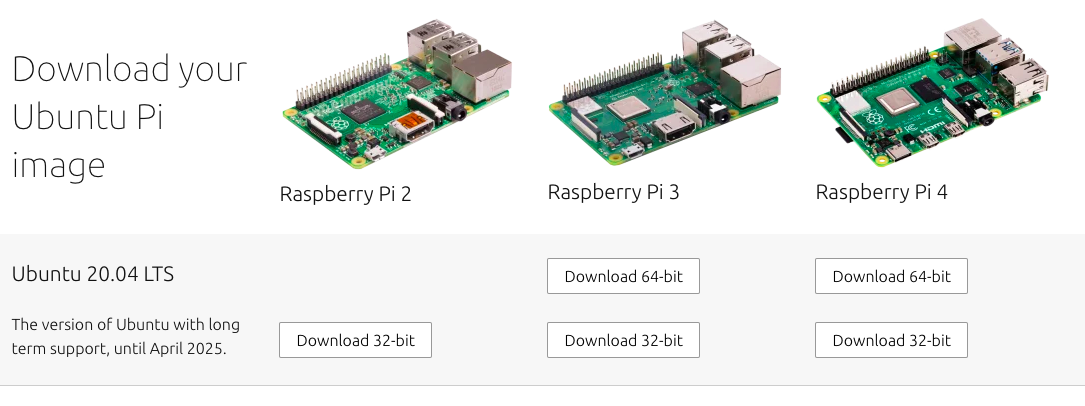
Install Ubuntu Server on a Raspberry Pi 2, 3 or 4 | Ubuntu https://ubuntu.com/download/raspberry-pi
If the Raspberry Pi is not 3 or 4, Zoom will be harsh.
Download the 64-bit version of Ubuntu 20.04 LTS (Server).
[PC] OS installation of Raspberry Pi
This time I installed Raspbian Buster with desktop and recommended software. (Detailed procedure omitted)
#Be sure to check the SD
taguchi@MasamacAir ~ % diskutil list
/dev/disk0 (internal, physical):
   #:                       TYPE NAME                    SIZE       IDENTIFIER
   0:      GUID_partition_scheme                        *500.3 GB   disk0
   1:                        EFI EFI                     209.7 MB   disk0s1
   2:                 Apple_APFS Container disk1         301.0 GB   disk0s2
   3:       Microsoft Basic Data BOOTCAMP                199.1 GB   disk0s3

/dev/disk1 (synthesized):
   #:                       TYPE NAME                    SIZE       IDENTIFIER
   0:      APFS Container Scheme -                      +301.0 GB   disk1
                                 Physical Store disk0s2
   1:                APFS Volume Mac - Data              230.4 GB   disk1s1
   2:                APFS Volume Preboot                 83.4 MB    disk1s2
   3:                APFS Volume Recovery                528.1 MB   disk1s3
   4:                APFS Volume VM                      2.1 GB     disk1s4
   5:                APFS Volume Mac                     11.2 GB    disk1s5

/dev/disk2 (external, physical):
   #:                       TYPE NAME                    SIZE       IDENTIFIER
   0:     FDisk_partition_scheme                        *15.7 GB    disk2
   1:             Windows_FAT_32 NO NAME                 15.7 GB    disk2s1

# /dev/Example where disk2 was SD
taguchi@MasamacAir ~ % diskutil unMountDisk /dev/disk2
Unmount of all volumes on disk2 was successful
taguchi@MasamacAir ~ % cd ~/Downloads
taguchi@MasamacAir Downloads % sudo dd if=ubuntu-20.04-preinstalled-server-arm64+raspi.img of=/dev/rdisk2 bs=1m
Launch Raspberry Pi
You need a network environment where you can download over 3G by updating or installing. Even if you use a mobile router etc. at the destination, please use an unlimited network such as wired LAN / WiFi for setting work.
Insert the SD card into the Raspbery Pi and connect the power cable
First login
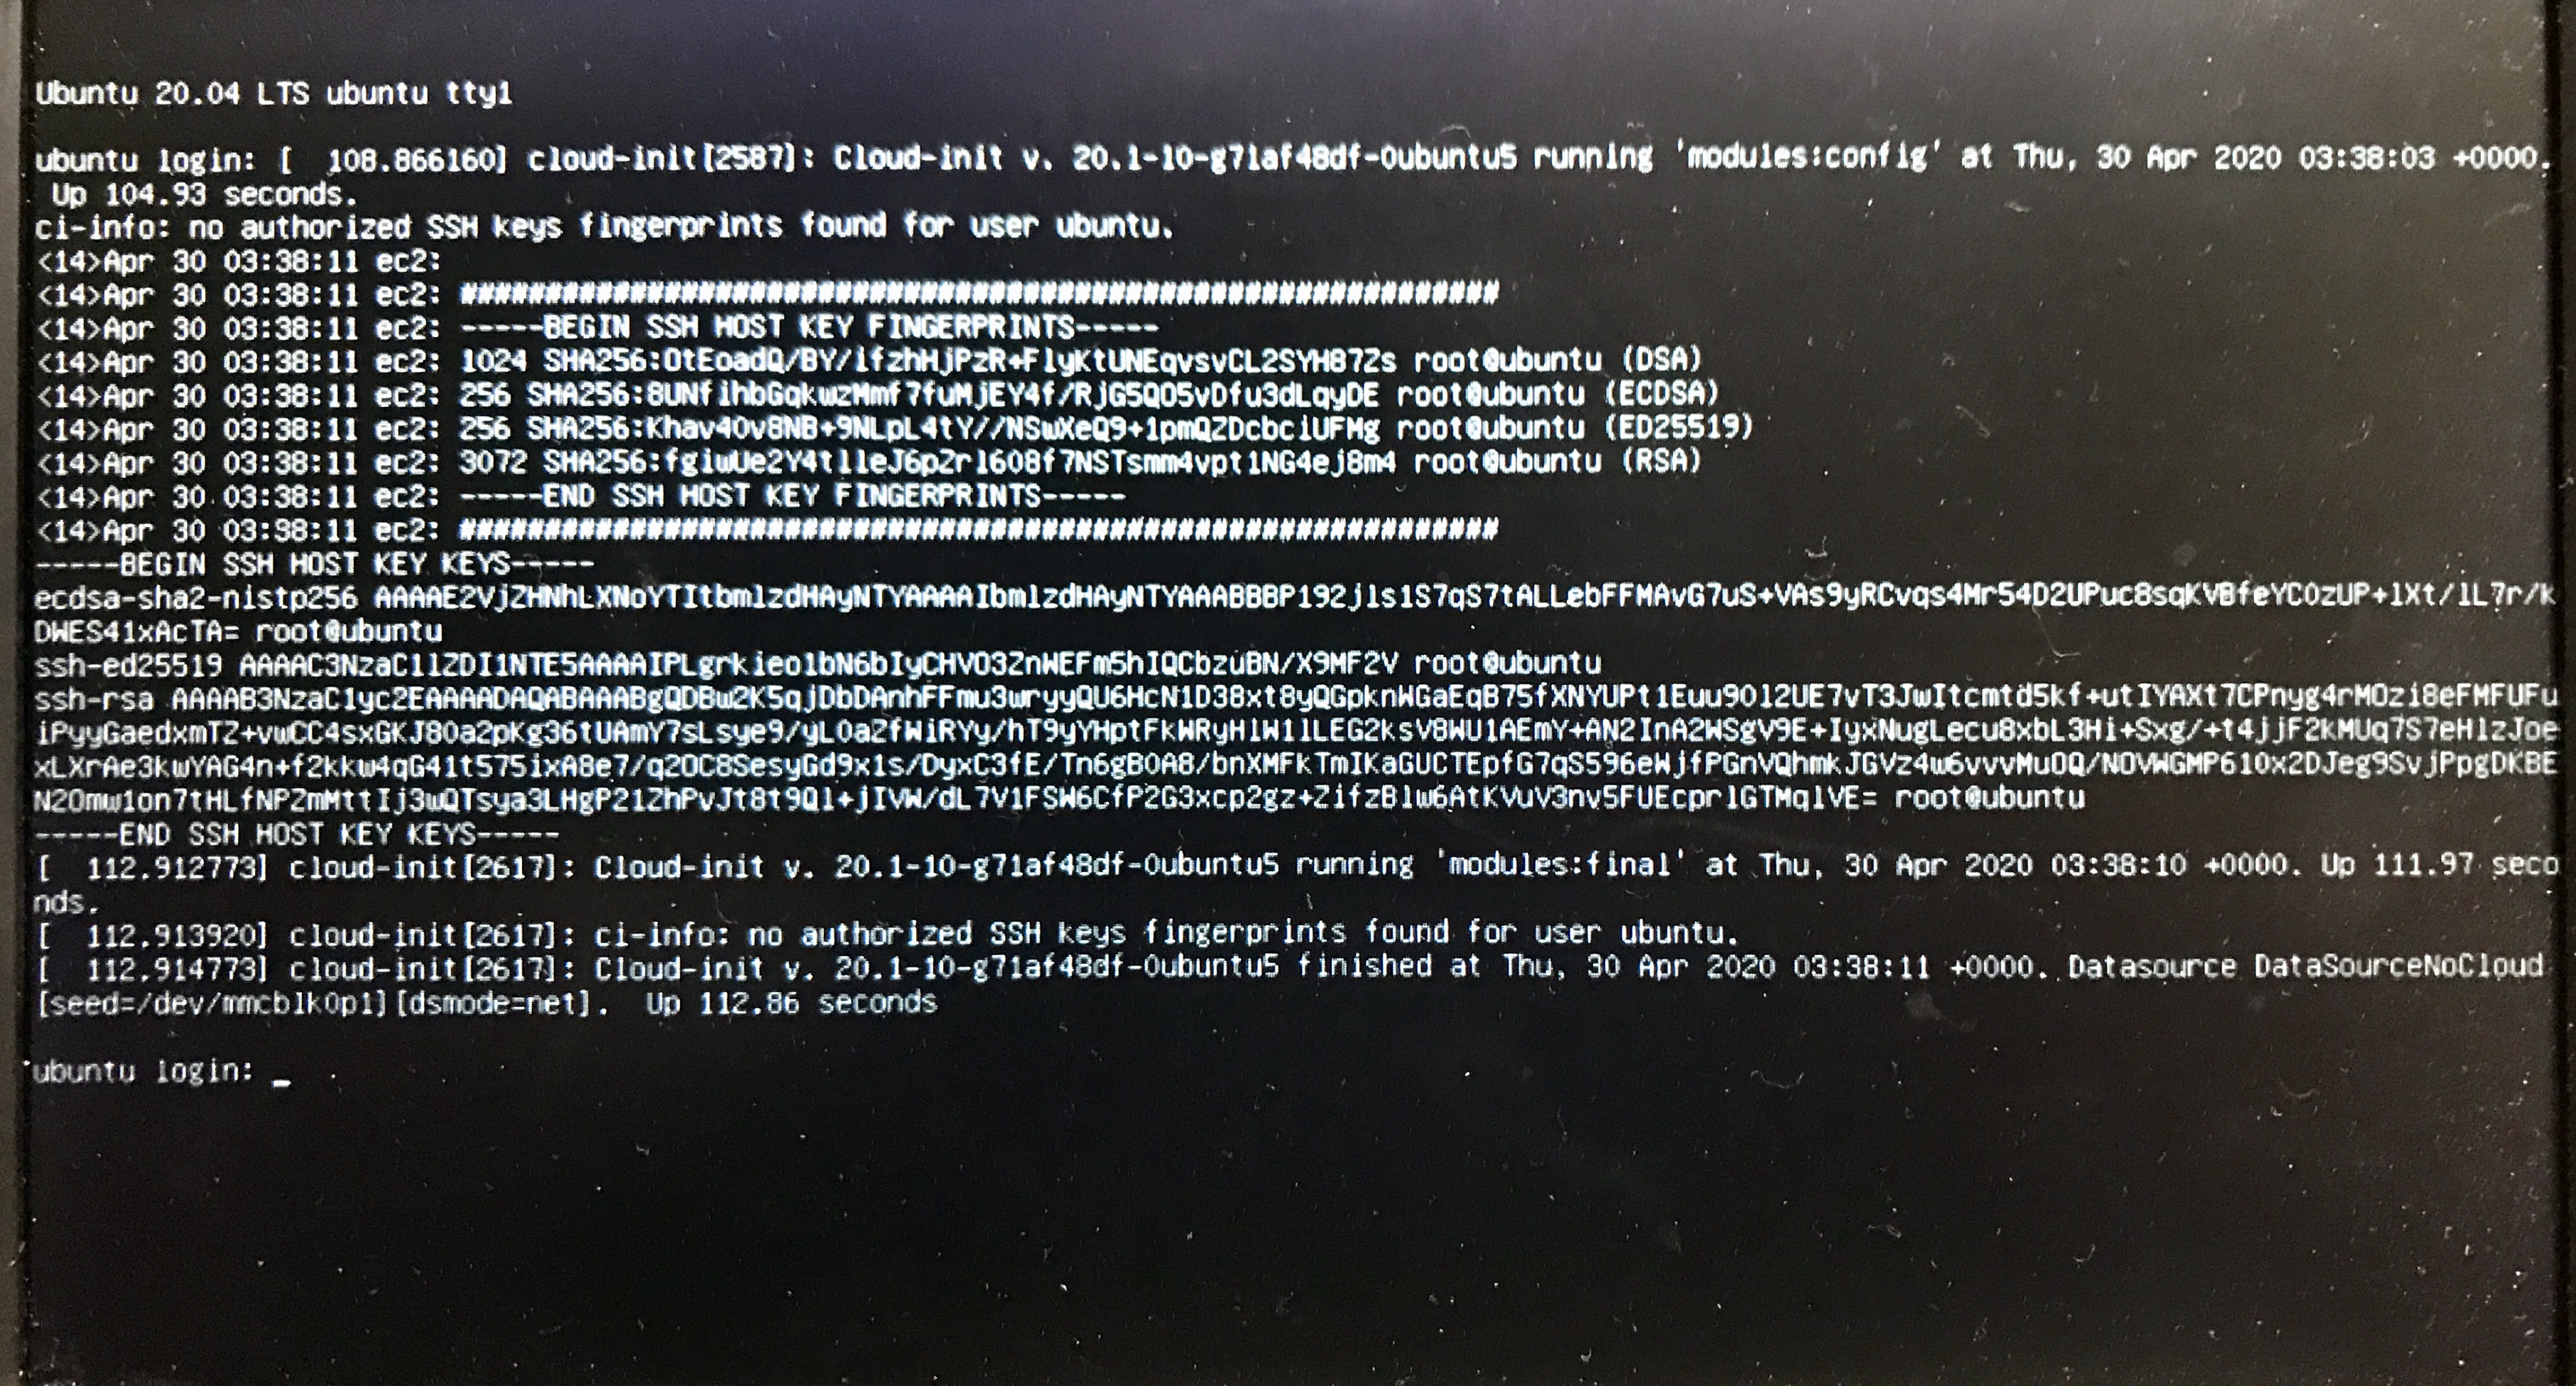
After starting, ubuntu login: will be displayed, so log in with the default user ID ubuntu.
ubuntu login:ubuntu
Password:ubuntu
Current password:ubuntu
New password:<Enter new password>
Retype new password:<Re-enter new password>
Ubuntu update
Input command
sudo apt update
sudo apt upgrade
Install Ubuntu Mate (desktop environment)
After installation, you can only display characters on the console screen, install Ubuntu Mate to display the desktop (GUI) environment. You will need to download about 3G, which will take about 1 hour to 1 night, depending on the network conditions. Please wait patiently.
Input command
sudo apt install ubuntu-mate-desktop
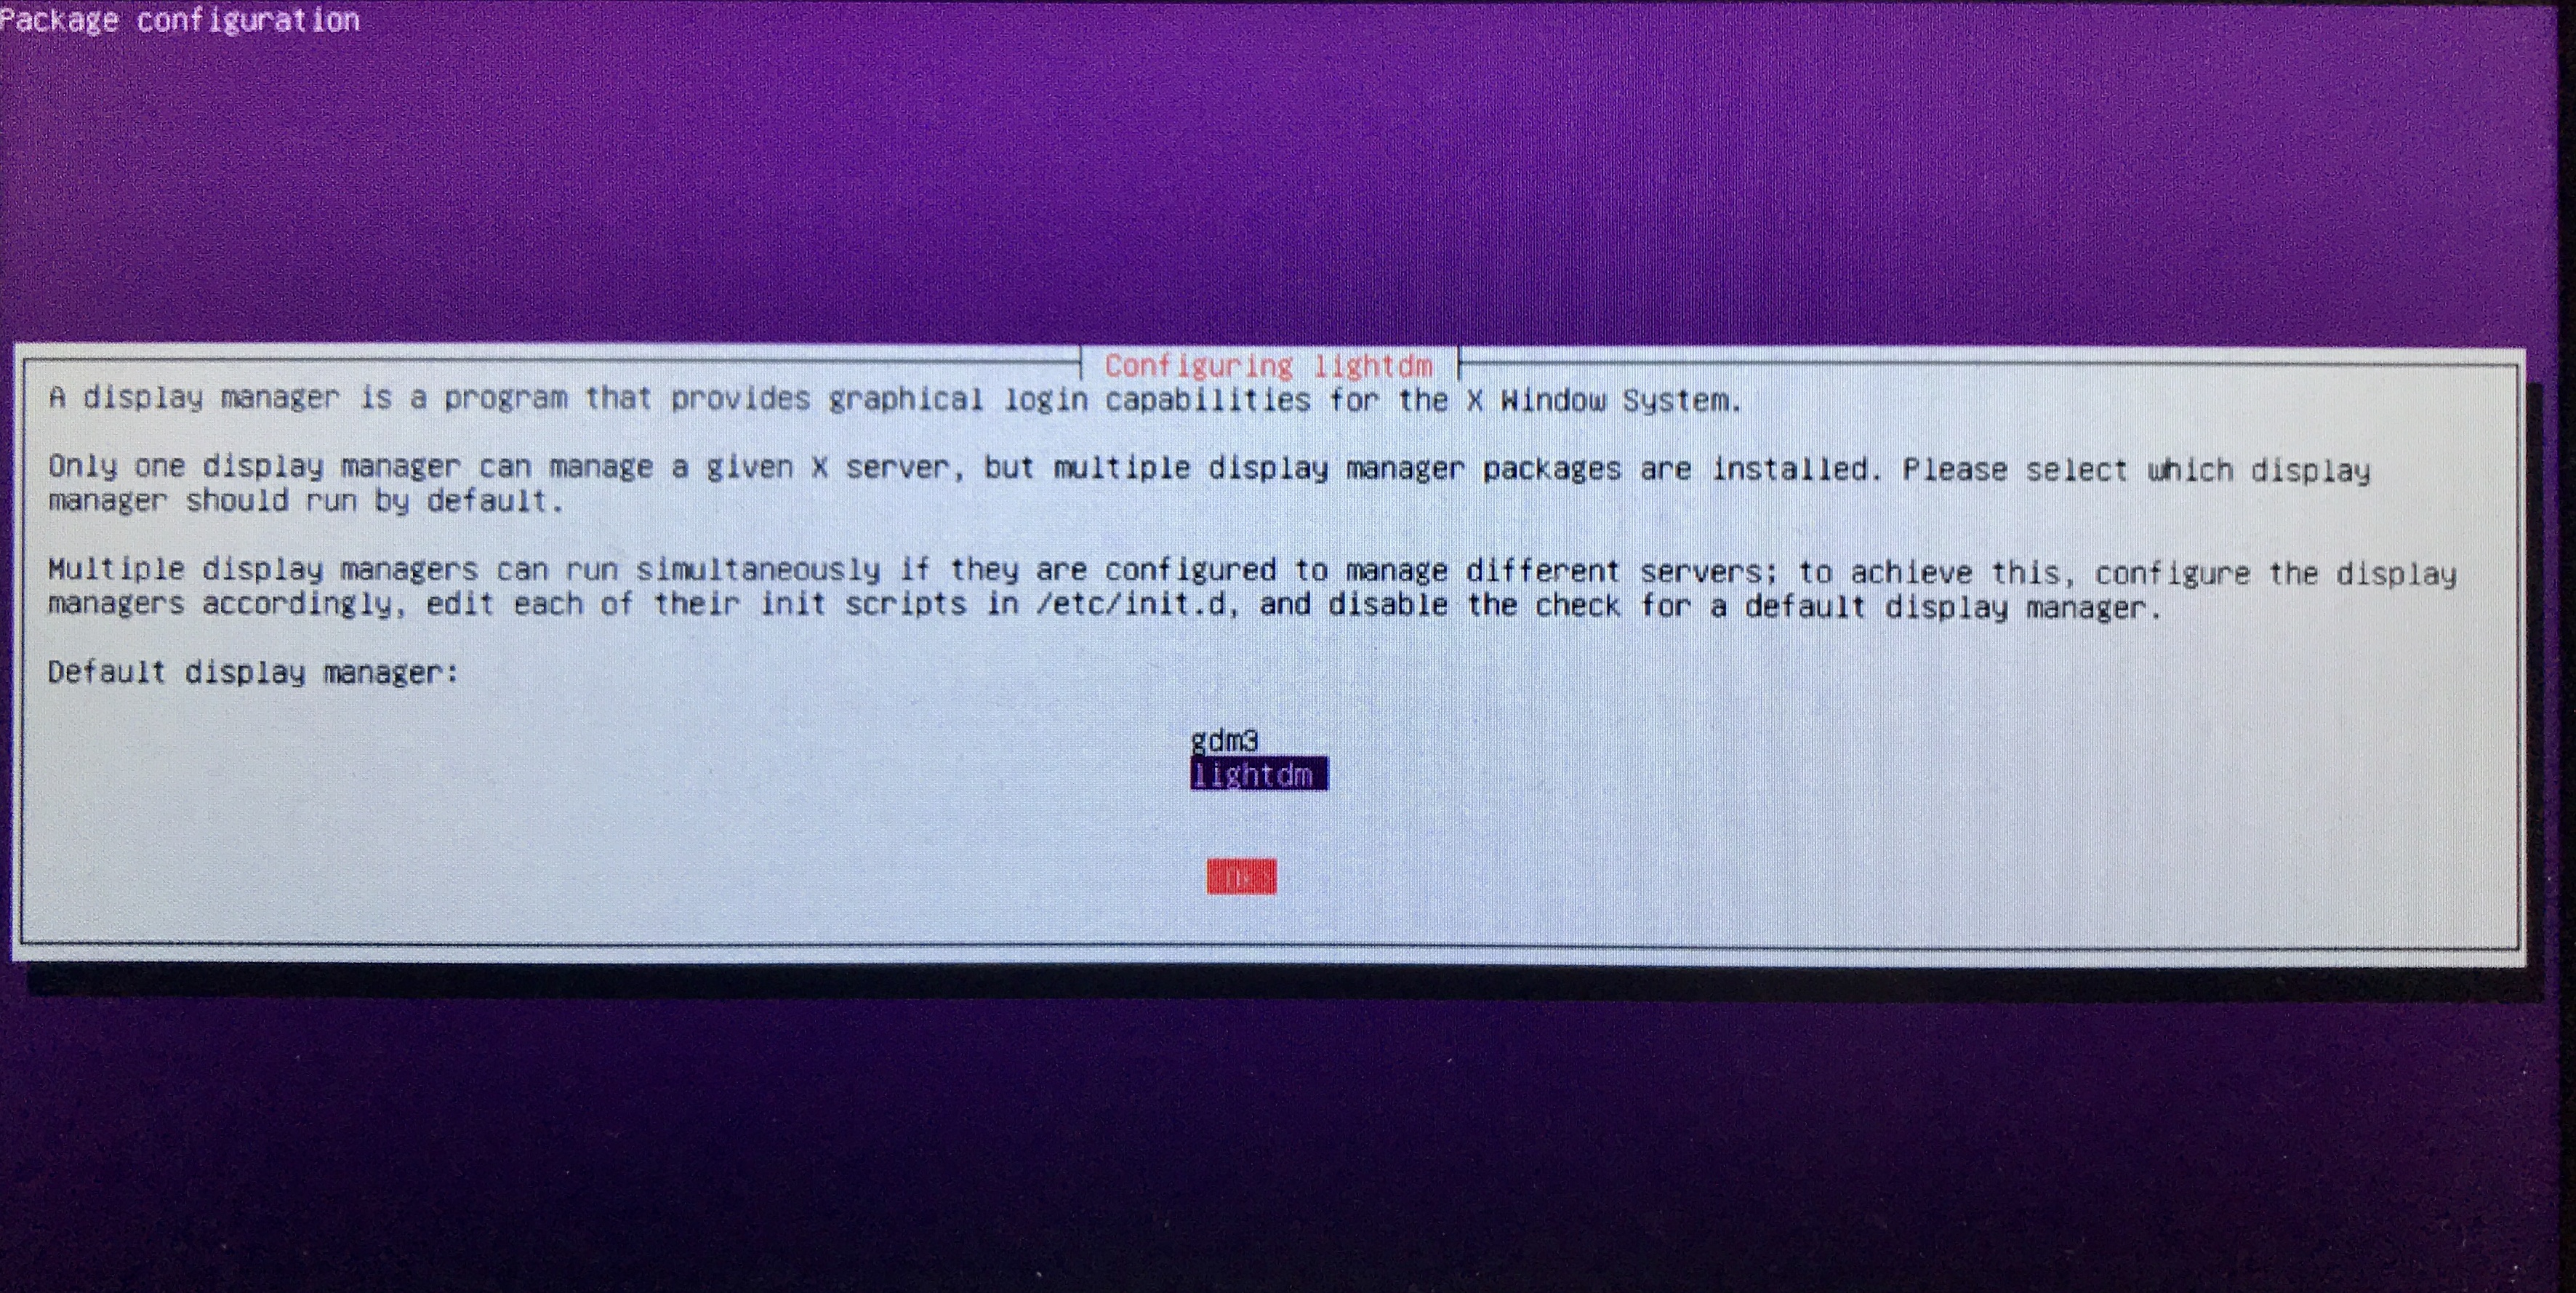
Along the way, you will be asked which display manager to use.
Select lightdm below and click OK.
Key input is the arrow down key> tab key (move to OK)> (check the status of the image below) enter key.
Reboot when the installation is complete.
Input command
sudo reboot
Ubuntu Mate login
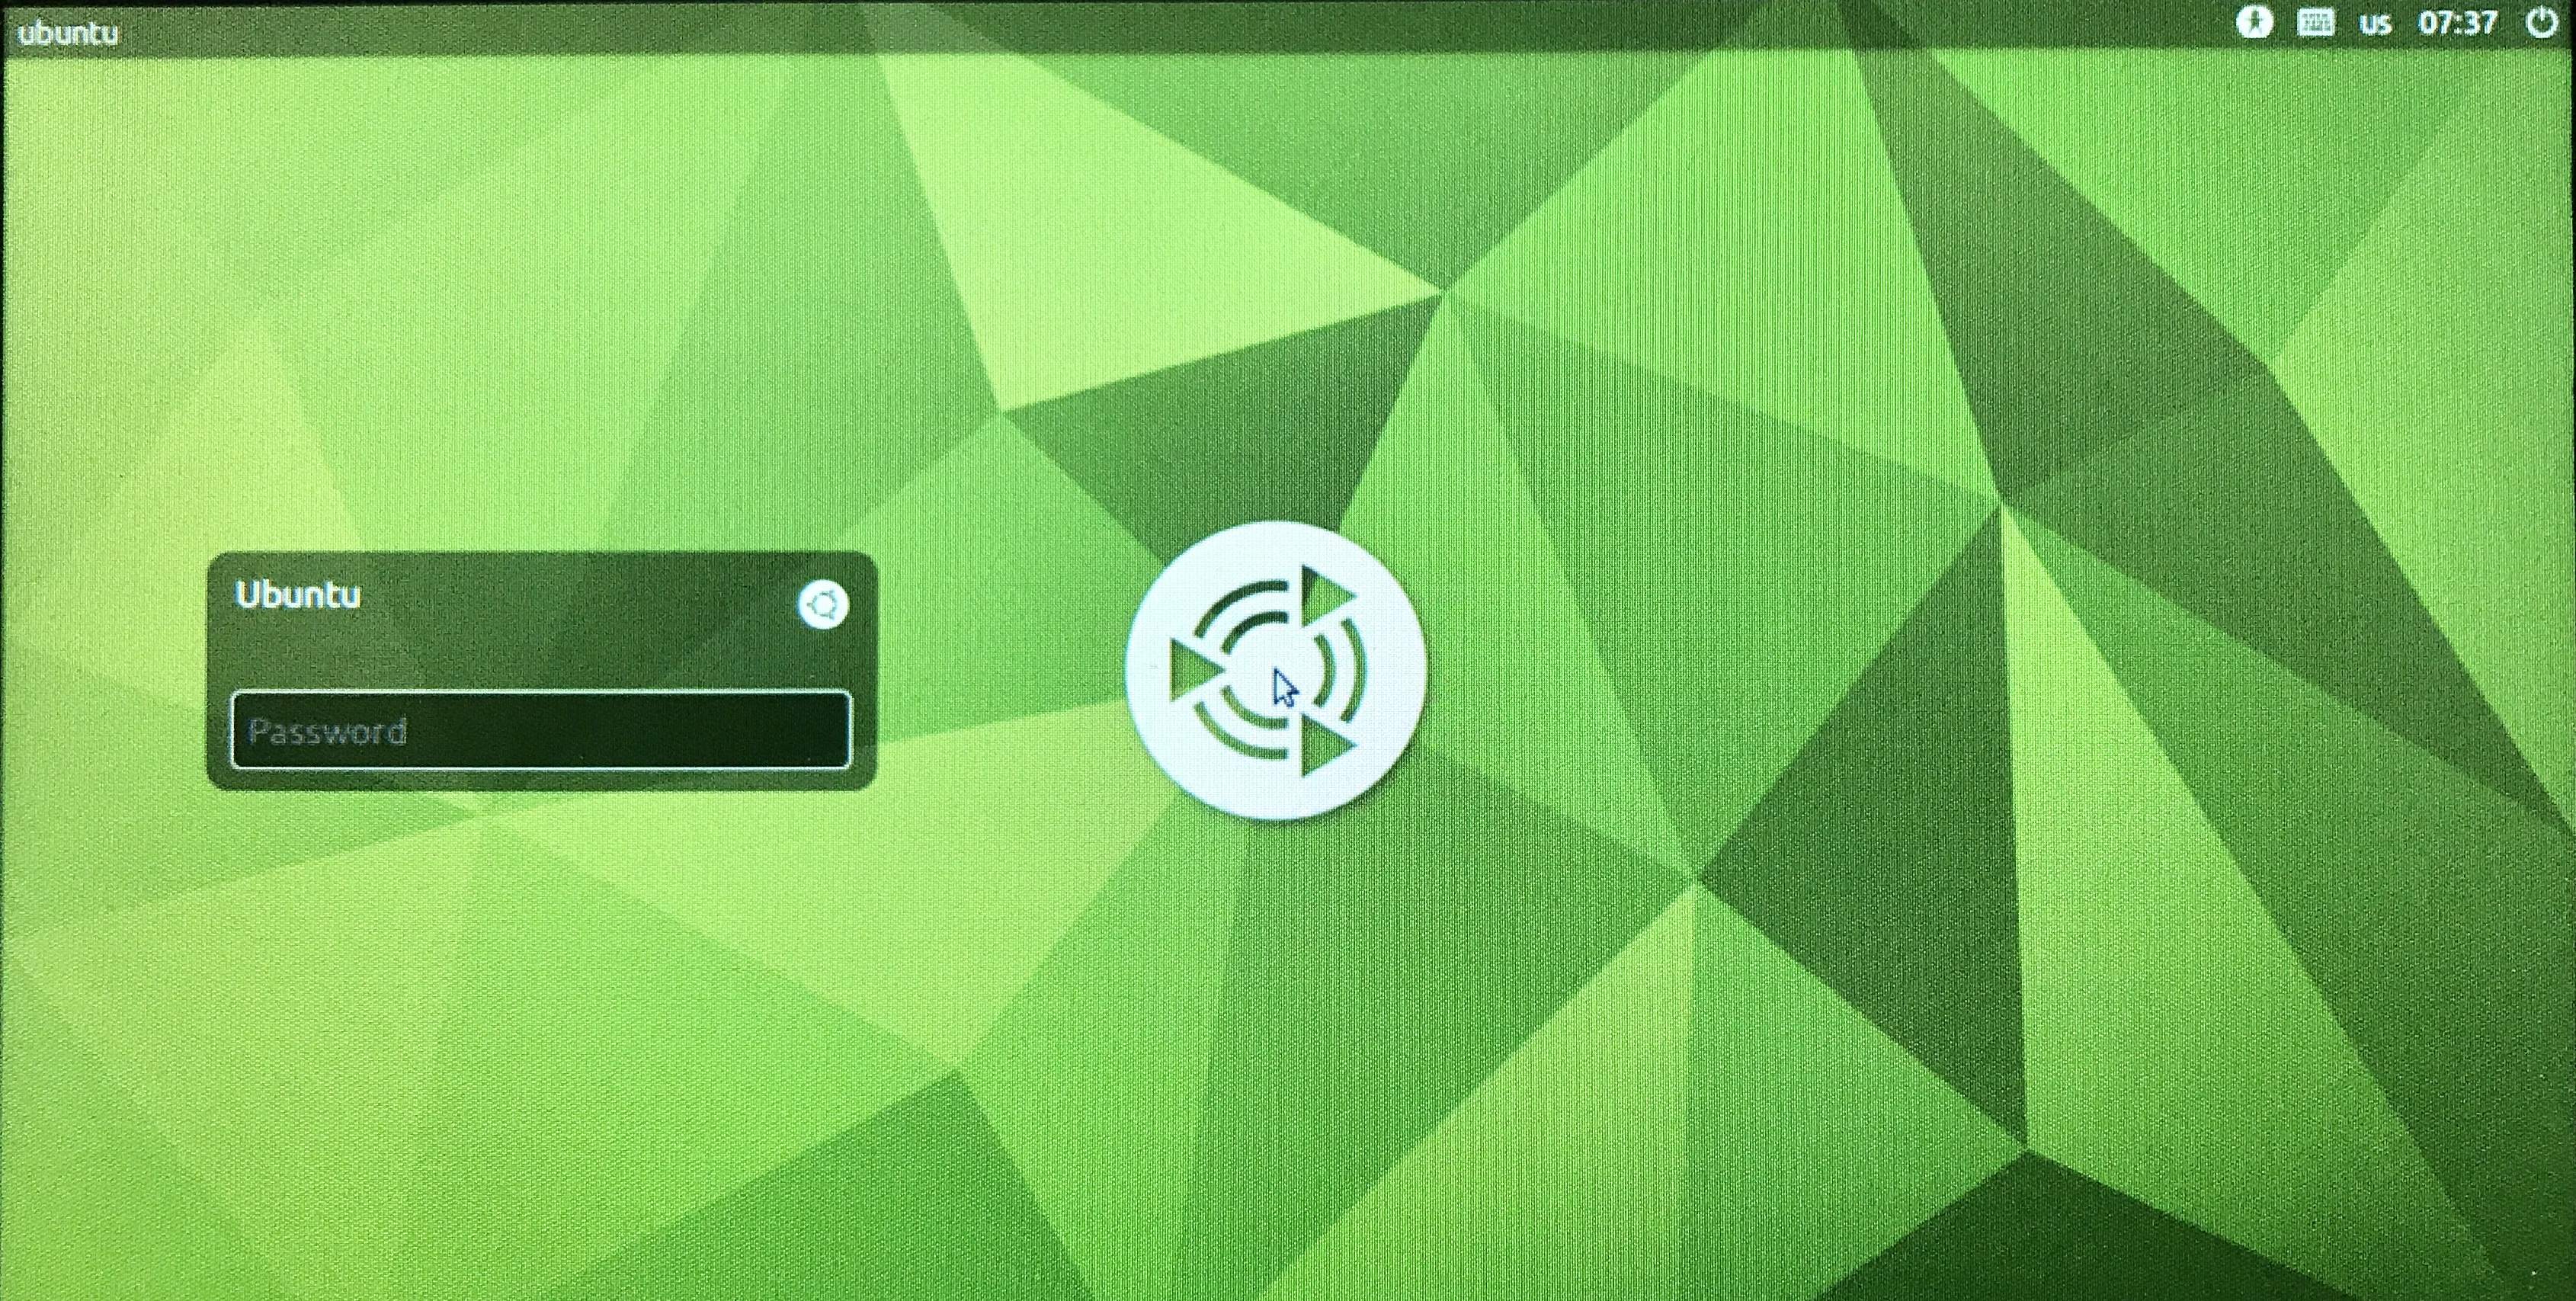
The Ubuntu Mate login screen is displayed
After installation, only the user ubuntu is set, so just enter the password and log in.
How to start the terminal MATE Terminal
Work is done with the terminal application, MATE Terminal.
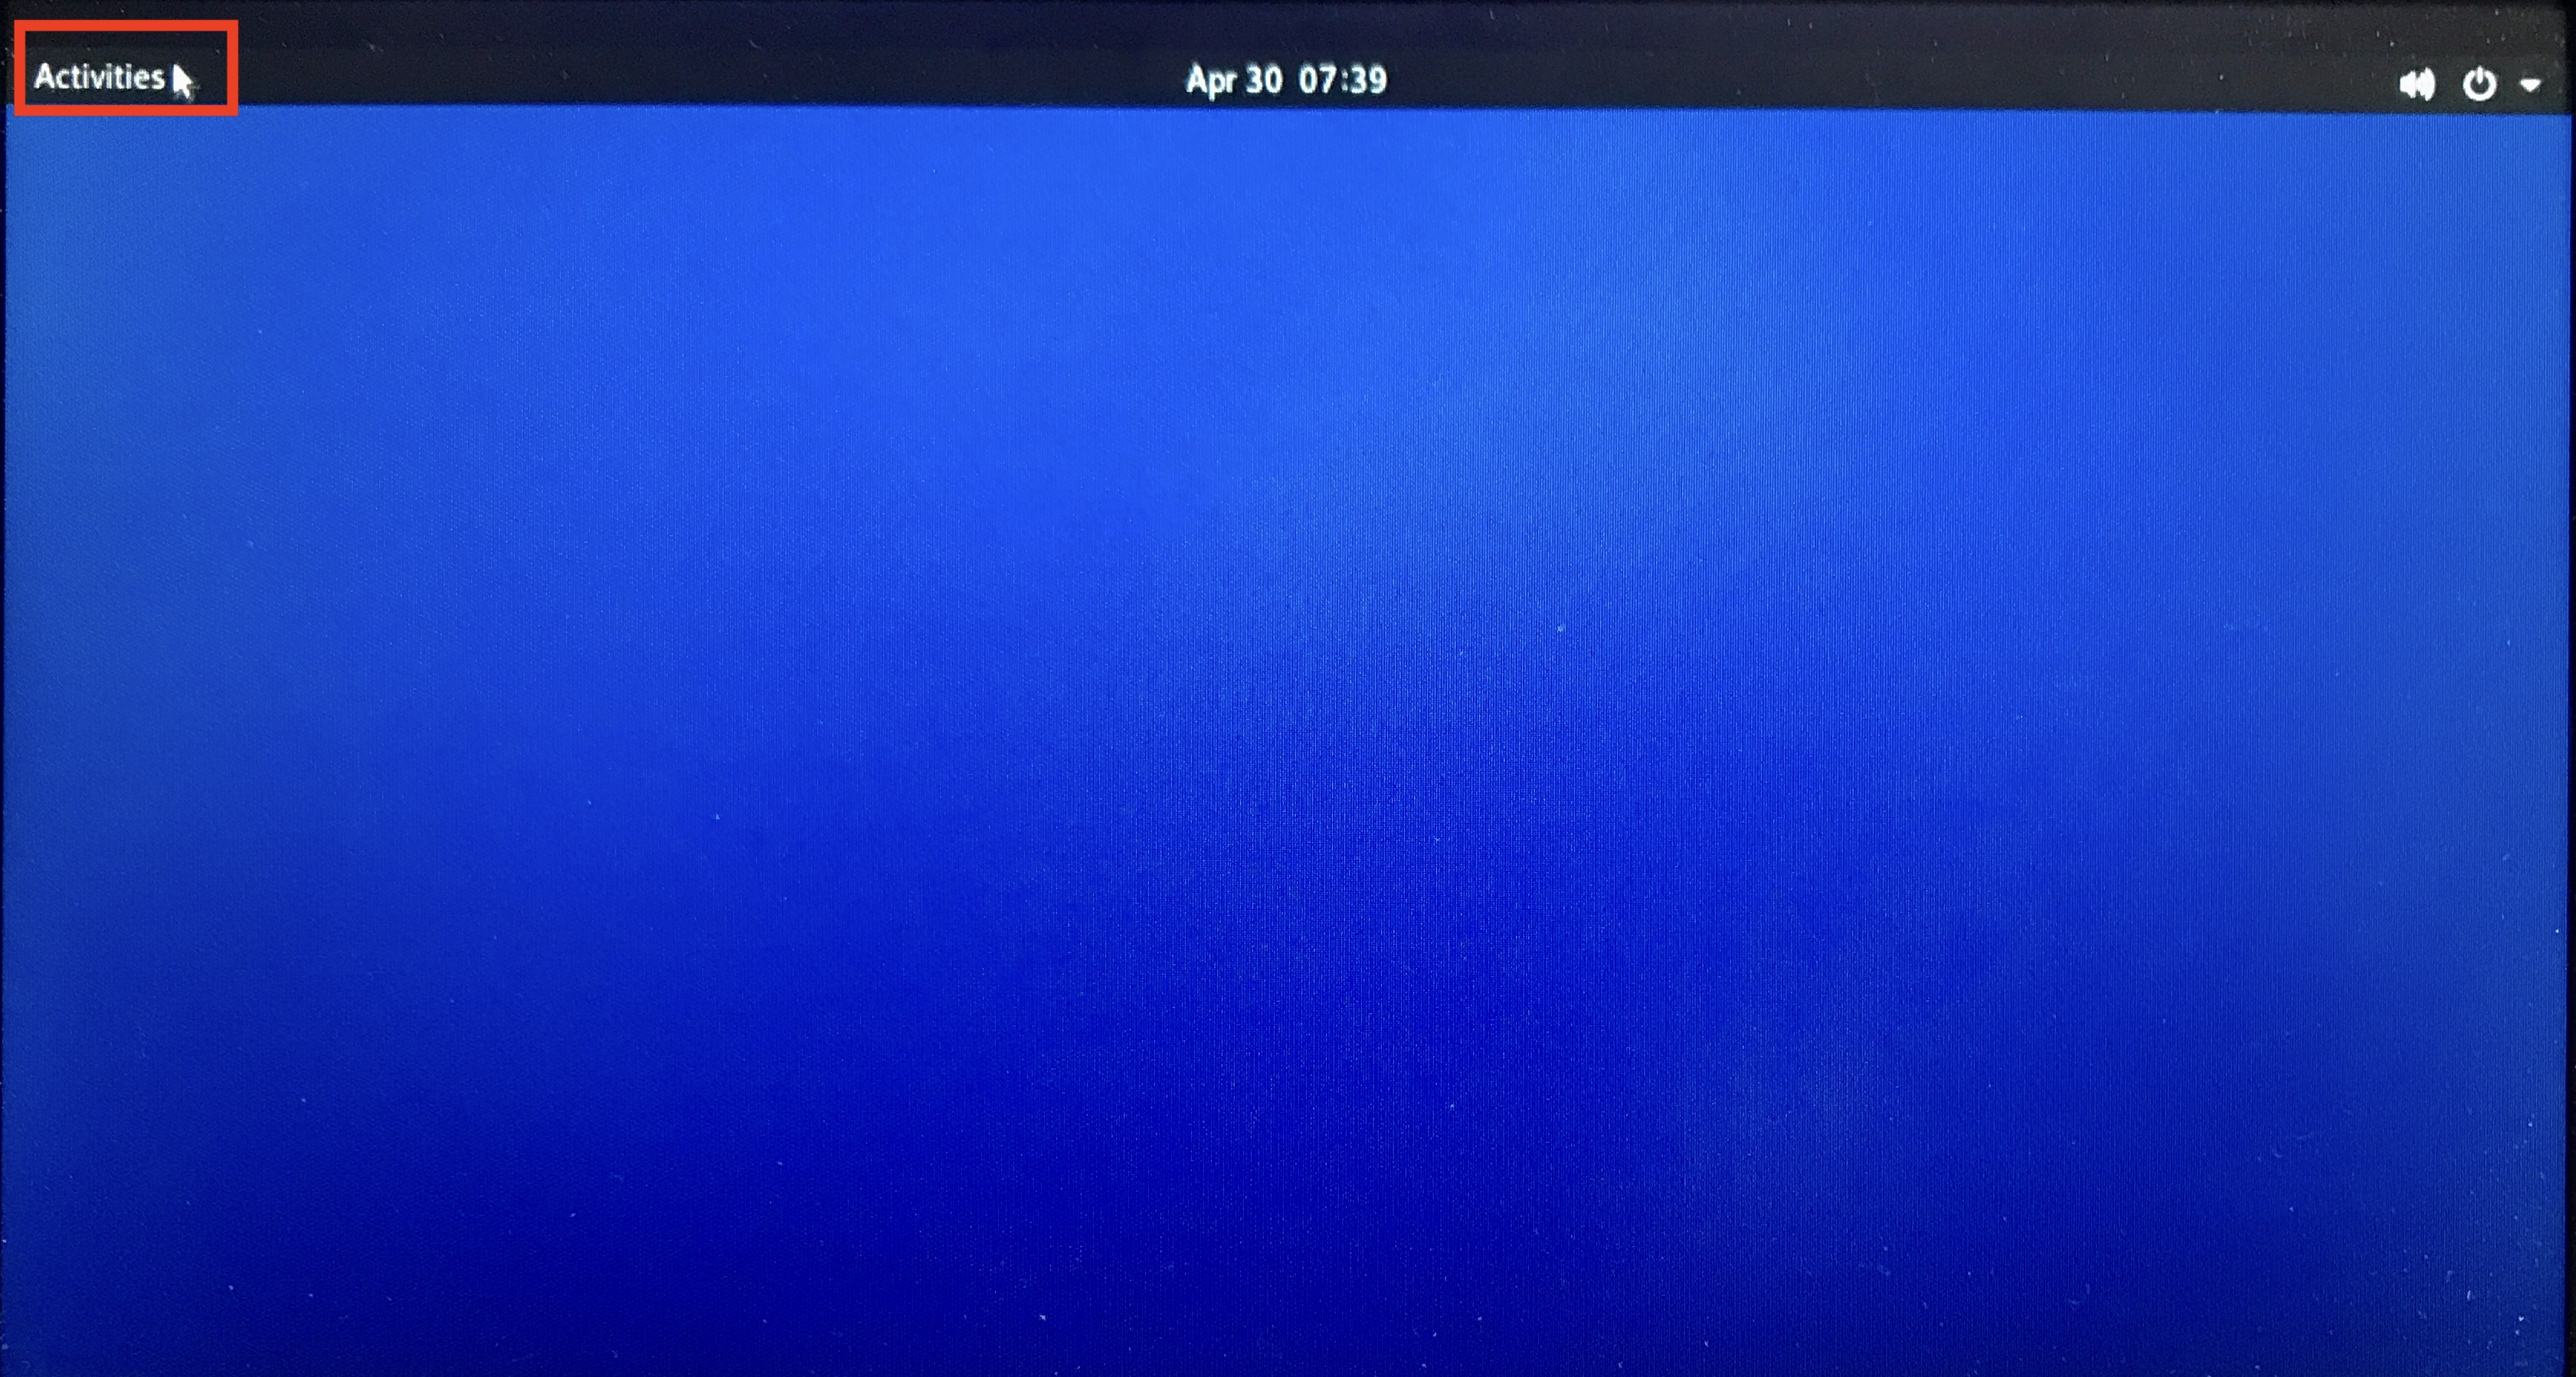
Click "Activities" in the upper left of the screen after login
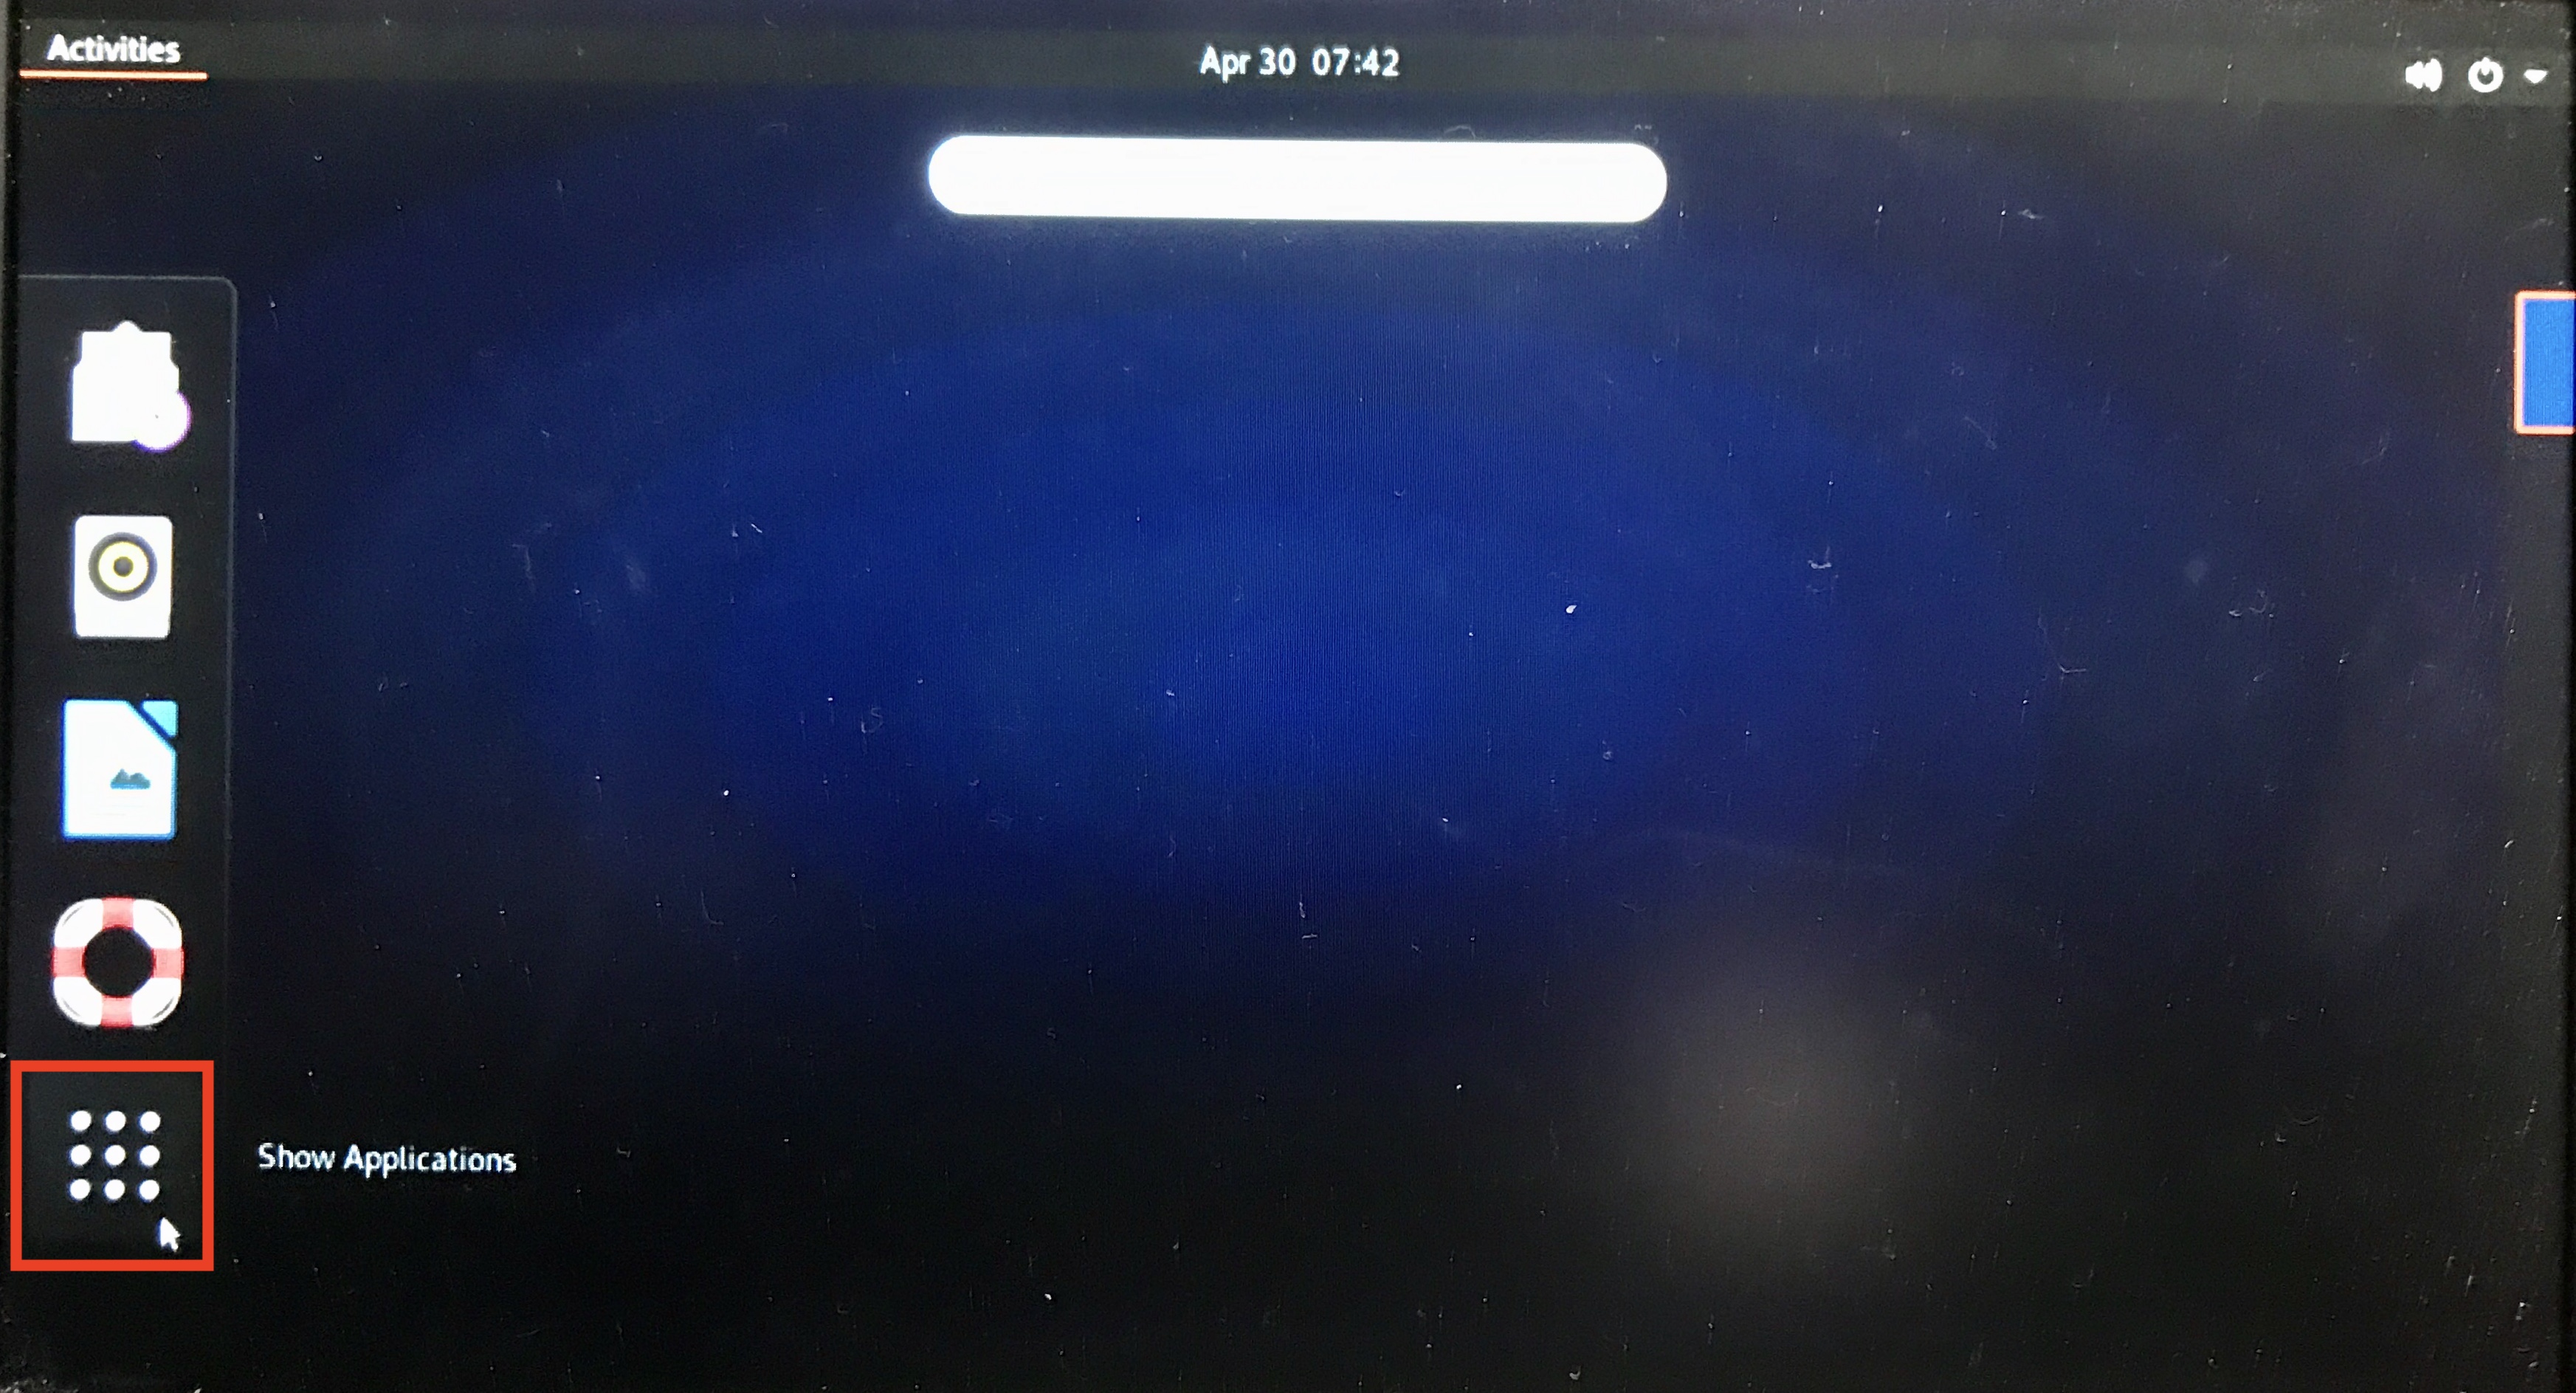
Click Show Applications at the bottom left of the screen
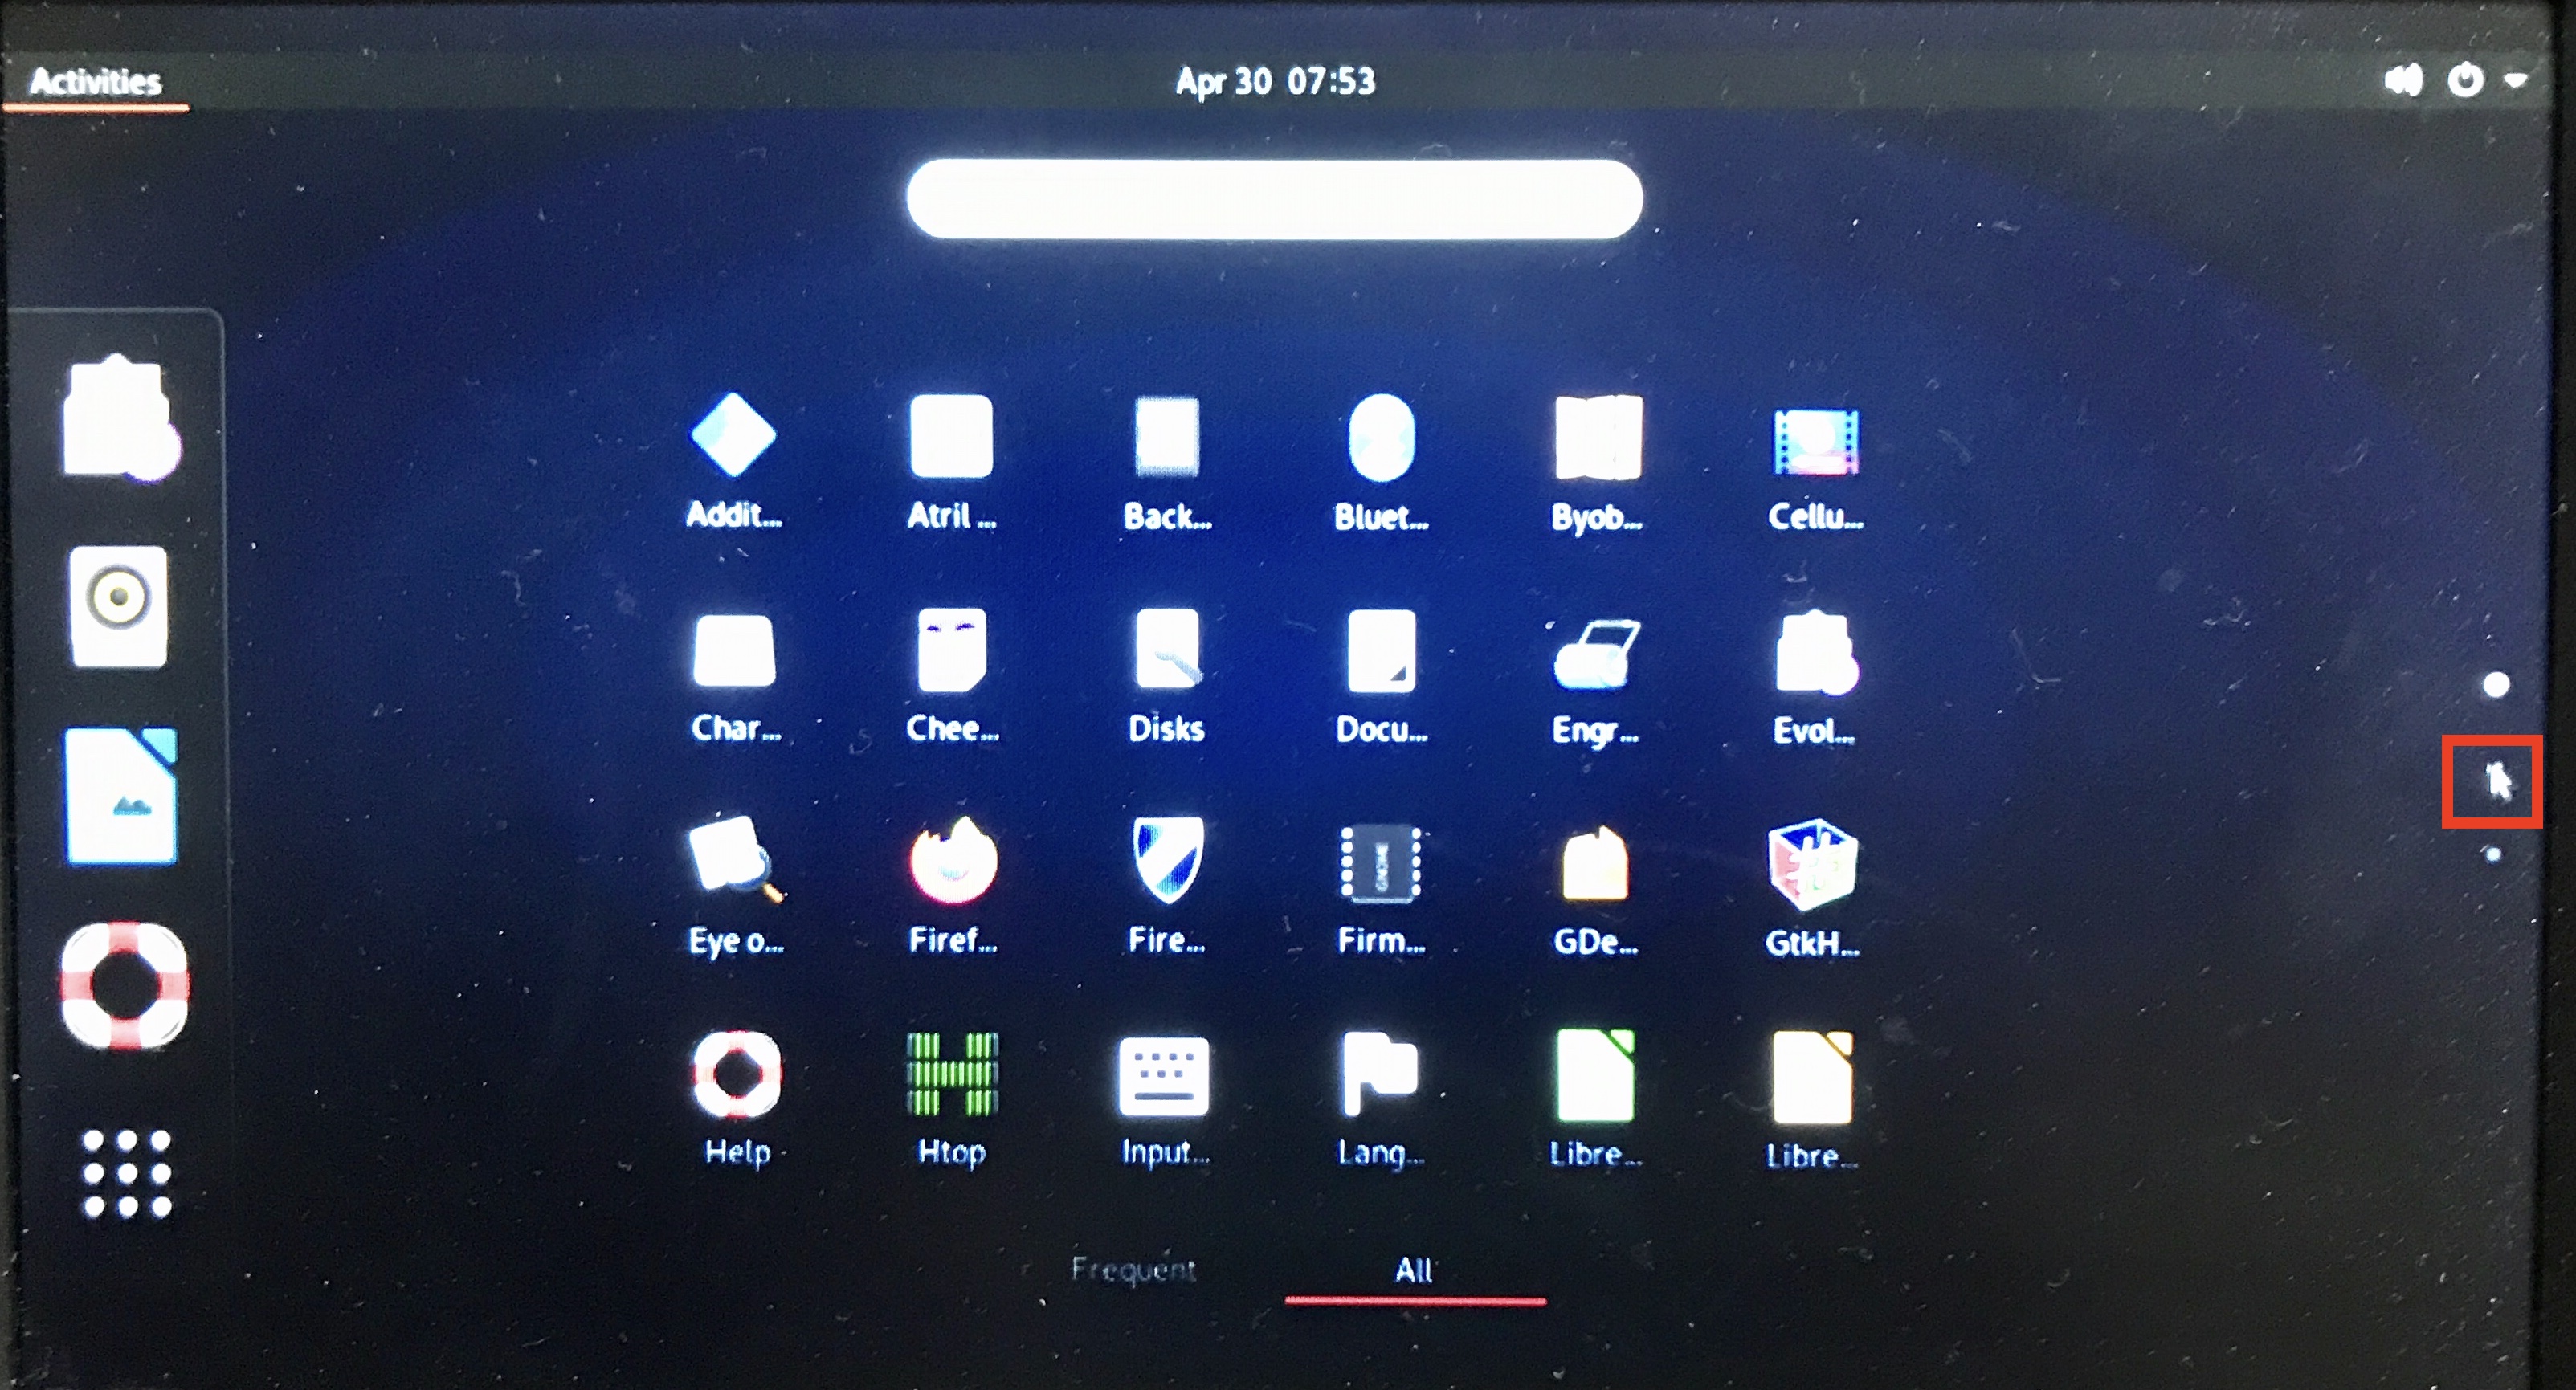
Click the second "・" from the top on the right edge of the screen
Double-click MATE Terminal to launch it
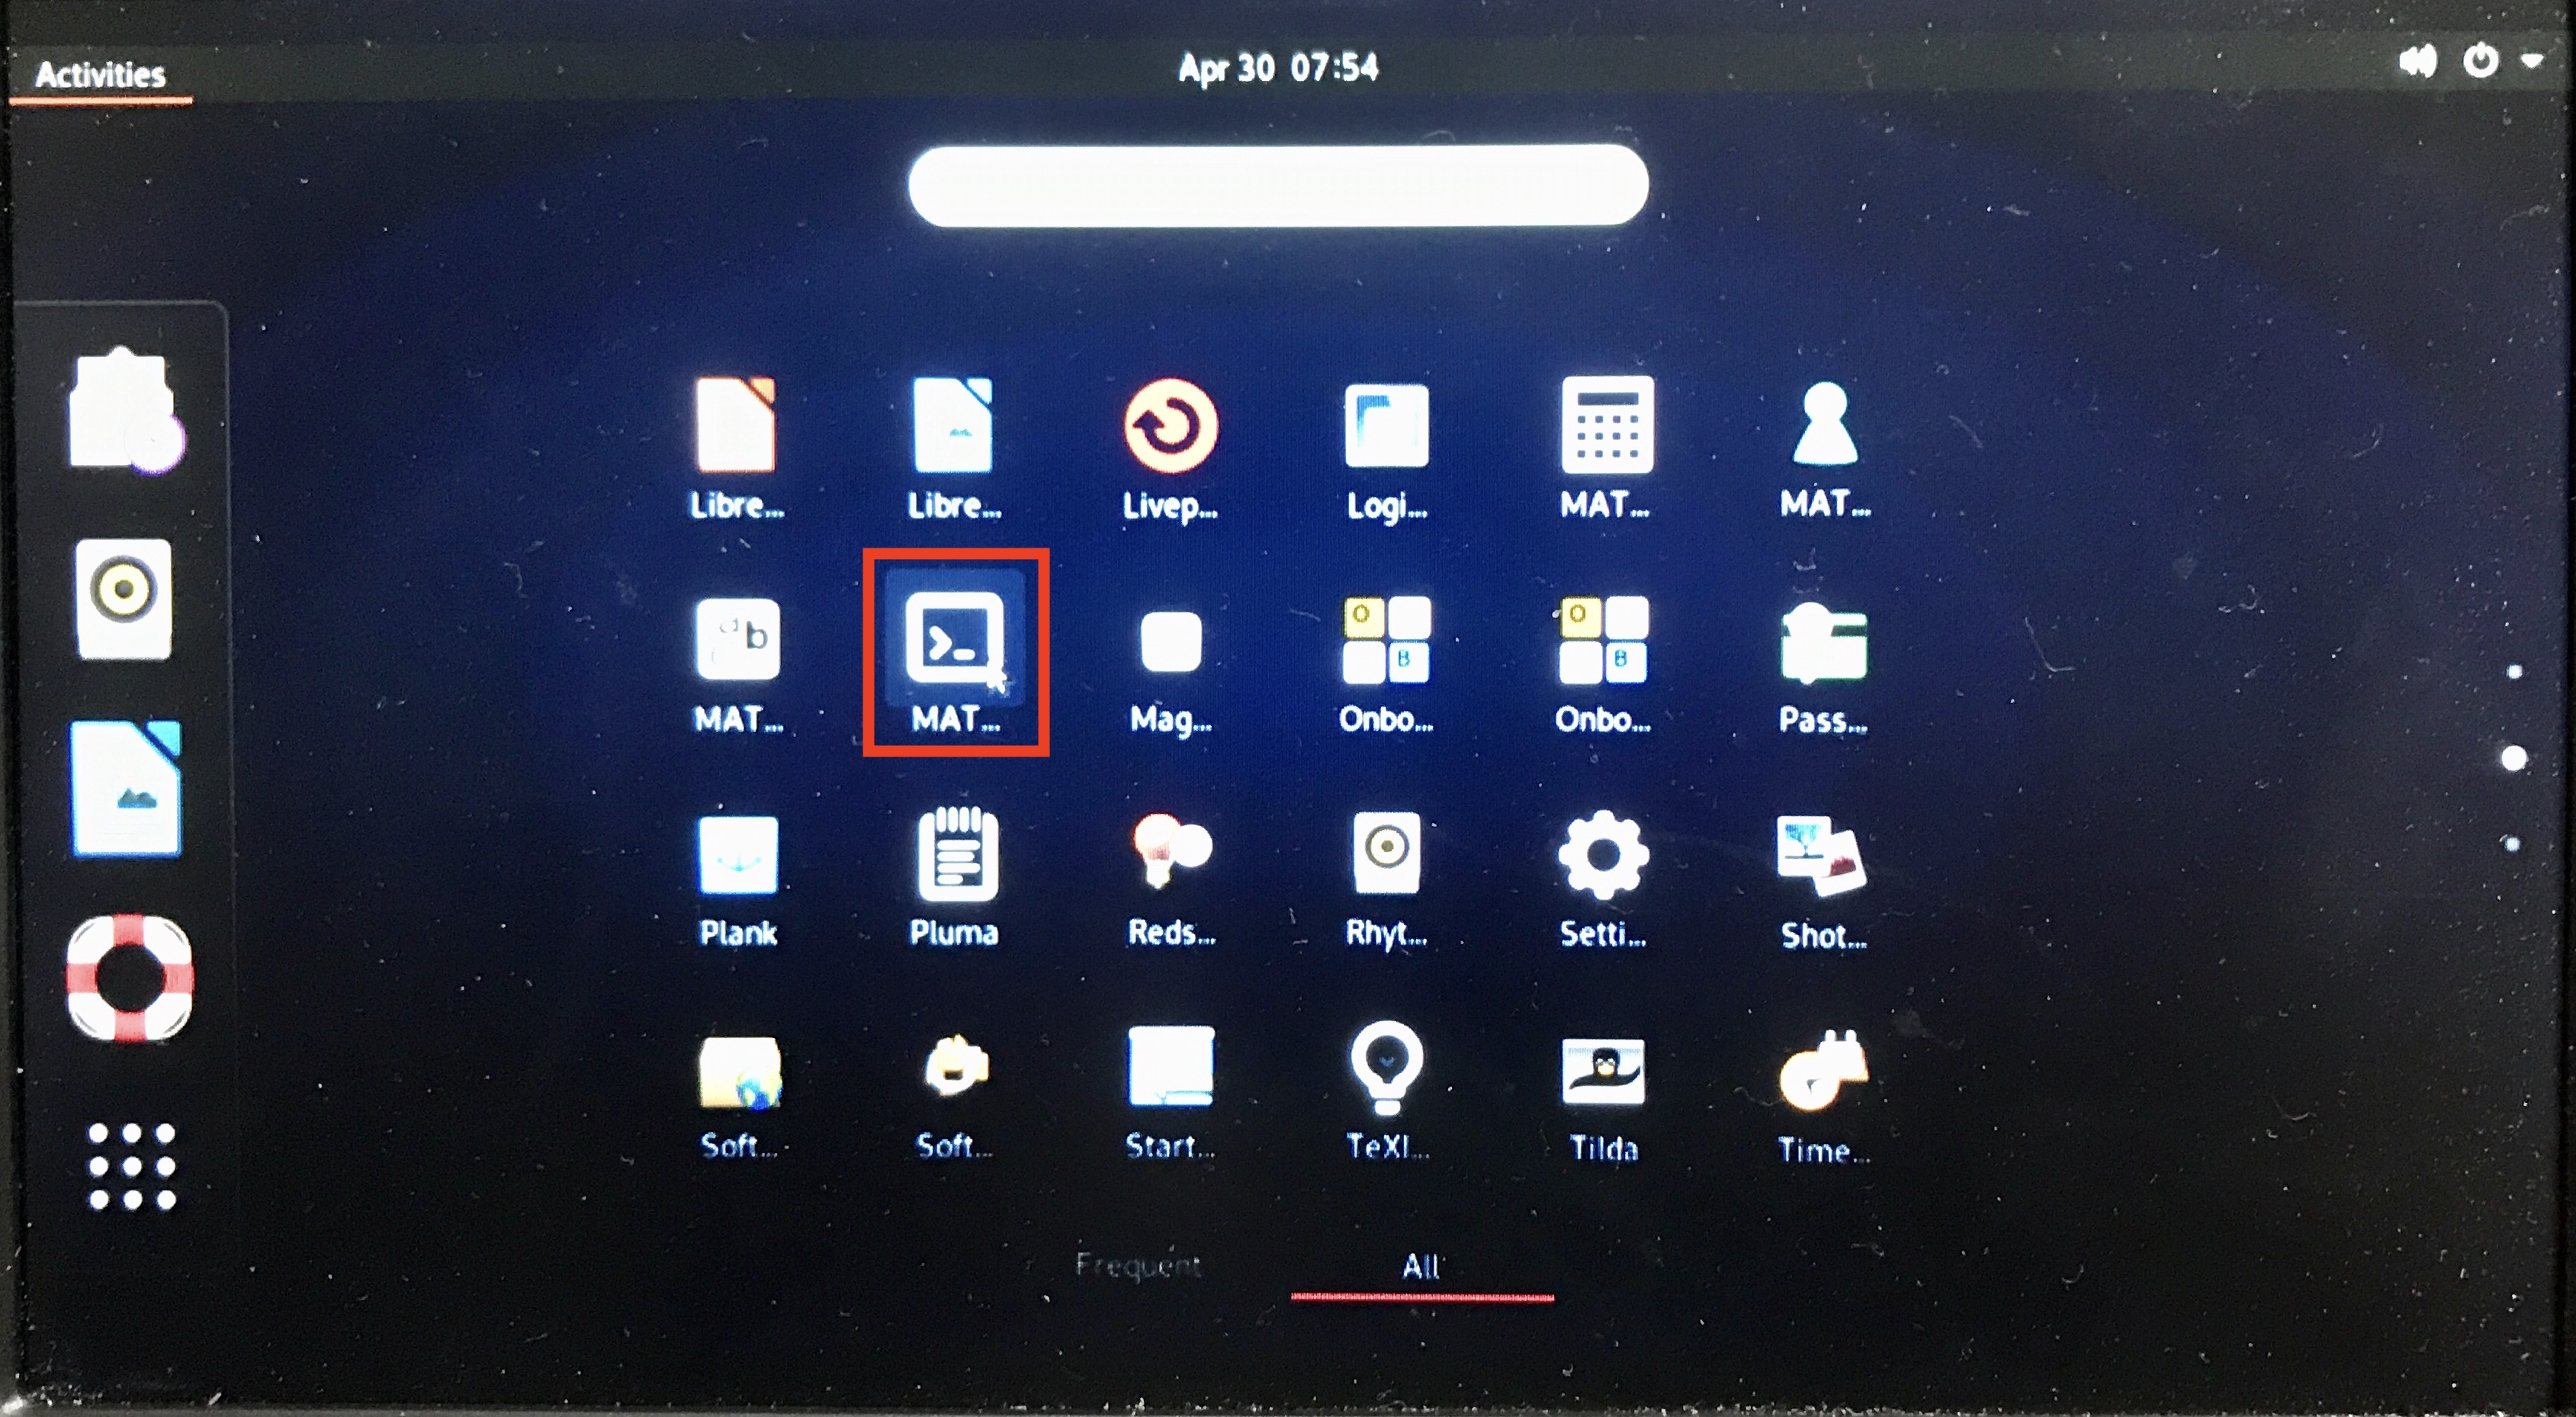
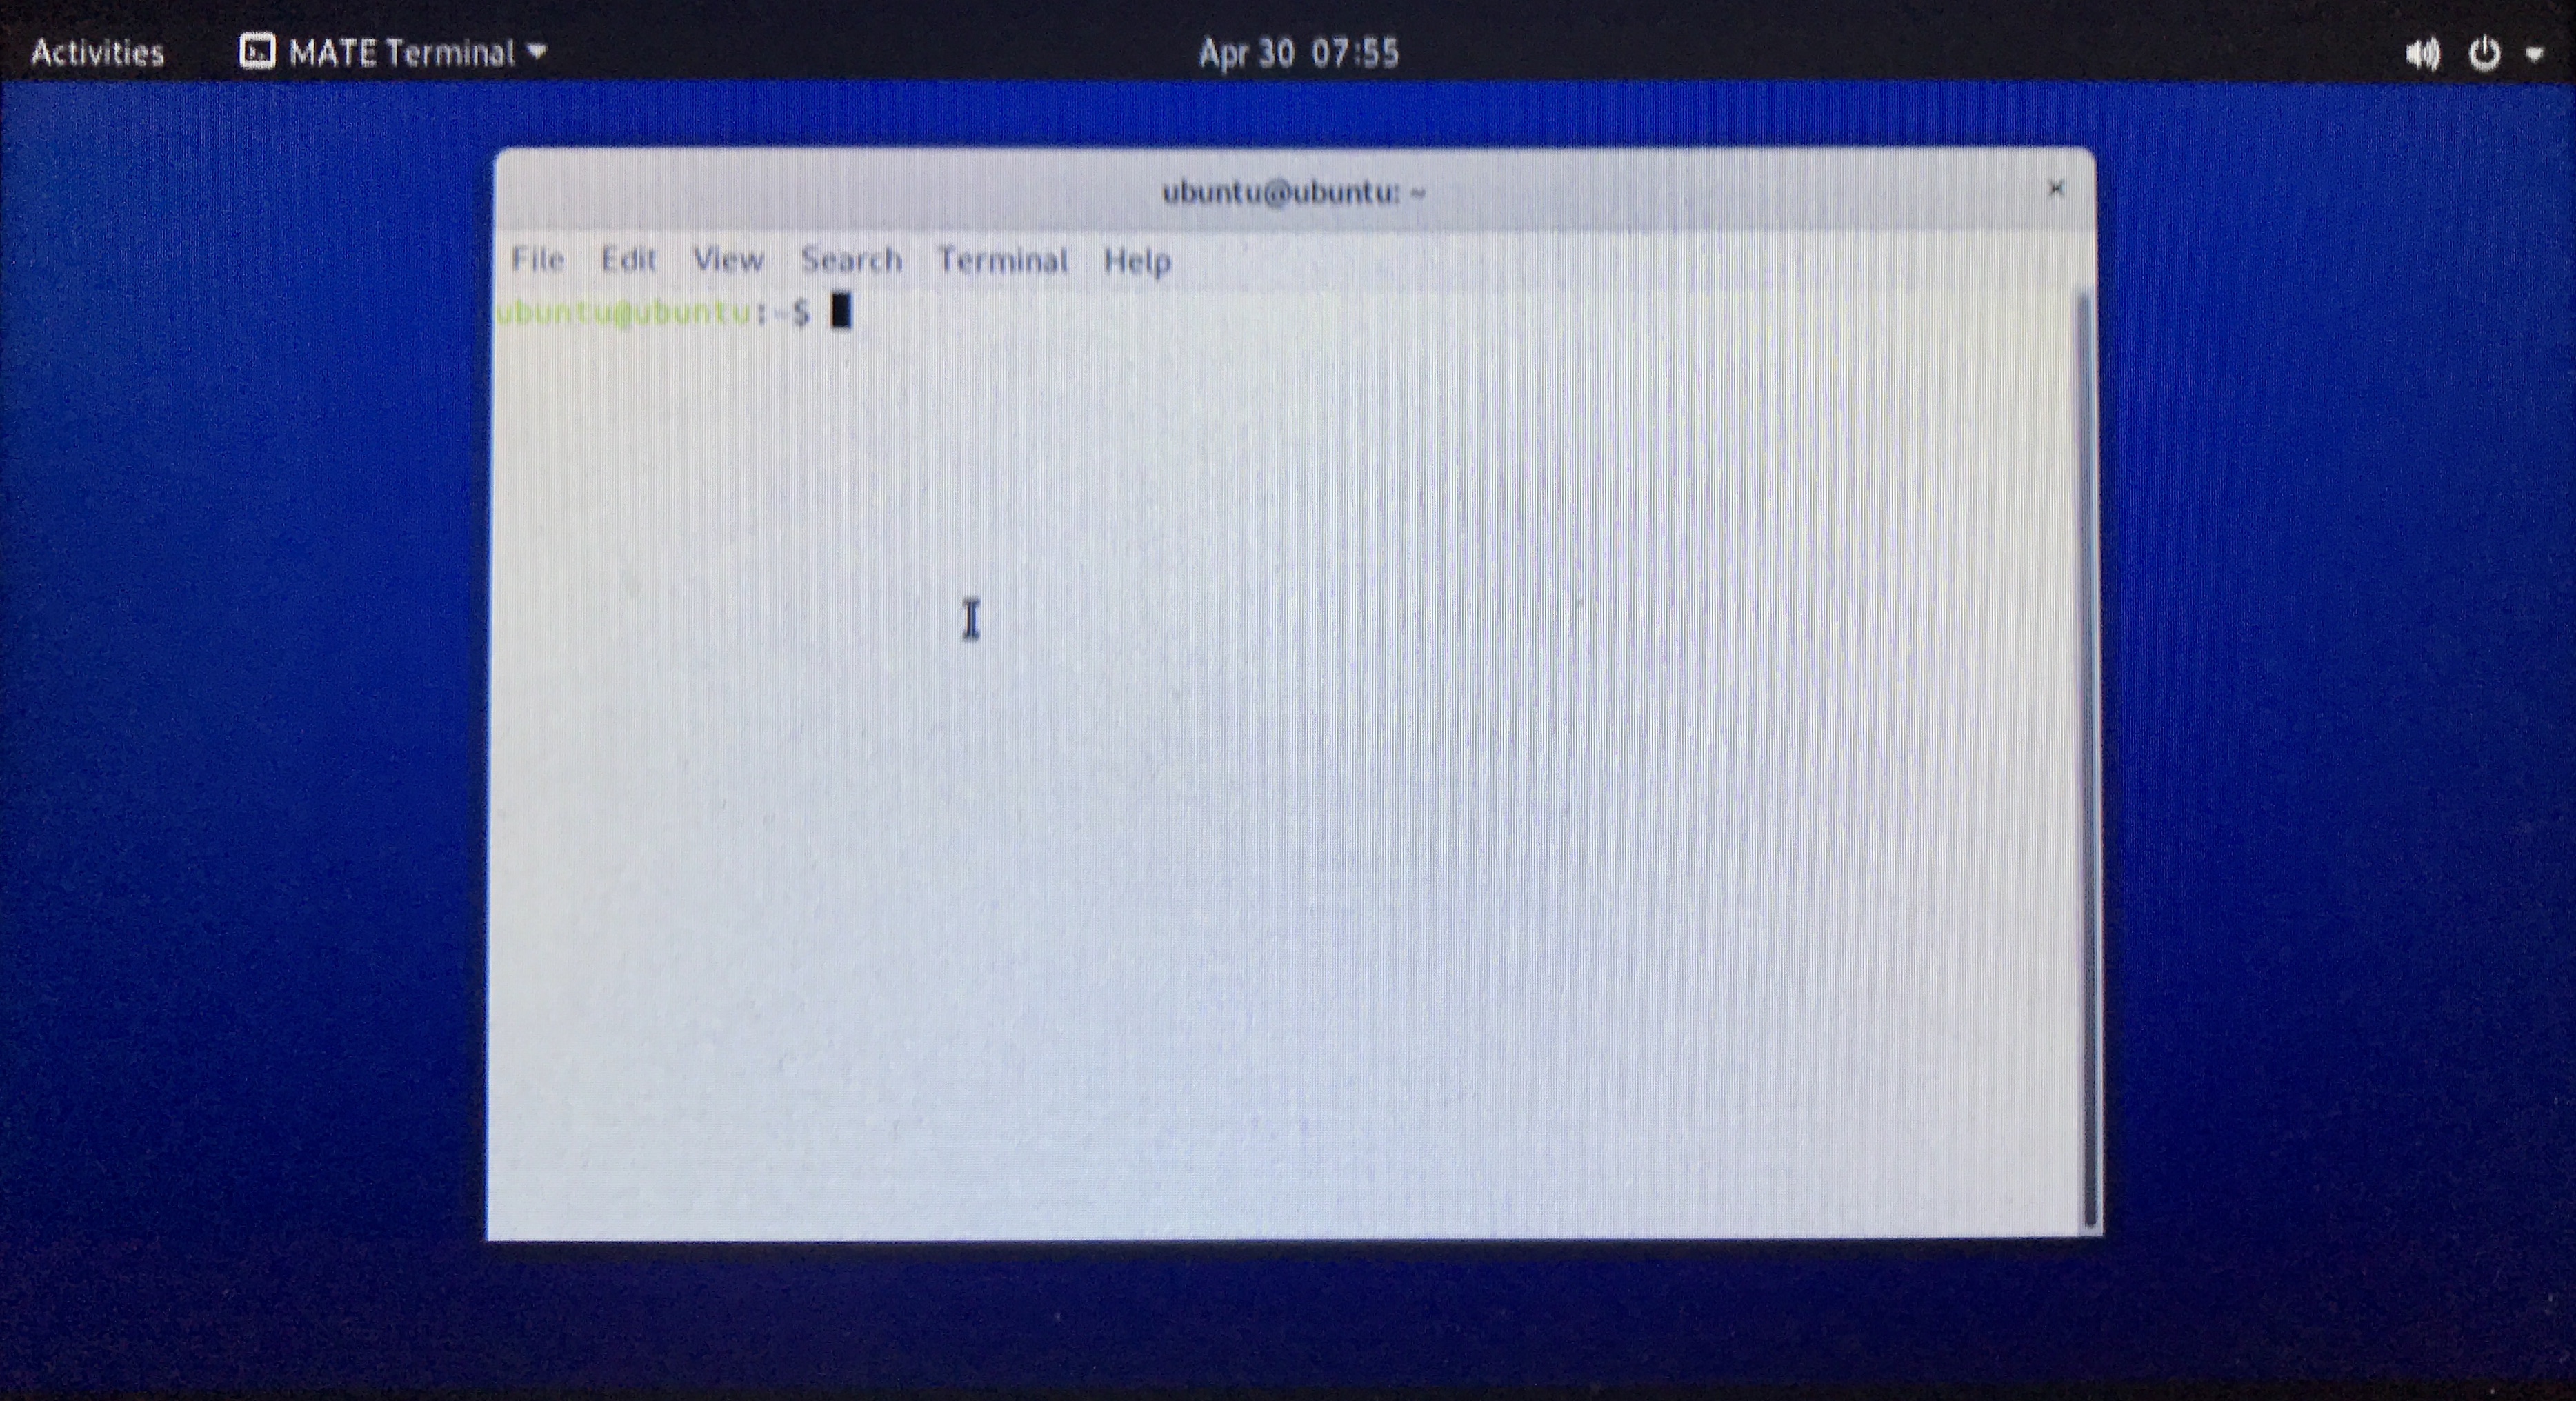
MATE Terminal is displayed on the screen
Ubuntu update
Work in the MATE Terminal. (Omitted below)
Input command
sudo apt update
sudo apt upgrade
Recommended Posts