Build a mruby development environment for ESP32 (Linux)
Overview
Build a mruby development environment for ESP32 on Linux.
Building a mruby development environment for ESP32 on Mac --Qiita Before writing, I couldn't find an article written for Mac, so I actually tried it on Linux.
I couldn't build it on the way, so I tried it on a Mac, but in the end I got stuck for the same reason and solved it. Since it is a good idea, we will also release the Linux version. (The flow is the same, but the commands etc. are slightly different)
Prerequisites
I'm building a Linux virtual machine in Parallels and building it on top of it.
The Linux distribution and version used.
$ cat /etc/lsb-release
DISTRIB_ID=LinuxMint
DISTRIB_RELEASE=19.2
DISTRIB_CODENAME=tina
DISTRIB_DESCRIPTION="Linux Mint 19.2 Tina"
The target device is M5Stack.
procedure
Linux mint virtual machine creation
I don't usually use Linux, so I tried using Linux mint, which I had never installed before, by referring to the site below.
[By purpose] 7 recommended Linux distributions for beginners
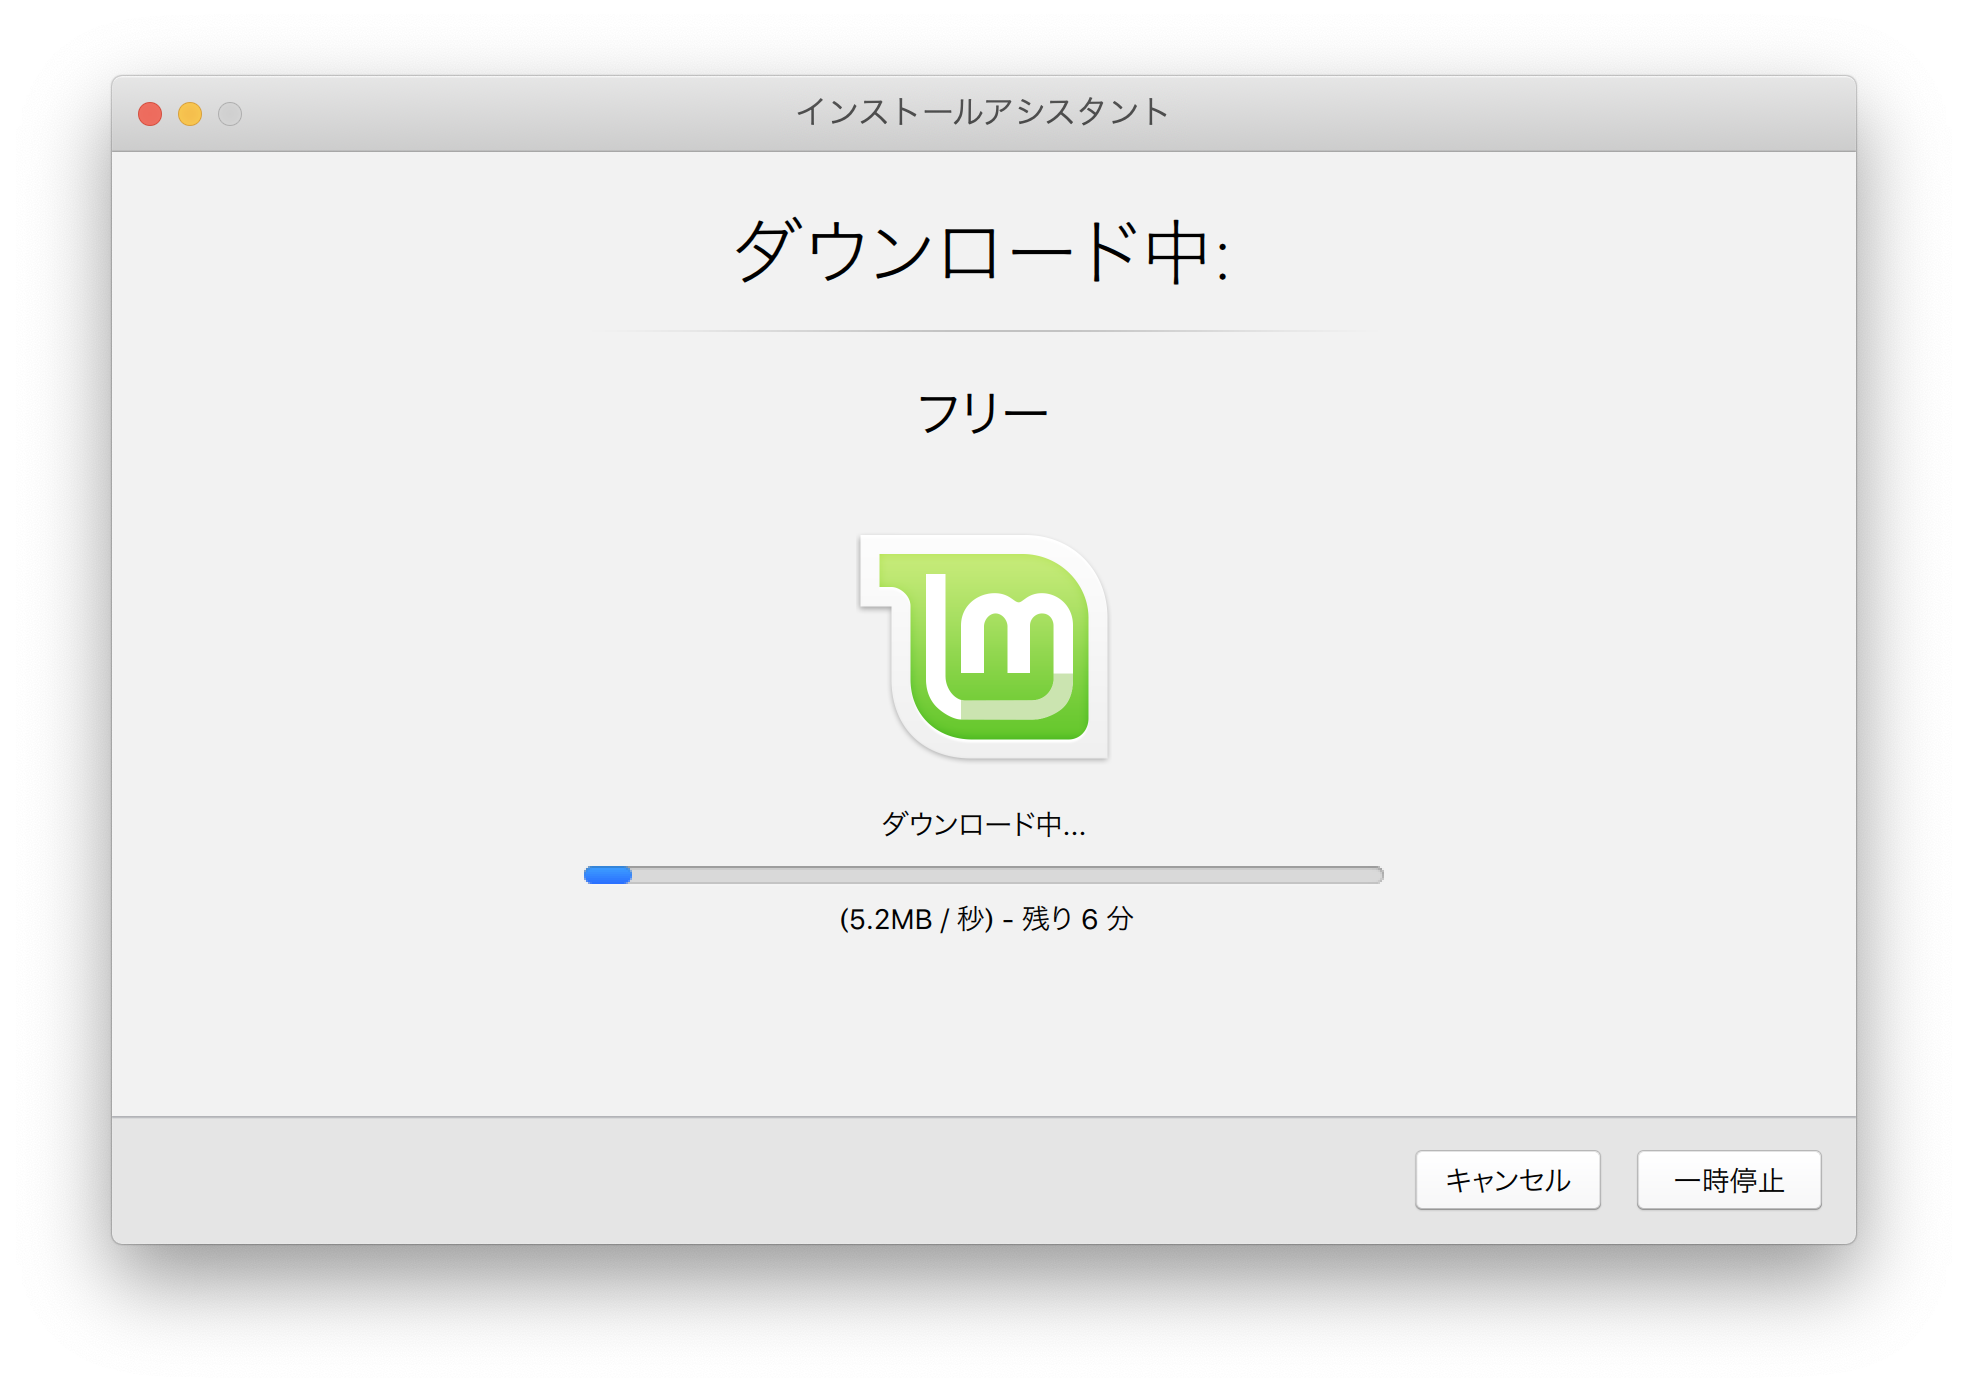
Just follow the Parallels Installation Assistant and select your distribution and it will create it almost automatically.
I didn't know that there is also a free version called Parallels Lite, which also seems to be able to create a virtual environment for Linux.

ESP-IDF development environment construction
The cross development environment called ESP-IDF is used as in the case of Mac.
We will proceed according to the official document, but it is necessary to prepare various commands in advance.
Get Started — ESP-IDF Programming Guide v4.1-dev-1066-g93a8603c5 documentation
Installation of commands
@GORO_Neko wrote the necessary commands in the article below, so I will refer to that.
Run an application made from Ruby language code on ESP-WROOM-32 (ESP32) using mruby-esp32 --Qiita
However, when I run `sudo apt install`, I get 404 Not Found``` and I have to update apt.
$ sudo apt update
Install the necessary commands as shown below.
(The one that was not included and the one that was upgraded.)
These days it's not apt get but ```apt install `` `.
$ sudo apt install git
$ sudo apt install libncurses-dev
$ sudo apt install gperf
$ sudo apt install python-pip
$ sudo apt install python-serial
$ sudo apt install python-dev
$ sudo apt install grep
$ sudo apt install automake
$ sudo apt install texinfo
$ sudo apt install help2man
$ sudo apt install libtool
$ sudo apt install libtool-bin
$ sudo apt install cmake
$ sudo apt install ruby
ESP-IDF source code set Clone
From here on down is roughly the same as the Mac version. Clone from github into the esp directory according to the documentation.
$ mkdir ~/esp
$ cd ~/esp
$ git clone --recursive https://github.com/espressif/esp-idf.git
ESP-IDF setup
$ cd ~/esp/esp-idf
$ ./install.sh
~/.Add the following line to bashrc.
. $HOME/esp/esp-idf/export.sh
 Restart the terminal or run `` `source ~ / .profile``` to reflect.


### hello world copy of sample project

 Copy the hello world sample provided by esp-idf.
$ cd ~/esp $ cp -r $IDF_PATH/examples/get-started/hello_world .
 Configuration

 Launch menuconfig prior to building.
$ cd ~/esp/hello_world $ idf.py menuconfig
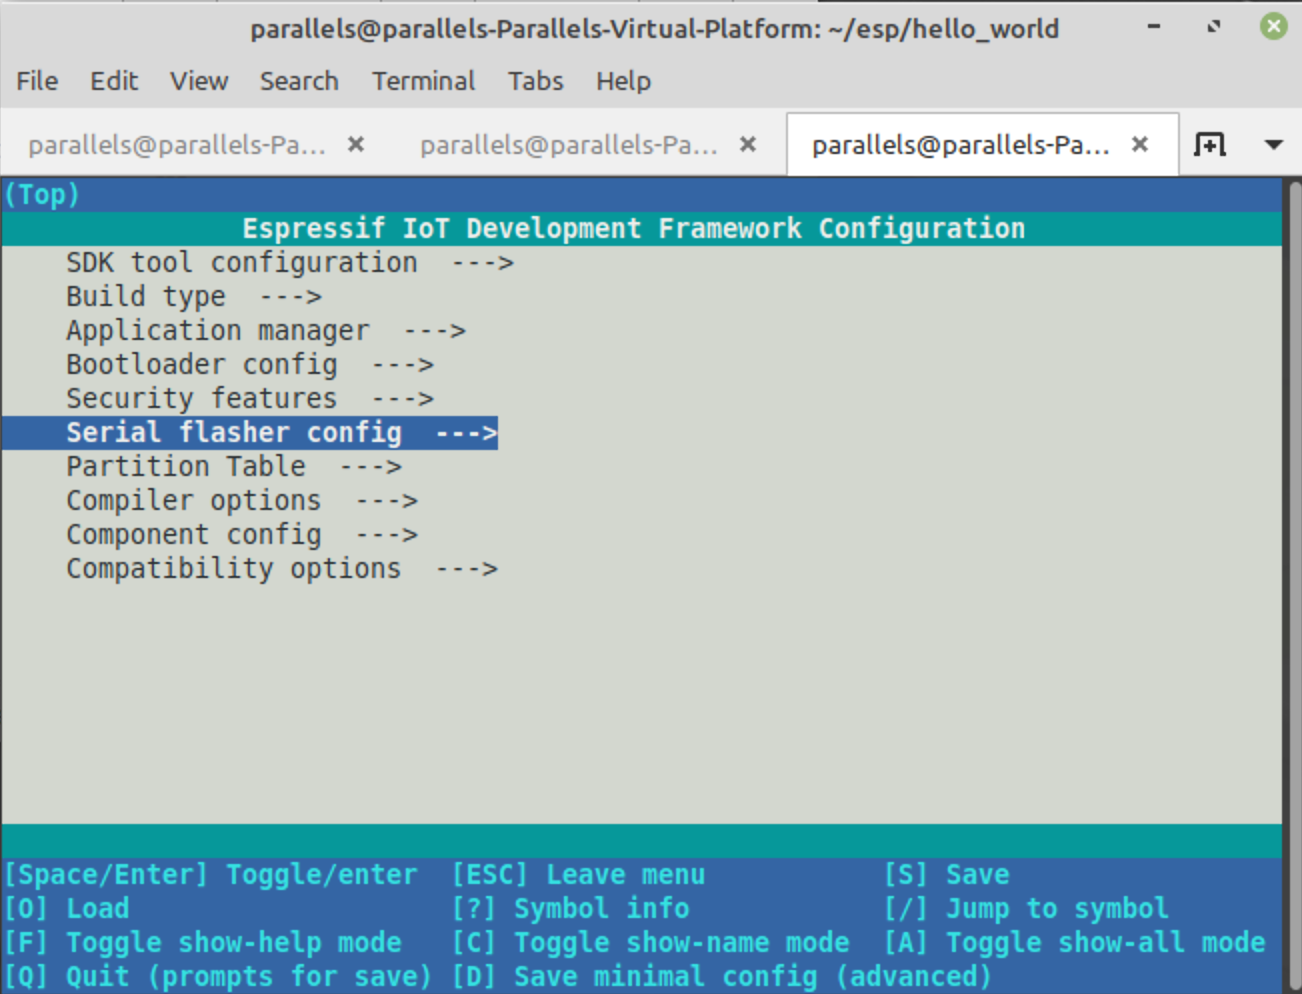
When it starts normally, the following screen will appear.
If this screen appears, the work up to this point has been completed without any problems.

It seems that various conditions are set on this screen, but here it ends once with the ESC key.
Press Y in the exit dialog just in case to save.
### Build
The command below will build the hello world project.
$ idf.py build
### Upload to the actual machine

 Connect [M5Stack](https://www.switch-science.com/catalog/3647/) with a USB cable.
 Check the connected port. Usually it looks like ``` / dev / ttyUSB0```.
$ ls /dev/ttyU* /dev/ttyUSB0
To upload the program, execute the command below.
$ idf.py -p /dev/ttyUSB0 flash
However, I got an Error with Permission denied.
serial.serialutil.SerialException: [Errno 13] could not open port /dev/ttyUSB0: [Errno 13] Permission denied: '/dev/ttyUSB0'
#### **`The user who is logged in to the dialout group because it is dialout and does not seem to have access rights.(parallels)To add.`**
```/dev/ttyusb0 owner is root
$ sudo usermod -aG dialout parallels
 Reboot now. (Maybe you just have to log in again.)


#### **`It will be reset to dialout, so you will have to chown every time, so it is better to put it in a group.`**
```/dev/I could have changed the owner of ttyusb0, but when I plug in and unplug the device, the owner becomes root.

 I will upload it again.
$ idf.py -p /dev/ttyUSB0 flash
 This time it worked.

### Program operation check

 You can check the output of the program with monitor.
idf.py -p /dev/ttyUSB0 monitor
You can see that Hello world! And chip information are output.
Hello world! This is ESP32 chip with 2 CPU cores, WiFi/BT/BLE, silicon revision 1, 2MB external flash Restarting in 10 seconds... Restarting in 9 seconds... Restarting in 8 seconds...
 Now you can check from project build to execution with ESP-IDF.


## mruby build

### Clone the source code

 Clone the source code according to the documentation on [GitHub mruby-esp32](https://github.com/mruby-esp32/mruby-esp32)
$ cd ~/ $ git clone --recursive https://github.com/mruby-esp32/mruby-esp32.git $ cd mruby-esp32
### Build

 Build with make as documented.
 MRUBY_EXAMPLE = simplest_mrb.rb seems to specify the mruby file to use from some samples.

 As with the Mac version, an error will occur when checking the -W option, so set CFLAGS to disable the check before making.
$ export CFLAGS="-Wno-error=format-overflow=" $ make MRUBY_EXAMPLE=simplest_mrb.rb
### Communication port settings

```menuconfig```Sets the port used for communication with, but the default is```/dev/ttyusb0```Since it is set to, you do not usually need to set it.

 If the communication port is not `` `/ dev / ttyUSB0```, set it according to the procedure below.
$ make menuconfig
```menuconfig```When is started, set as follows.

 1. Select __Serial flasher config ---> __
 2. Select __ (/ dev / ttyUSB0) Default serail port) __
 3. Enter the port you want to use.
 4. Press __ESC__ twice and then press __Y__ in the dialog to save.

### Program writing and operation check

 [simplest_mrb.rb](https://github.com/mruby-esp32/mruby-esp32/blob/master/main/examples/simplest_mrb.rb) If you check the files, you will see 1234 and 4321 as shown below. It is designed to output two lines.
puts "1234" puts "4321"
Run the flash and monitor tasks to write and verify the program.
$ make MRUBY_EXAMPLE=simplest_mrb.rb flash monitor
When I check the output, it seems to be working normally.
I (542) cpu_start: Starting scheduler on PRO CPU. I (0) cpu_start: Starting scheduler on APP CPU. I (370) mruby_task: Loading binary... 1234 4321 I (390) mruby_task: Success
 So the mruby program was executed safely like the Mac version.


# Relation

 Mac version.

 -[Building a mruby development environment for ESP32 on Mac --Qiita](https://qiita.com/katsuyoshi/items/dc0aed3aeb35d8a0ebcb)


# reference

 I referred to the following site. (Although it looks like a summary site ...)
 Thank you very much.


 -[Run an application made from Ruby language code on ESP-WROOM-32 (ESP32) using mruby-esp32 --Qiita](https://qiita.com/GORO_Neko/items/12967d5c8f84975db221)
- [GitHub - mruby-esp32/mruby-esp32: mruby application template for ESP32](https://github.com/mruby-esp32/mruby-esp32)