[Java] Let's create a mod for Minecraft 1.16.1 [Introduction]
TL;DR ・ I explained some modding of Minecraft 1.14.4 before. ・ This time, I will explain as much as possible about the modding of Minecraft 1.16.1. ・ First, introduce the environment construction
Introduction
I wrote some articles about modding in Minecraft before. [Java] Let's create a mod for Minecraft 1.14.4 [Introduction] etc. Since the version of the main body is 1.14.4 (released in July 2019), which is a little old, and the additional elements in 1.16 are large, it is 1.16 rather than understanding 1.14 in consideration of future trends. I thought it would be more useful to cultivate. Therefore, from this time, I will change the environment (while taking over the parts that do not change) and write a new commentary. Also, please note that this time, I'm thinking of making a mod with a slightly more concrete image, not for illustration purposes.
Caution
I will add explanations and annotations as necessary, but I plan to explain on the premise of previous explanation as a whole, so it is necessary. Please refer to according to.
Environment
environment
| version | |
|---|---|
| OS | Winsows 10 Home |
| Oracle JDK | 8u212 |
| Minecraft | 1.16.1 |
| Minecraft Forge | 1.16.1 (32.0.108) |
| InteliJ IDEA | 2020.1.3 (CE) |
I'm using an older version of the JDK, but I'm still using the one I introduced in the previous article. It seemed to work, so it's the same, but maybe it should be a new JDK.
Oracle JDK (Java Development Kit)
After agreeing to the terms, download from here. Again, the version may be newer.
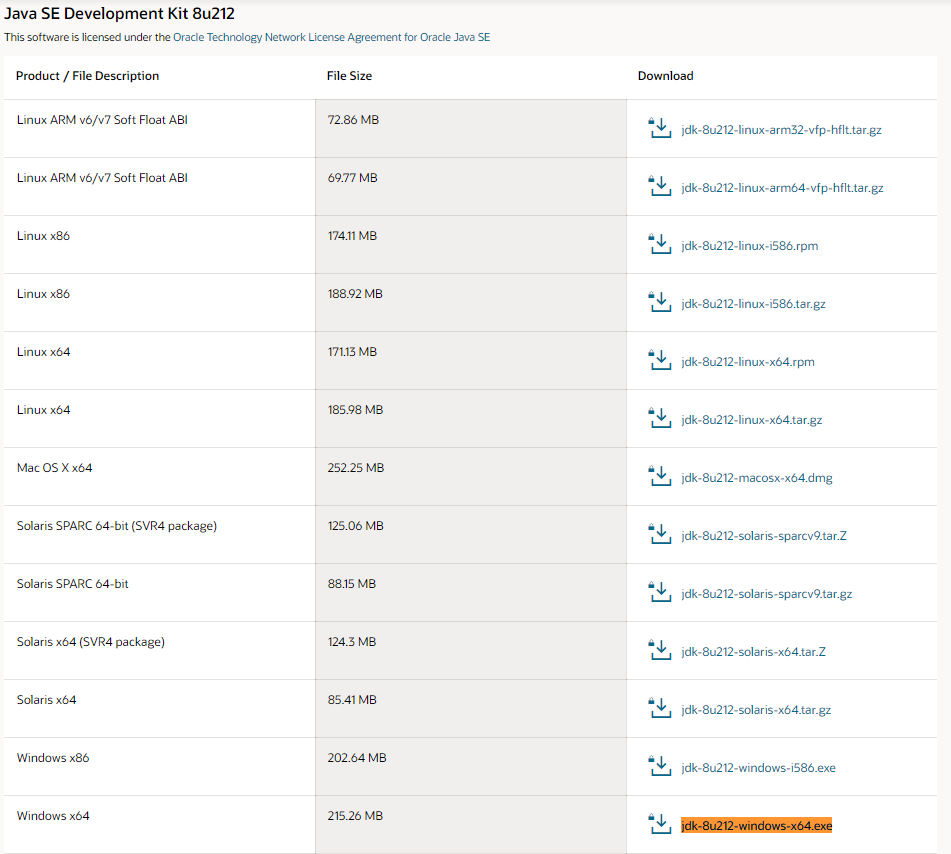 (8u212 is quite down)
You need an Oracle profile (account) ** to download, so create one if you don't have one. When registering, you will be asked to enter the company name and department, but if you are a student, you can use "student" for the department / job title, the school name for the company name, and the school address for the address.
Execute the downloaded exe to install it.
InteliJ IDEA
After agreeing to the terms, download from here. 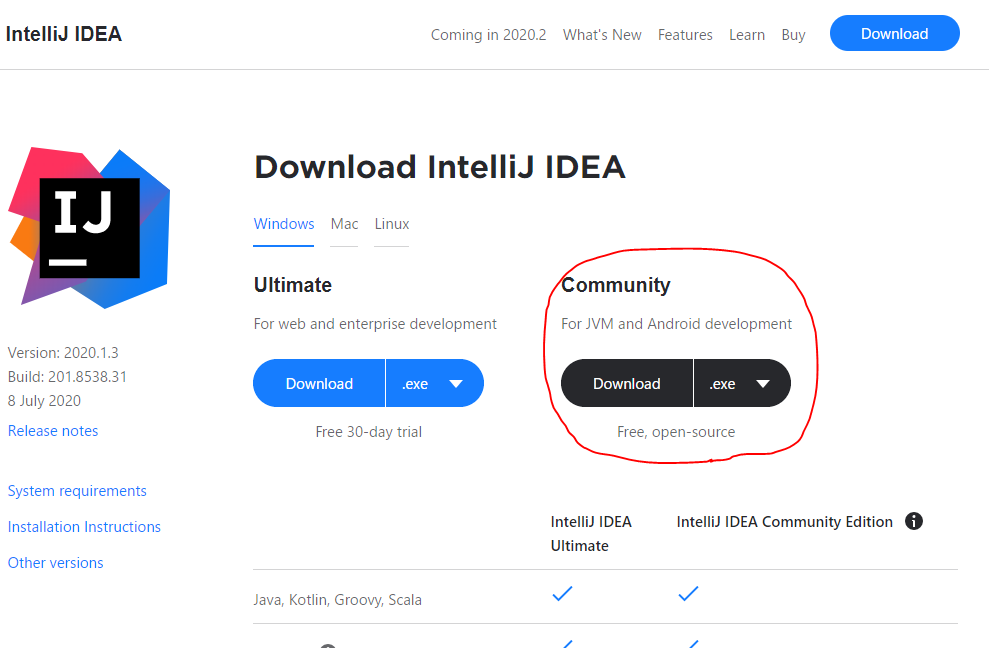
Execute the downloaded exe to install it. Basically nothing needs to be changed.
Also, since the language is English by default, let's translate it into Japanese if necessary (→ Reference article). After that, we will proceed as if it has been translated into Japanese.
Minecraft Forge MDK
After agreeing to the terms, download from here.
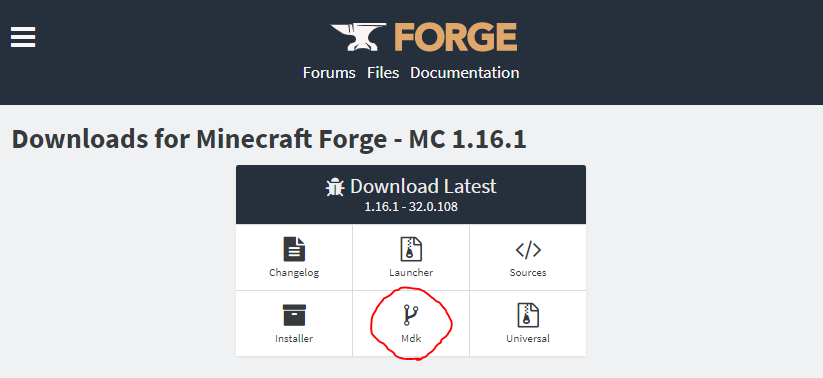
I don't have Recommended yet, so download Latest (32.0.108). If the development of Forge progresses and Recommended comes out, it is better to do it there. Extract the downloaded Zip file.
Project folder
Create a project folder in any location. This time I want to add an underwater life element, so I chose D: \ projects \ mc_liveinwater.
Copy the following items from the Forge folder you just extracted to the project folder. (You can copy or rename the expanded folder and use it as it is. Here, README etc. are excluded.)
D:\projects\mc_liveinwater
 ├ build.gradle
 ├ gradle.properties
 ├ gradlew
 ├ gradlew.bat
 ├ gradle
 │ └ wrapper
 │   └ gradle-wrapper.jar
 │   └ gradle-wrapper.properties
 └ src
   └ main
     ├ java
     │  └ com
     │     └ example
     │        └ examplemod
     │           └ ExampleMod.java
     └ resources
        ├ META-INF
        │   └ mods.toml
        └ pack.mcmeta
Execution configuration
** Not required if the reader of the above has already done so. ** ** Start PowerShell, change to the project directory and execute the following command.
PS D:\projects\mc_liveinwater> .\gradlew genIntellijRuns
When BUILD SUCCESS FUL is displayed, the process is complete. It will take some time, so be patient.
Gradle project import
Start Intel iJ and click "Open" to open the project directory. You will be prompted to "Import Gradle project" in the pop-up notification at the bottom right or the event log at the bottom, so click on it. Some people start automatically.
If you lose sight of the notification
Open Search for Actions with ctrl + shift + "a" and search for "Import Gradle Project" and select it.
Click "OK" without making any changes in the opened window. The import will start, so let's wait.
When finished is displayed and the import is completed, you should see the Gradle item on the right side of the screen.
Start-up
Right-click on mc_liveinwater \ Tasks \ fg_runs \ runClient from the Gradle menu-> Run to launch Minecraft for debugging.
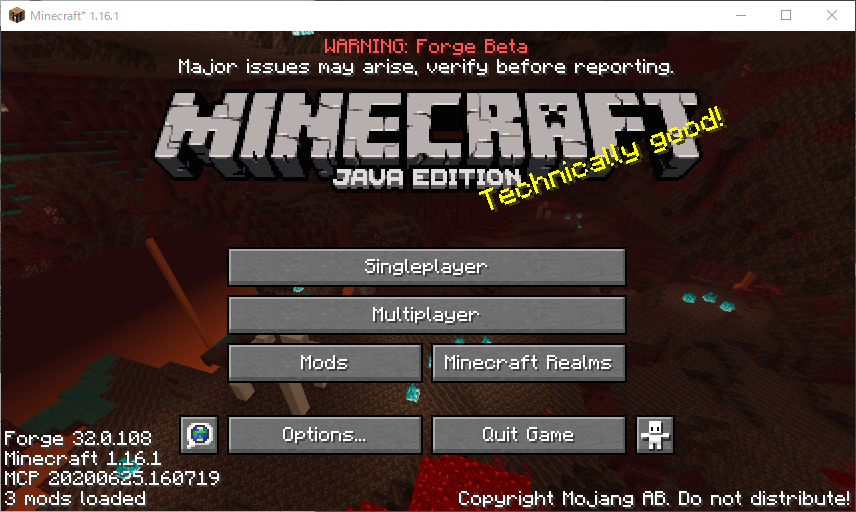 (You've been warned that "Forge is still in beta!")
** This completes the environment construction. Thank you for your hard work. ** **
in conclusion
After that, I plan to write commentary articles for each topic as in 1.14.4. I aim to be a guideline for modding for latecomers, so I will try to write the same content as much as possible. We will connect links to each article one by one, so we hope you will read them one by one.
reference
[Java] Let's create a mod for Minecraft 1.14.4 [Introduction]
Creation of Minecraft 1.14.4 Forge Mod Part 1 [Preparation of development environment IntelliJ IDEA]
Each commentary table of contents
Explanation of plans to be added
・ Addition of items
・ Add block
・ Addition of creative tab
(・ Addition of tools)
(・ Addition of armor)
・ Addition of recipe
・ Addition of progress
・ Add tag
・ Addition of features
(・ Addition and generation of ore)
・ Addition and generation of trees
・ Addition of crops
・ Addition of food
・ Mod output
mc_liveinwater \ Tasks \ fg_runs \ runClient from the Gradle menu-> Run to launch Minecraft for debugging.
(You've been warned that "Forge is still in beta!")