--This article was written as the 21st day article of ISer Advent Calendar 2020.
--For anyone who wants to call a Python function from p5.js, here's one way to do it. --Set up a server with flask and run python there. Access using ajax from javascript.
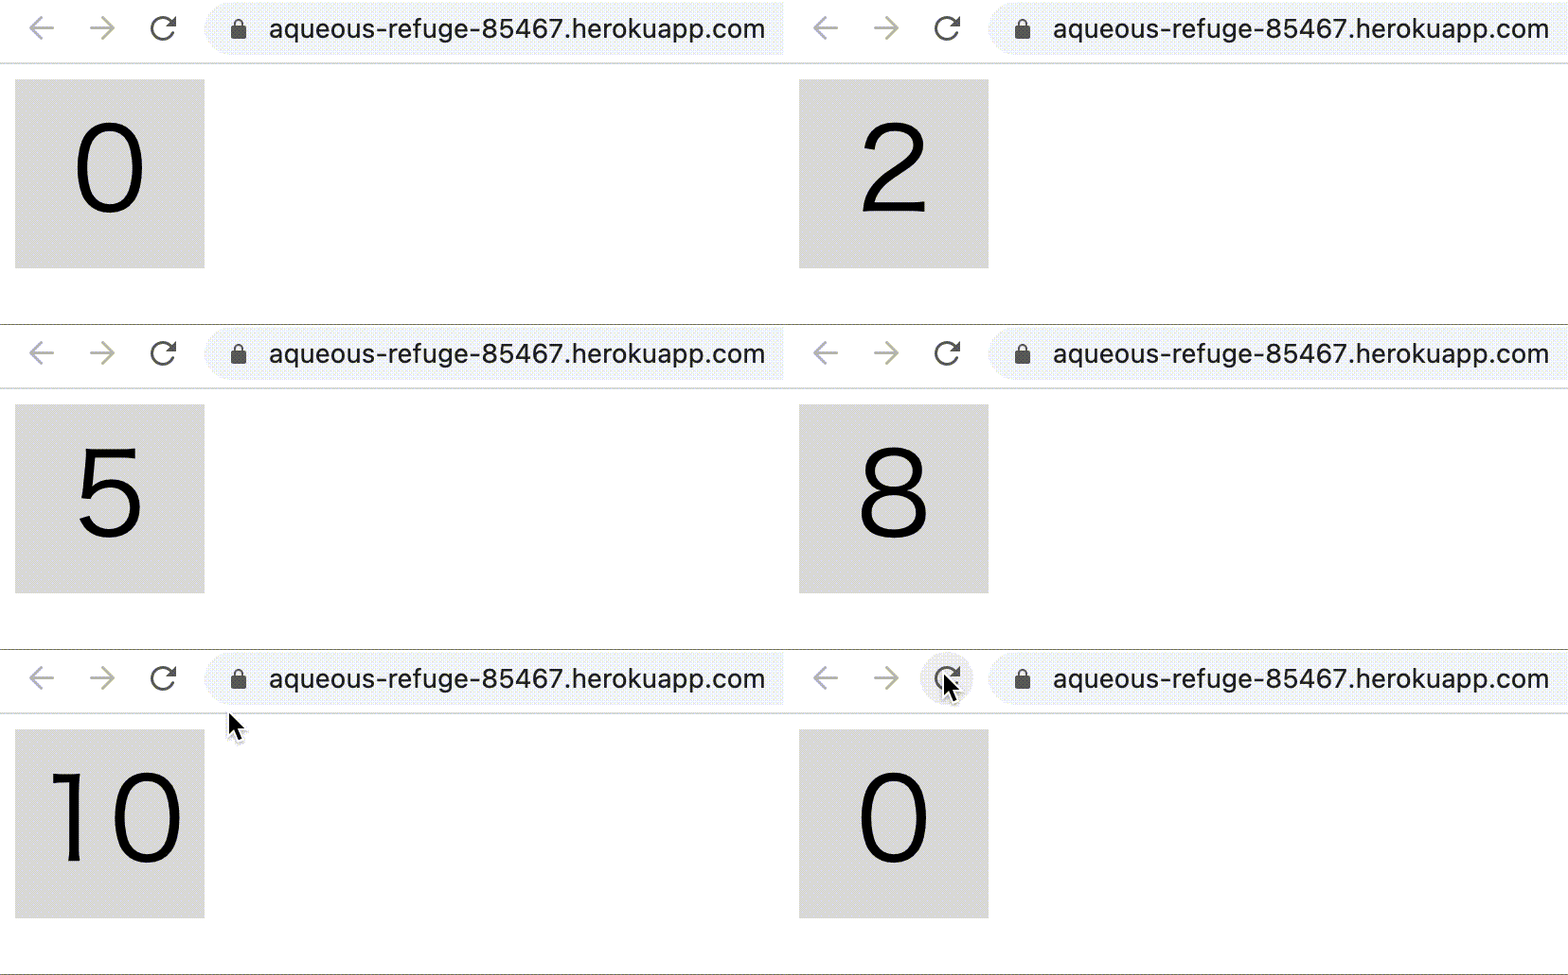
-Create a counting app like this page.
――When you access for the first time, it takes a few seconds to start heroku. --When you hit the keyboard, the displayed numbers increase.

--Program structure
--Receive keyboard input with keyPressed () in sketch.js.
--POST to / increment using ajax and pass the value of the variable count to the plusone function of app.py.
--The plusone function returns the given number plus one.
--Assign the value returned by sketch.js to the count variable.
--The draw function is called at regular intervals to display the text according to the value of the count variable.
--All the code is on GitHub.
--Write a count app appropriately with p5.js. --Let's write sketch.js as follows.
let count = 0;
function setup() {
    createCanvas(100, 100);
    count = 0;
}
function draw() {
    background(220);
    textSize(60);
    textAlign(CENTER);
    text(count, 50, 70);
}
function keyPressed(){
    count += 1;
}
--Set count to 0 in setup, increment that value by 1 with keyPressed, and draw (called repeatedly at regular intervals) -You can easily test it by using p5.js official editor. --For those who want to know more about p5.js. --The official page is here. --The tutorial is here. --The official reference is here.
--Let's write index.html as follows.
<html lang="ja">
<head>
  <meta charset="utf-8">
  <script src="https://cdnjs.cloudflare.com/ajax/libs/p5.js/0.9.0/p5.min.js"></script>
  <script src="../static/sketch.js"></script>
</head>
<body>
</body>
</html>
--Let's make the directory structure as follows.
./
├── static
│   └── sketch.js
└── templates
    └── index.html
--When you open index.html, you can open the counting app in a browser such as Chrome. --Reference -p5.js Official Tutorial
--First, let's install flask.
$ pip3 install Flask
--Reference: Flask installation
--Let's write app.py as follows.
from flask import Flask, render_template
app = Flask(__name__)

@app.route("/")
def main():
    return render_template("index.html")

if __name__ == "__main__":
    app.run(host = "0.0.0.0", port = 8080, debug = True)
--Let's start a local server.
$ python3 app.py
 * Serving Flask app "app" (lazy loading)
 * Environment: production
   WARNING: This is a development server. Do not use it in a production deployment.
   Use a production WSGI server instead.
 * Debug mode: on
 * Running on http://0.0.0.0:8080/ (Press CTRL+C to quit)
 * Restarting with fsevents reloader
 * Debugger is active!
 * Debugger PIN: 245-513-508
--If you access http://0.0.0.0:8080/ and the count app is displayed, it's OK. --Reference: Flask Quick Start
――From here, let's finally call the Python code from Javascript.
--Try to access / increment with keyPressed.
function keyPressed(){
    var post = $.ajax({
        type: "POST",
        url: "/increment",
        data: {count: count}, // post a json data.
        async: false,
        dataType: "json",
        success: function(response) {
            console.log(response);
            // Receive incremented number.
            count = response.count;
        },
        error: function(error) {
            console.log("Error occurred in keyPressed().");
            console.log(error);
        }
    })
}
--Reference -JQuery.ajax Official Reference --Programs of others calling Python using ajax
--Add the following function to app.py.
@app.route("/increment", methods=["POST"])
def plusone():
    req = request.form
    res = {"count": int(req["count"])+1}
    return jsonify(res)
--Reference --Programs of others calling Python using ajax
--Add the following line to index.html.
<script src="https://ajax.googleapis.com/ajax/libs/jquery/3.5.1/jquery.min.js"></script>
--Reference -Programs of others calling Python using ajax
$ python3 app.py
-This page also uploads on heroku. -Deploy while referring to heroku official reference.
Recommended Posts