I tried the super-resolution algorithm "PULSE" in a Windows environment
Try the high-performance super-resolution algorithm "PULSE: Self-Supervised Photo Upsampling via Latent Space Exploration of Generative Models" announced at this year's CVPR. I did. It is a popular "learning with self-teacher".
- The content of the dissertation is omitted (maybe I will write a commentary article someday ?!)
Points of "PULSE"
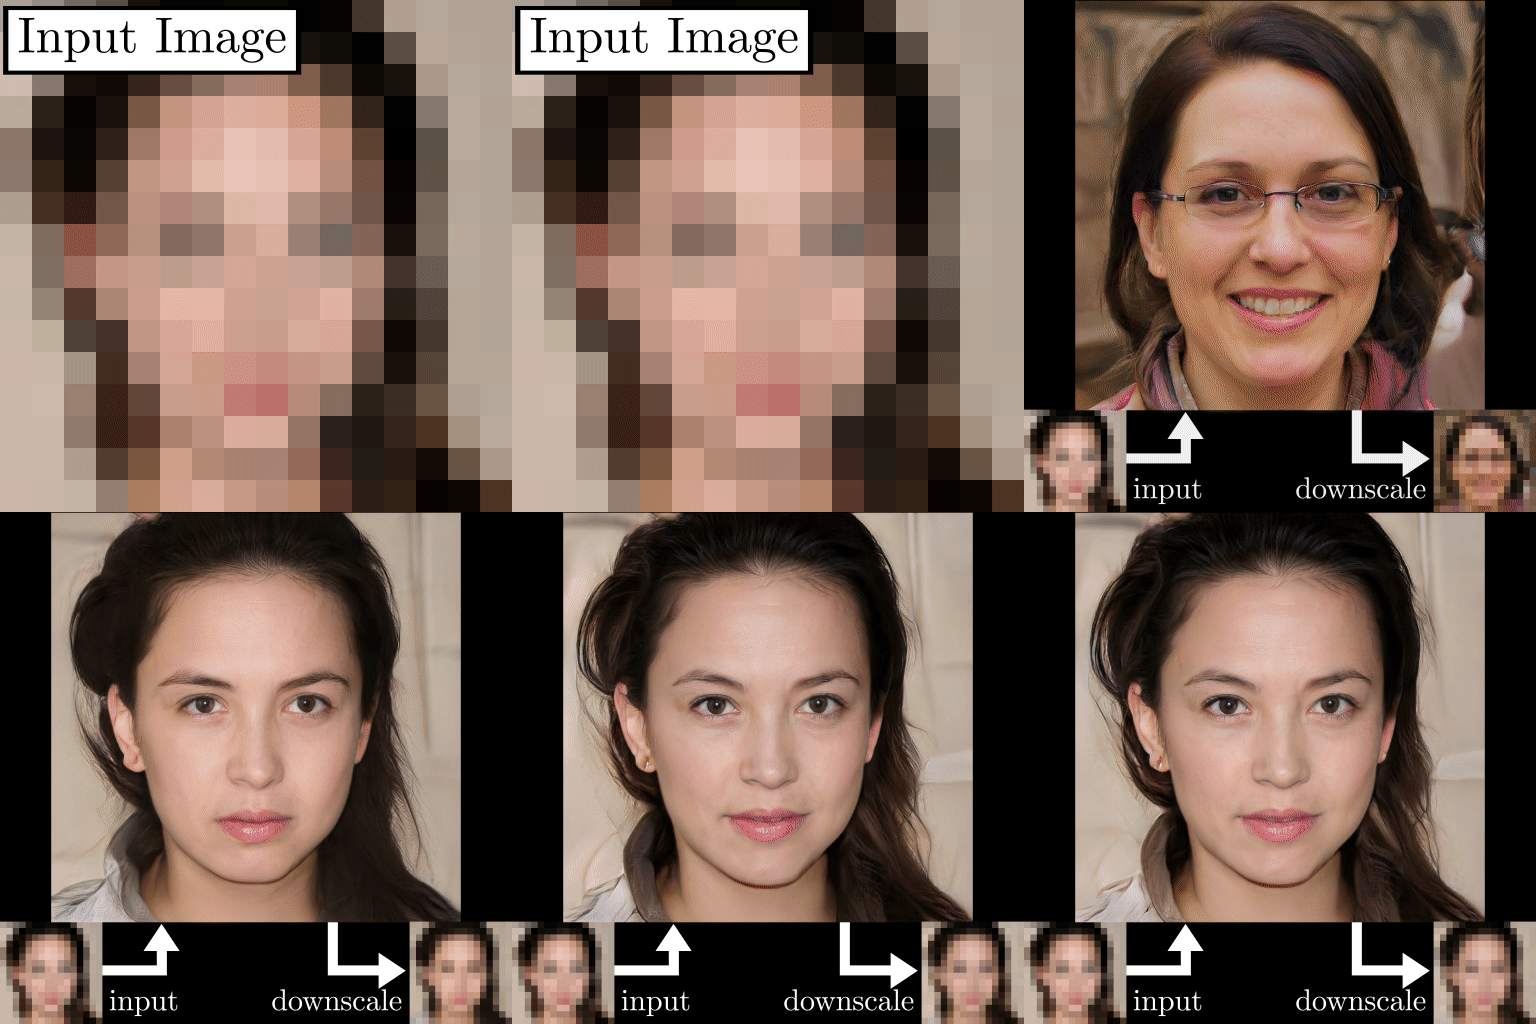
――Evaluation points are different than before --Compare with images downscaled after super-resolution, not images after super-resolution ――Super-resolution is possible than conventional methods --StyleGAN is used for super-resolution itself (learned with CelebA-HQ)
This GIF is easy to grasp the image.

Source code
The source code is available on Github. This time I will use this as it is.
Installation
I have installed the following modules on Python 3.7.
--Install from GUI of Anaconda Navigator - matplotlib - numpy - pandas - pillow - scipy - requests --Install from command line - pytorch - torchvision --cudatoolkit (100.2 is used this time)
Environment
Prepare a folder to store the images you want to super-resolution. Here, let's call it "input" for the time being.
Put the image you want to super-resolution there. (You can put more than one) The image has some restrictions.
--The vertical and horizontal sizes are the same --Size is a divisor of 1,024 --Format is PNG (RGB)
Run
> python run.py
Run with.
Error handling
Most images give the following error:
Loading Synthesis Network
Optimizing
BEST (100) | L2: 0.0058 | GEOCROSS: 4.3057 | TOTAL: 0.7981 | time: 10.0 | it/s: 9.98 | batchsize: 1
Could not find a face that downscales correctly within epsilon
In the above example, the minimum value of L2 is "0.0058", but the default threshold is "0.002", and an error will occur if it is not closer than that.
As a countermeasure, change the threshold value with the argument "eps".
> python run.py -eps 0.005
Execution result
The execution result is saved in the "runs" folder.
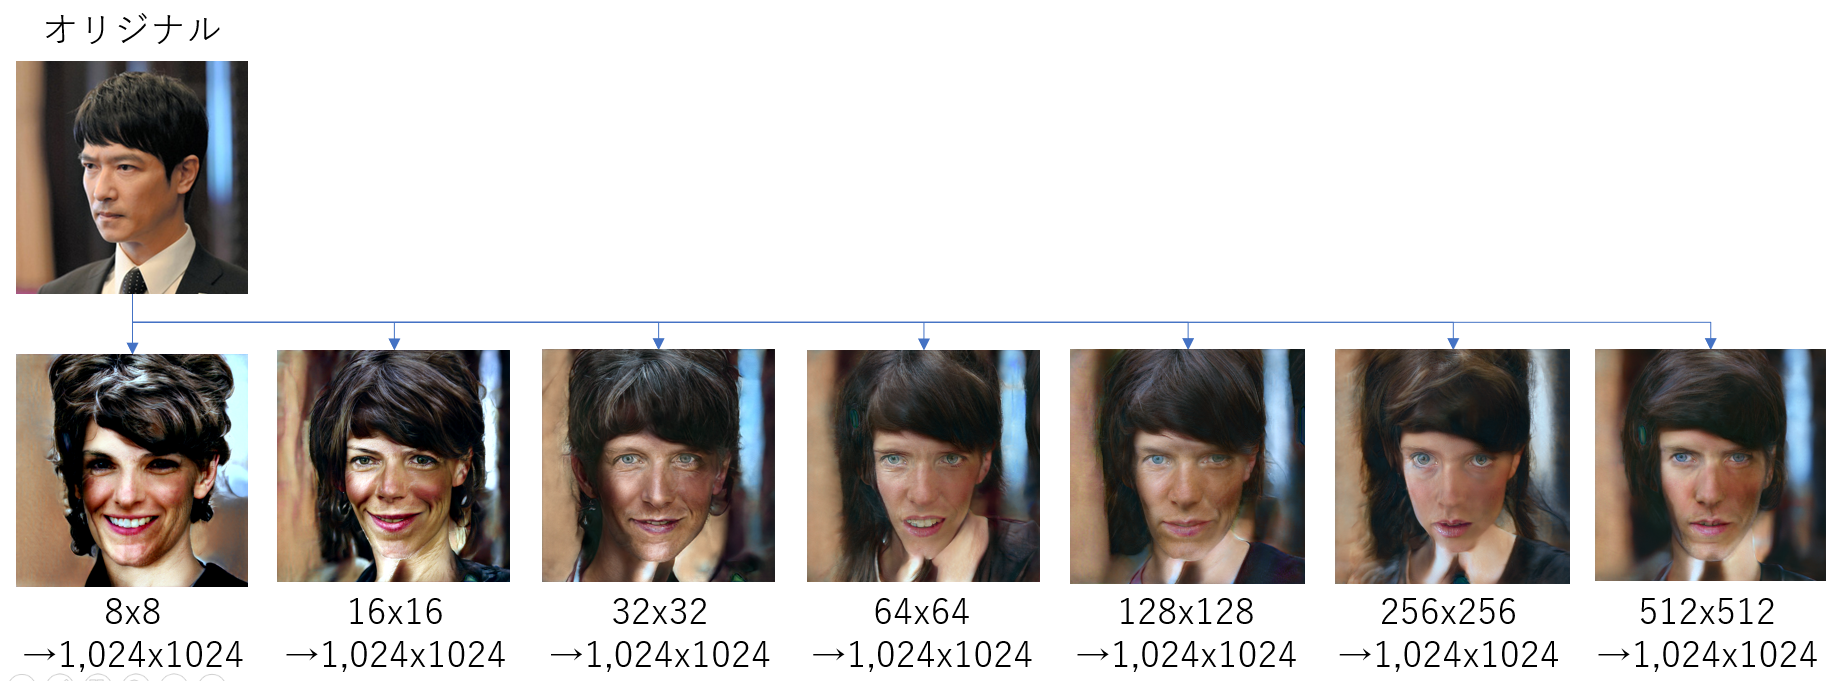
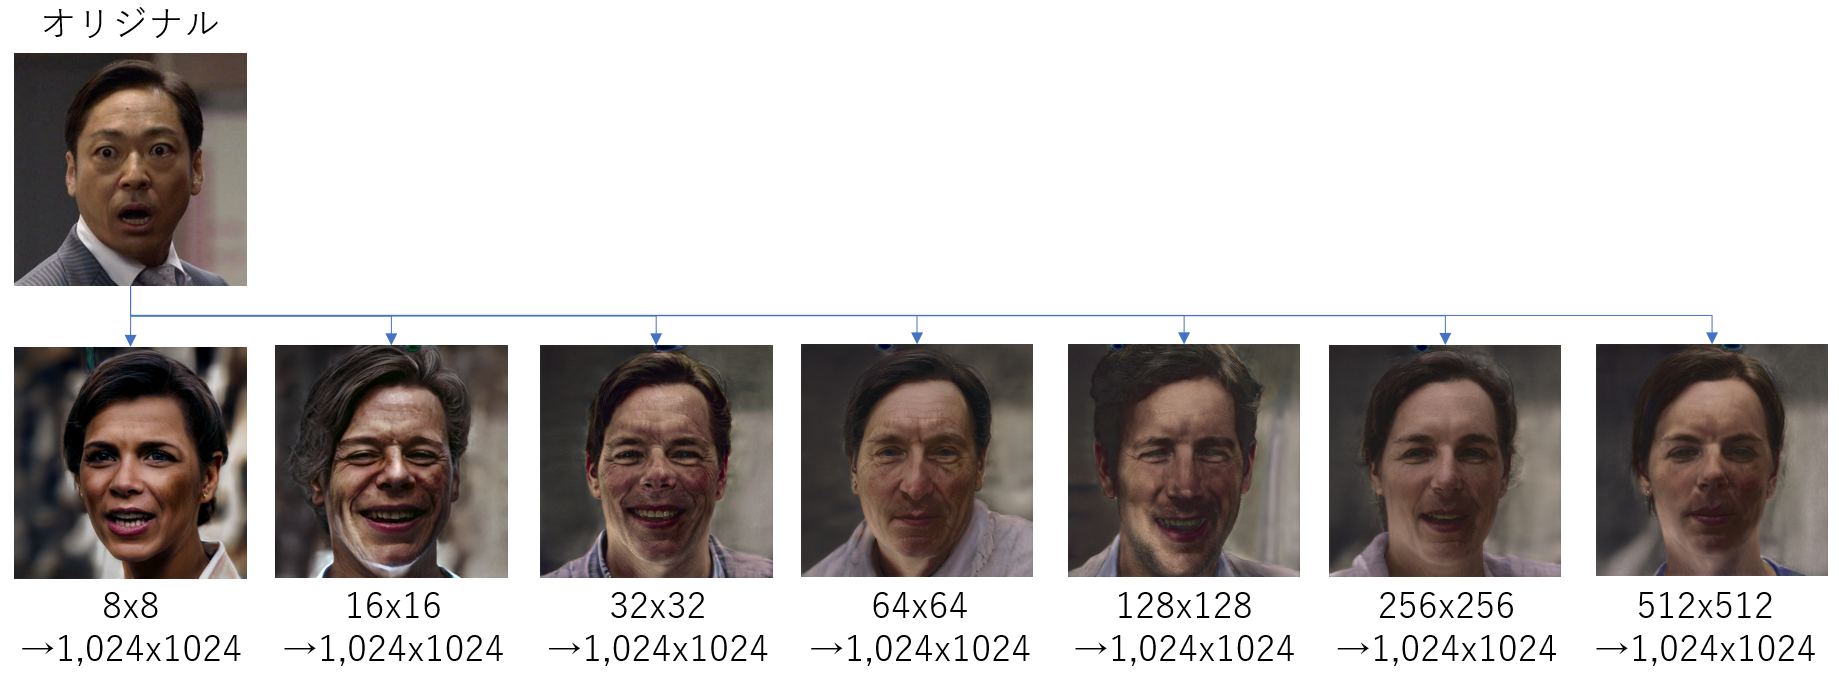
The output super-resolution image will be 1,024x1,024 png.


Foreigner bias is terrible. .. .. Also, it seems to be useless if it is not a front face.
Impressions
It's easy to do, but there are a lot of things you have to do to actually use it.
Recommended Posts