Integrate Modelica and Python on Windows
This is the method of linking Modelica and Python introduced in "I want to easily build a model-based development environment".
Purpose
The purpose of this time is to perform the following operations.
-** Create a physical model with Modelica. ** ** -** Compile the physical model into FMU format with Python's PyModelica module (JModelica). ** ** -** Calculate the FMU file with Python's PyFMI module (JModelica). ** ** -** Display the calculation result as a graph with Python's Matplotlib module. ** **
Environmental setting
Execution environment
- Windows 10 (64bit)
Installation of Anaconda2

Build a Python execution environment in Anaconda as a coupled simulation master. Since JModelica described later supports only Python2 32bit, Anaconda also uses the one that supports it. (Even if another Python environment is already installed, I think that there is no problem if you install it additionally.)
Download the "Python 2.7 version (32bit)" version of the installer from the following page. Download Anaconda Now! | Continuum
Run the downloaded installer and basically keep the defaults. Set the installation folder to C: \ Anaconda2.
Install JModelica
Install JModelica to use the Python modules PyModelica and PyFMI.

Download the latest installer from the page below. Download | JModelica.org
When installing the Python module, select the installation destination to be C: \ Anaconda2.
Create a Modelica model
This time, we will use the Modelica.Thermal.HeatTransfer.Exsamples.Motor introduced in" Using OpenModelica on Windows" saved in Modelica format. ..
I saved it in Motor.mo of" ozawaat / FMI_Motor ", so please use this.
Save Motor.mo in a suitable location.
Compile the Modelica model into FMU format
Launch Python from JModelica
Manipulate Python in the folder where Motor.mo is stored. Use one of the following to start Python.
-
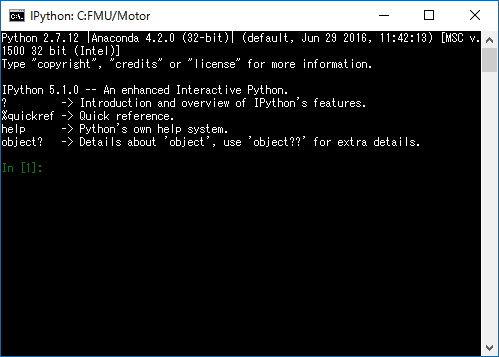
Open IPython from [Windows mark at the bottom left of the screen] → [JModelica.org-1.17] and go to the console. `` `! Cd C: \ [folder where Motor.mo is stored] \ ``` Enter to move the folder.
-
Copy ʻIPython.bat
fromC: \ JModelica.org-1.17to the same folder asMotor.mo. Double-click on this ʻIPython.batto open IPython.

Compile the Modelica file into FMU
Save the following files in the same folder as Motor.mo.
Motor_Compile.py
from pymodelica import compile_fmu
model_name = 'Motor'
mo_file = 'Motor.mo'
my_fmu = compile_fmu(model_name, mo_file, target='cs')
From the IPython console
run Motor_Compile.py
 Enter to compile `Motor.mo` and create` Motor.fmu`.


# Calculate FMU in Python and display it on the graph

 Save the following files in the same folder as `Motor.mo`.


#### **`Motor.py`**
```python

import matplotlib.pyplot as plt
from pyfmi import load_fmu

model = load_fmu('Motor.fmu')
opts = model.simulate_options()
opts["ncp"] = 1000

res = model.simulate(final_time=100000, options=opts)

T1 = res['Twinding.T']
T2 = res['Tcore.T']
t = res['time']

plt.plot(t, T1, label="Twinding.T")
plt.plot(t, T2, label="Tcore.T")
plt.legend(loc='best')
plt.xlabel('time [sec]')
plt.ylabel('Temperature [K]')
plt.show()
From the IPython console
run Motor.py
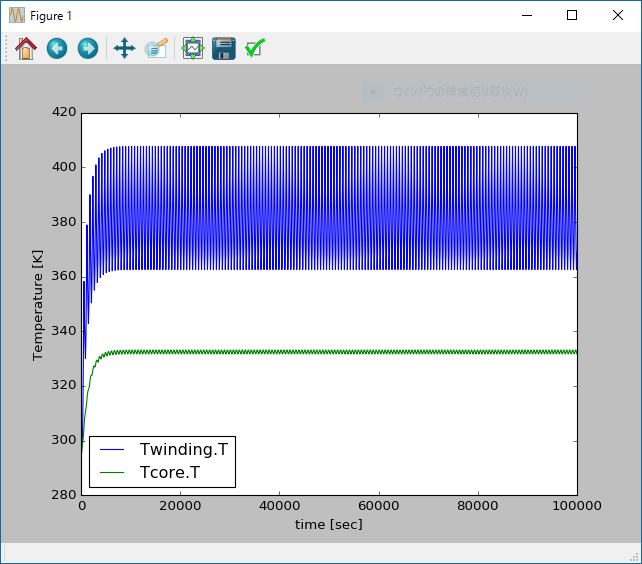
If you enter, `Motor.fmu` will be calculated on Python and the graph below will be displayed.

Recommended Posts